
ViewVision DR+ DVD Operating Manual


Table Of Contents
- Remote control Assist – recorder operation
- Front Panel
- Rear Panel & Display
- Welcome
- For your safety
- Essential Information
- Initial Installation
- Initial Remote Control Setup
- Resetting the DVD Recorder
- Switching over to Progressive Scan
- Connections - General
- Connecting to the Aerial
- Connecting to the Television
- Connecting to a set-top box / Satellite Receiver
- Connecting to an External Decoder Box
- Connecting to an Amplifier
- Connecting Audio/Video (A/V) Accessories
- Connecting a digital camcorder
- Activating Digital Link
- Basic Settings
- Main menu
- Setup menu
- The General Menu
- Language Menu
- Audio Menu
- Lock Menu
- Recording Menu
- Disc Menu
- Additional Screen Menus
- HDMI mode
- Video mode
- DivX mode
- Audio mode
- Photo mode
- Card-Reader mode
- Remote control Assist – Card-Reader operation
- Recording
- Edit recordings
- Menu Title List and Chapter List
- Edit Original and Playlist
- Add chapter markers
- Create new Playlist
- Add title/chapter to the Playlist
- Delete title/chapter from Original/Playlist
- Delete part
- Title Name
- Select title start point
- Select chapter
- Sorting
- Undo/redo deletion
- Combine titles
- Divide title
- Combine chapters
- Move Playlists Chapters
- Hide title/chapter
- Protect title
- Dubbing
- Troubleshooting
- Technical Specifications
- Operating additional devices
- Remote control Assist – TV-operation
- Language Code List
- List of country codes
- Glossary
- Index
- Service
- 32
OK
ENDMENU
4 : 3
16 : 9
Select
CloseDeleteMove
Marker Search
Delete Marker
Press the blue button long to select Marker Search menu.
5 634 Select marked scene.
Delete Marker.
34 Select yes option.
Confirm with OK.
Exit the Marker Search menu.
➠ The markers are only saved until the disc is changed (DVD-ALL VCD).
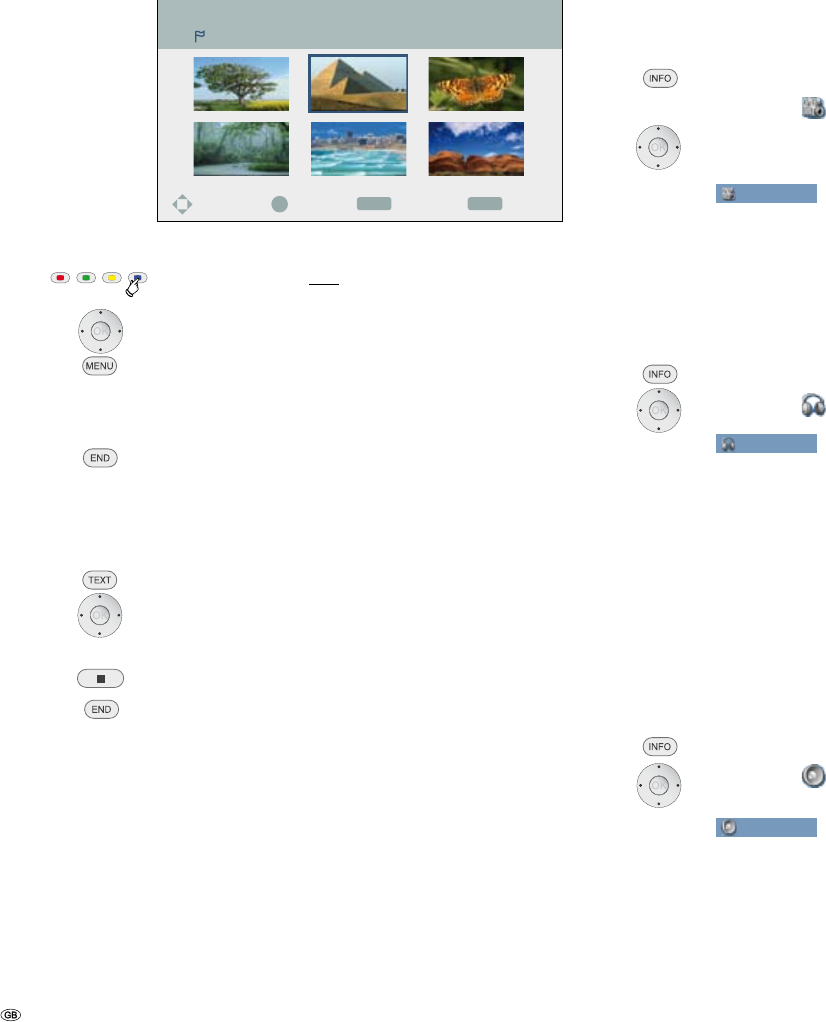
Disc menu HDD DVD-V VCD
DVDs and Video CDs usually contain their own menus.
Select Disc menu.
5 634 Select the desired settings.
Confirm with OK.
Exit Disc menu DVD.
Exit Disc menu HDD.
Camera positions DVD-V
If the DVD contains scenes taken at different camera positions, it is possible to
change to another camera position during play-back.
Select twice during play-back.
5 6 Select symbol.
3 4 Select the desired camera angle. The number of the
current camera position is displayed.
DVD-Video
1/10
0:12:34
1.STEREO
OFF
1/1
NORMAL
4/14
➠ A camera symbol will appear on the screen during scenes that
were recorded using different camera positions.
Digital sound formats, movie language and audio
channels
You can select the digital sound format in connection with the movie language
here.
Select twice during play-back.
5 6 Select symbol.
DVD-Video
1/10
0:12:34
1.STEREO
OFF
1/1
NORMAL
4/14
3 4 Select other movie language or sound format (DVD-V
DivX).
3 4 Select other audio channel (STEREO, LEFT or RIGHT) (VCD
Video VR).
➠ Some discs have got Dolby Digital and DTS sound tracks. If
DTS is selected, there is no analogue audio output. To listen to
the DTS sound track, connect the recorder via one of the digital
outputs to a DTS amplifier (page 14).
3D-Surround DVD-ALL VCD DivX
This device can create a 3D surround effect which simulates a multi-channel audio
reproduction with two conventional stereo speakers.
Select twice during play-back.
5 6 Select symbol.
DVD-Video
1/10
0:12:34
1.STEREO
OFF
1/1
NORMAL
4/14
3 4 Select 3D SUR. for surround sound.
3 4 NORMAL to end surround sound.
Video mode