
User's Manual
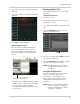
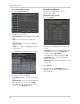
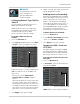
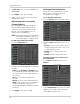
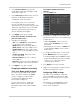
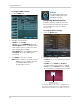
Table Of Contents
- Front Panel
- Rear Panel
- Basic Setup
- Step 1: Connect the BNC Cameras
- Step 2: Connect the Mouse
- Step 3: Connect the Ethernet Cable
- Step 4: Connect the Monitor
- Step 5: Connect the Power Adapter and Power on the DVR
- Step 6: Verify Camera Image
- Step 7: Set the Time
- Default System Password & Port Numbers
- Quick Access to System Information
- Connecting Cameras
- Mouse Control
- Remote Control
- Using the On-Screen Display
- Setting the Date and Time
- Recording
- Playback and Backup
- Managing Passwords
- Using the Main Menu
- Display
- Configuring Custom Channel Names
- Changing the Position of the Channel Name
- Adjusting Camera Color Settings
- Enabling Covert Recording
- Configuring the Time and Recording Time Display
- Configuring Sequence Time
- Changing the Video-out Resolution
- Restoring the System’s Resolution if you see a Blank Screen
- Adjusting Menu Transparency
- Adjusting the Video Margin
- Adding Privacy Zones
- Record
- Search
- Network
- Alarm
- Device
- System
- Advanced
- Display
- Setting up your DVR for Remote Connectivity
- Lorex Client 11: Client Software for PC
- Remote Viewing Interface
- Logging into the System
- Changing Viewing Modes
- Taking Screen Shots
- Recording Video
- Showing / Hiding Channels
- Adjusting Sub-menu Options
- Changing the Save Directory of Screenshots or Recorded Video
- Changing the Format of Recorded Video (PC Only)
- Configuring PTZ Settings
- Video Playback
- Configuring Display Settings
- Configuring Privacy Zone Settings
- Configuring Recording Parameters
- Configuring the Recording Schedule
- Configuring System Recording Quality
- Configuring Basic Network Settings
- Configuring the System Substream
- Configuring Email Notification Settings
- Changing the Mobile User Name and Password
- Configuring DDNS Settings
- Configuring Motion Detection Settings
- Configuring your System to "Beep" During Motion
- Configuring Alarm Notifications
- Configuring Hard Drive Recording Mode
- Configuring PTZ Parameters
- Configuring the System Time and Date
- Changing the System’s Menu Time Out
- Configuring System User Accounts
- Viewing System Information
- Upgrading System Firmware
- Restoring Default Settings
- Configuring Event Settings
- Configuring Auto-Reboot
- Lorex Player 11: Playing Backed up Video on PC
- Lorex Player for Mac: Viewing Backed up Video on Mac
- Mobile Apps: Accessing your DVR Using a Mobile Device
- Appendix A: System Specifications
- Appendix B: Connecting a PTZ Camera
- Appendix C: Connecting Additional External Monitors
- Appendix D: Recording Audio
- Appendix E: Replacing the Hard Drive
- Troubleshooting
- Getting Started
39
Using the Main Menu
6 Click on the hour of the video you want to
play back.
7 Sel
ect the channel or channels you want to
play back.
8 Cl
ick Play to begin playback.
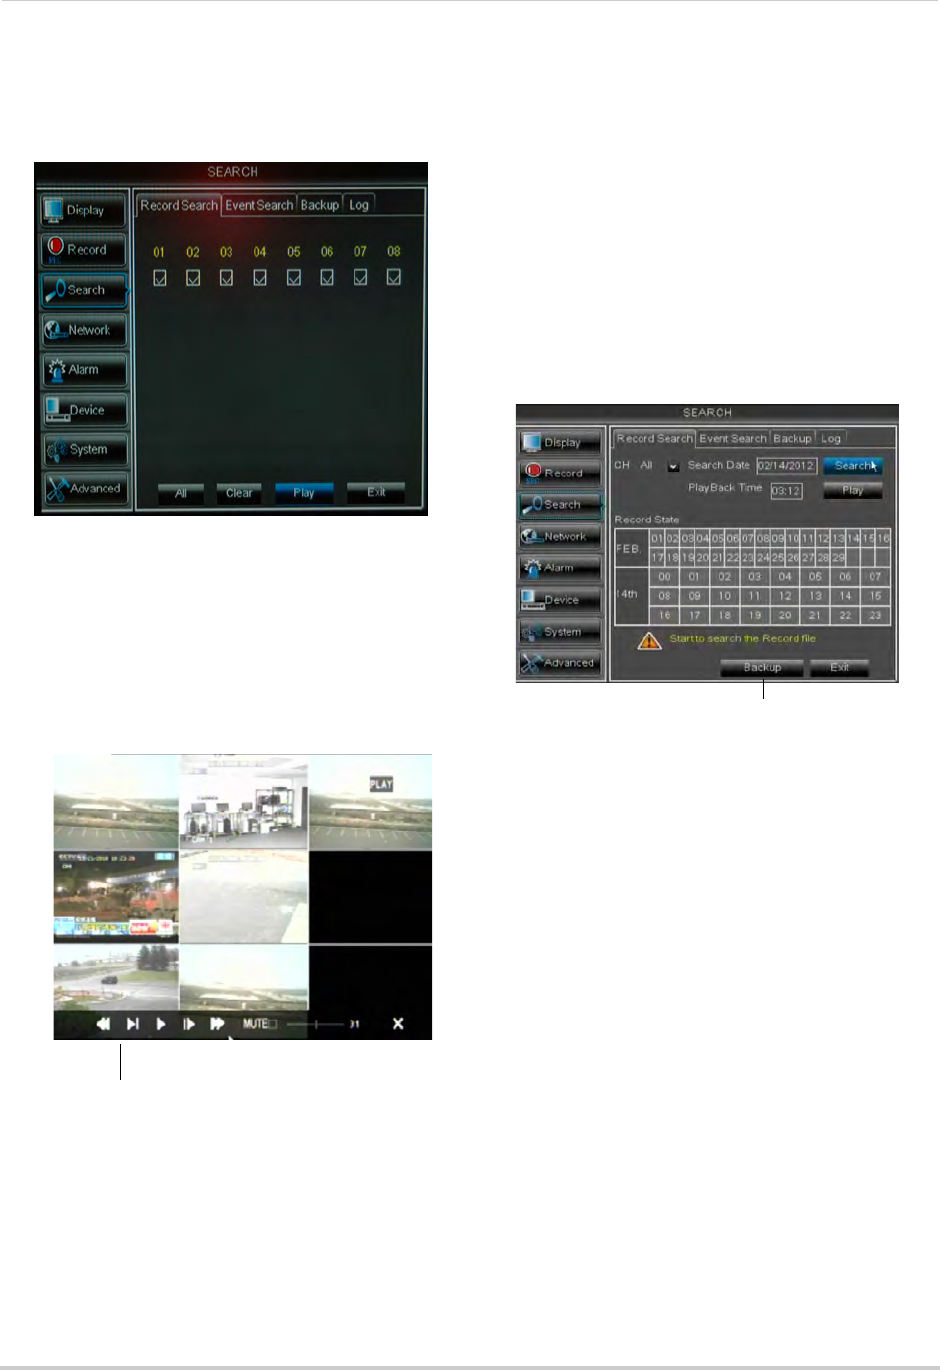
Video Playback Controls
Move the mouse slightly to display the
on-scr
een playback controls. You can
also use the playback control buttons on
the remote control or front panel of the
system.
• Drag the slider to adjust the volume (audio
c
apable camera required, not included).
Select the box to mute the audio.
• Click X t
o quit playback and return to the
Search menu.
Backing up Video Files
You can back up video files on your USB
flash drive.
To back up video files:
1 Pe
rform a search.
2 Insert a blank USB flash
drive in the rear
panel of the system.
3 Click on
the desired date you wish to back
up.
4 Click the Ba
ckup button. A list of files
appears in the Log menu.
5 Click the
checkbox under BAK next to the
file you want to backup.
6 Click the Ba
ckup button to begin copying
the video files to your flash drive.
NOTE: Y
ou will need the Lorex Player
(included on the CD) to view the
saved files.
Using the Event Search
Event Search allows you to find videos
that are marked as "Alarm" or
"Continuous" recording type. This
allows you to quickly and easily sort
though videos that only have alarm
attributes.
NOTE: Videos ar
e not marked as Alarm
unless continuous recording is
turned off and motion or alarm
settings are enabled.
Use the video control buttons to
manipulate video playback
Backup