
Owner's Manual
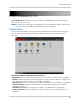


Table Of Contents
- NVR Overview
- Basic Setup
- Step 1: Connect the IP Cameras
- Step 2: Connect the Mouse
- Step 3: Connect the Ethernet Cable
- Step 4: Connect the Monitor
- Step 5: Connect the Power Adapter and Power on the NVR
- Step 6: Verify Camera Image
- Step 7: Set the Time
- Default System Password & Port Numbers
- Quick Access to System Information
- Installing Cameras
- Mouse Control
- Remote Control
- Using the On-Screen Display
- Setting the Date and Time
- Recording
- Playback
- Backing Up Video
- Managing Passwords
- Using the Main Menu
- Manual
- HDD
- Record
- Camera
- Configuration
- Maintenance
- Shutdown
- Setting up your NVR for Remote Connectivity
- Client Software for PC
- Control Panel
- Main View
- Video Player
- E-Map
- Event Search
- Remote Playback
- Add Camera
- Local Log Search
- Account Management
- Device Management
- Configuring an NVR Through Device Management
- Camera Settings
- Adjusting Picture Settings
- Configuring Video Quality
- Configuring Camera Recording Schedules
- Configuring the Camera Video Display (OSD) and Privacy Masks
- Configuring Motion Detection Settings
- Configuring Tampering Alarm Settings
- Configuring Video Loss Alarms
- PTZ Control (Not Supported)
- Network Connection (Not Supported)
- System Configuration
- Connecting to your NVR Using a Web Browser
- Mobile Apps: Accessing your NVR Using a Mobile Device
- Appendix A: System Specifications
- Appendix B: Installing or Replacing the Hard Drive
- Troubleshooting
- Getting Started
85
Client Software for PC
Client Software for PC
Lorex netHD Client allows you to connect to multiple LNR200 Series NVR’s and view up to
64 IP cameras on one screen.
NOTE: For details on connecting to your NVR over a local area network (LAN) or the Internet,
see “Setting up
your NVR for Remote Connectivity” on page 75.
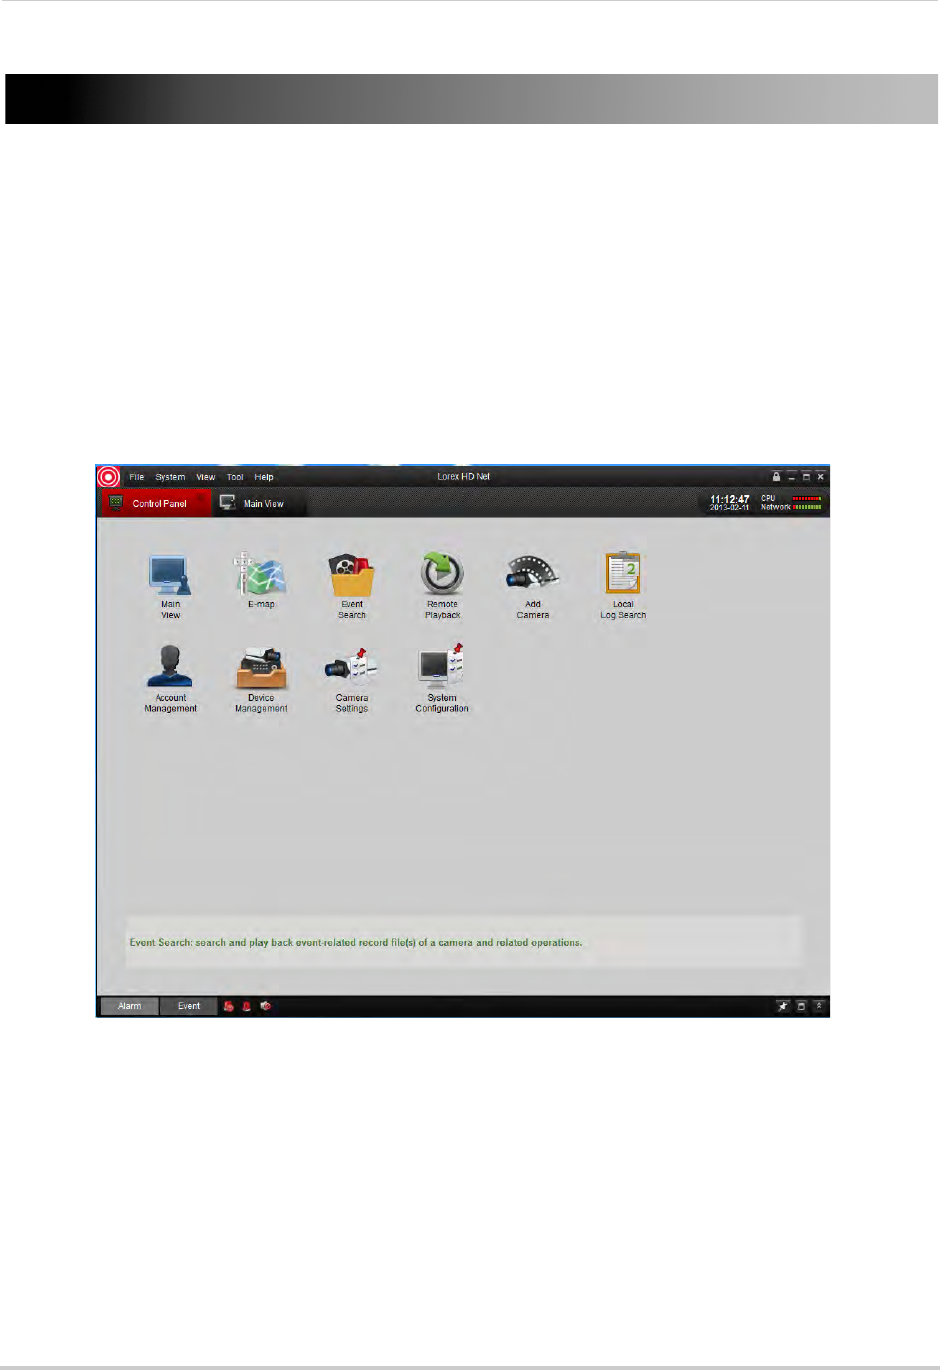
Control Panel
You can access your NVR’s, including live and recorded video and configuration through the
Control Panel. You may return to the Control Panel at any time by clicking the Control
Panel tab.
The menus available through the Control Panel are:
• Main View: Vie
w live video from your IP cameras. For details, see “Main View” on page 86.
• E-Map: E-Ma
p allows you to visualize the position of your cameras against an image, such
as a map or floor plan. For details, see “E-Map” on page 94.
• Event Search: Sear
ch for events on your NVR’s. For details, see “Event Search” on page 96.
• Remote Playback
: Playback recorded video from your NVR. For details, see “Remote
Playback” on page 99.
• Add Camera
: Manage camera groups. For details, see “Add Camera” on page 103.
• Local Log Search: S
earch for logs on your NVR’s. For details, see “Local Log Search” on
page 104.