
Owner's Manual


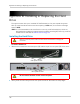


Table Of Contents
- NVR Overview
- Basic Setup
- Step 1: Connect the IP Cameras
- Step 2: Connect the Mouse
- Step 3: Connect the Ethernet Cable
- Step 4: Connect the Monitor
- Step 5: Connect the Power Adapter and Power on the NVR
- Step 6: Verify Camera Image
- Step 7: Set the Time
- Default System Password & Port Numbers
- Quick Access to System Information
- Installing Cameras
- Mouse Control
- Remote Control
- Using the On-Screen Display
- Setting the Date and Time
- Recording
- Playback
- Backing Up Video
- Managing Passwords
- Using the Main Menu
- Manual
- HDD
- Record
- Camera
- Configuration
- Maintenance
- Shutdown
- Setting up your NVR for Remote Connectivity
- Client Software for PC
- Control Panel
- Main View
- Video Player
- E-Map
- Event Search
- Remote Playback
- Add Camera
- Local Log Search
- Account Management
- Device Management
- Configuring an NVR Through Device Management
- Camera Settings
- Adjusting Picture Settings
- Configuring Video Quality
- Configuring Camera Recording Schedules
- Configuring the Camera Video Display (OSD) and Privacy Masks
- Configuring Motion Detection Settings
- Configuring Tampering Alarm Settings
- Configuring Video Loss Alarms
- PTZ Control (Not Supported)
- Network Connection (Not Supported)
- System Configuration
- Connecting to your NVR Using a Web Browser
- Mobile Apps: Accessing your NVR Using a Mobile Device
- Appendix A: System Specifications
- Appendix B: Installing or Replacing the Hard Drive
- Troubleshooting
- Getting Started
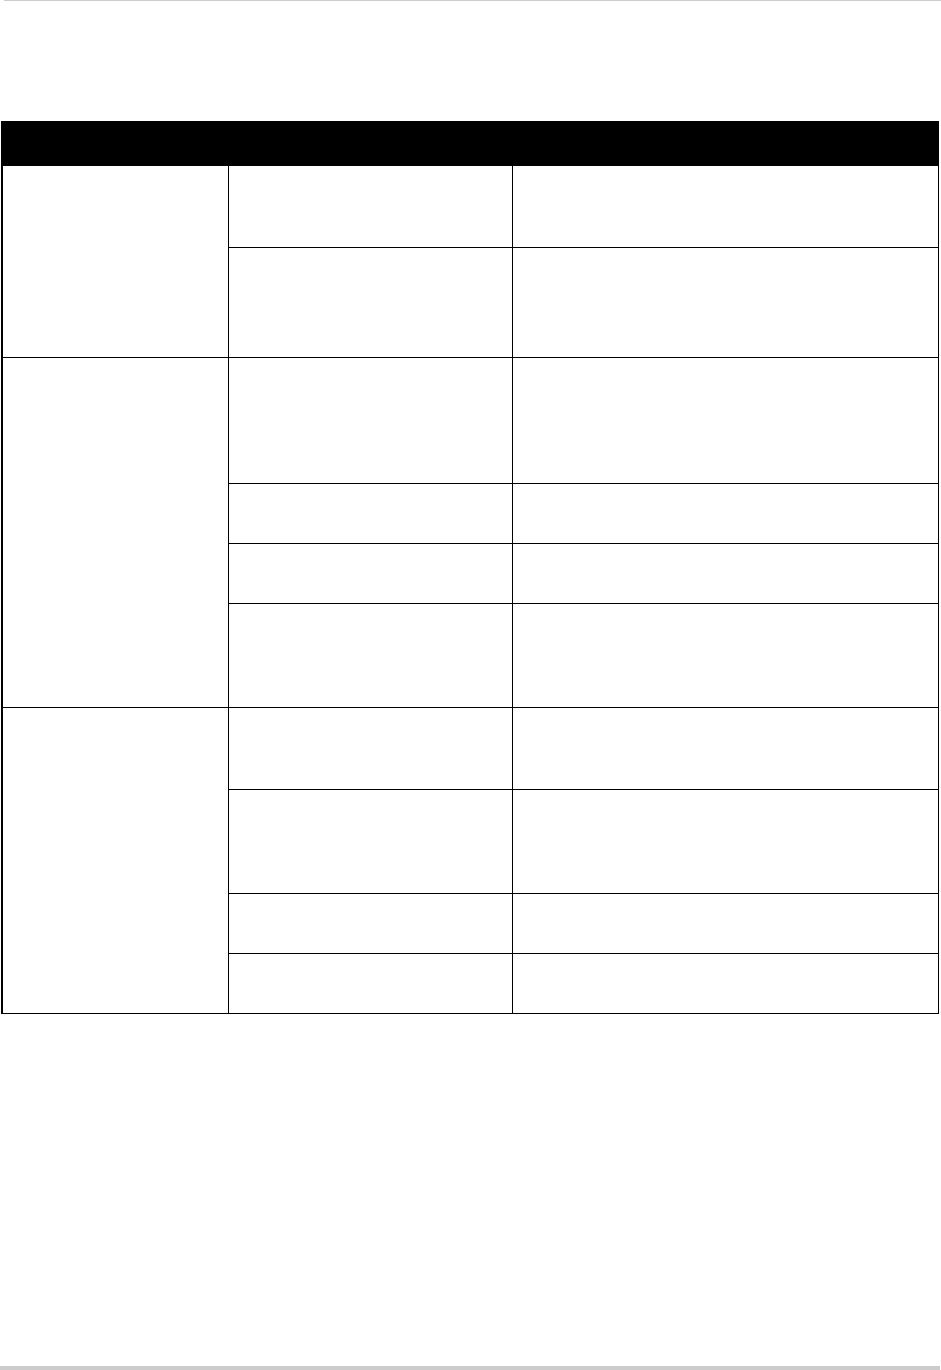
Error Possible Causes Solutions
• Cannot connect to the
NVR on a local network
• NVR not connected to router • Connect an Ethernet cable from the NVR LAN
port to your router, and then reset the NVR using
the power switch
• NVR and computer not on same
network
• Ensure your NVR and computer are connected to
the same r
o
uter
• If your computer is using a WiFi network, try
connecting it to the router using an Ethernet cable
• Cannot connect to the
NVR o
ver the Internet
• Ports not forwarded • Port Forward the HTTP port (default: 80), Server
Port (default: 8000), and Mobile Port (default: 1025)
on your router. For details on port forwarding, see
the Easy Connect manual on the CD or the
reference guides on www.lorextechnology.com
• DDNS account not created • Follow the instructions under “Step 2 of 4: Create
a DDNS Account” on page 79
• DDNS not enabled on NVR • Follow the instructions under “Step 3 of 4: Enable
DDNS on the NVR” on page 83
• DDNS address not entered
cor
rectly
• In Internet Explorer or Safari, enter http://, the
DDNS domain name from the confirmation email in
full, and then colon and HTTP port (for example,
http://tomsmith.lorexddns.net:80
)
• Cannot connect to the
NVR
using a mobile device
• NVR has not been configured
for Internet connection
• Ensure you have followed all the steps in “Setting
up your NVR for Remote Connectivity” on page 75.
See above to troubleshoot remote connections
• Mobile Port has not been
fo
r
warded
• Forward the Mobile Port (default: 1025) on your
router. For details on port forwarding, see the Easy
Connect manual on the CD or the reference guides
on www.lorextechnology.com
• IP address used from outside
inte
rnal network
• Use the DDNS address to connect to the NVR
using a mobile application
• Router is blocking DDNS
co
nnection from internal network
• Turn off WiFi connection and attempt to connect
using 3G or mobile network
166
Troubleshooting
Troubleshooting Remote Connections