
Owner's Manual


Table Of Contents
- NVR Overview
- Basic Setup
- Step 1: Connect the IP Cameras
- Step 2: Connect the Mouse
- Step 3: Connect the Ethernet Cable
- Step 4: Connect the Monitor
- Step 5: Connect the Power Adapter and Power on the NVR
- Step 6: Verify Camera Image
- Step 7: Set the Time
- Default System Password & Port Numbers
- Quick Access to System Information
- Installing Cameras
- Mouse Control
- Remote Control
- Using the On-Screen Display
- Setting the Date and Time
- Recording
- Playback
- Backing Up Video
- Managing Passwords
- Using the Main Menu
- Manual
- HDD
- Record
- Camera
- Configuration
- Maintenance
- Shutdown
- Setting up your NVR for Remote Connectivity
- Client Software for PC
- Control Panel
- Main View
- Video Player
- E-Map
- Event Search
- Remote Playback
- Add Camera
- Local Log Search
- Account Management
- Device Management
- Configuring an NVR Through Device Management
- Camera Settings
- Adjusting Picture Settings
- Configuring Video Quality
- Configuring Camera Recording Schedules
- Configuring the Camera Video Display (OSD) and Privacy Masks
- Configuring Motion Detection Settings
- Configuring Tampering Alarm Settings
- Configuring Video Loss Alarms
- PTZ Control (Not Supported)
- Network Connection (Not Supported)
- System Configuration
- Connecting to your NVR Using a Web Browser
- Mobile Apps: Accessing your NVR Using a Mobile Device
- Appendix A: System Specifications
- Appendix B: Installing or Replacing the Hard Drive
- Troubleshooting
- Getting Started
7
Basic Setup
Installing Cameras
ATTENTION: Cameras differ in terms of installation or mounting instructions. Please see
the documentation that came with your camera(s) for specific installation instructions.
Test the cameras before permanent installation. Plan where you will route the wiring for
the camera and where you will aim the camera.
Installation Tips
• Mount the camera where the lens is away from direct and intense sunlight.
• Plan your cable wiring so that it does not interf
ere with power lines or telephone lines.
• Ensure that the camera wiring is not exposed or easily cut.
• Mount the camera in an area that is visibl
e, but out of reach.
• Avoid pointing the camera at a glass window to see outside, as this may result in a
poor image
caused by glare from indoor / outdoor lighting conditions.
• Adjust the camera angle so that it covers an area with high traffic.
• In "high-risk" locations, have multiple cameras point in the same area. This provides camera
re
dundancy if a vandal attempts to damage the camera.
Installing Cameras
1 Mount the camera(s) to the desired mounting surface according to the instructions that came
with the camera(s). Choose a firm mounting surface.
NOTE: If you wish to mount cameras to drywall, it is r
ecommended to use drywall plugs (not
included).
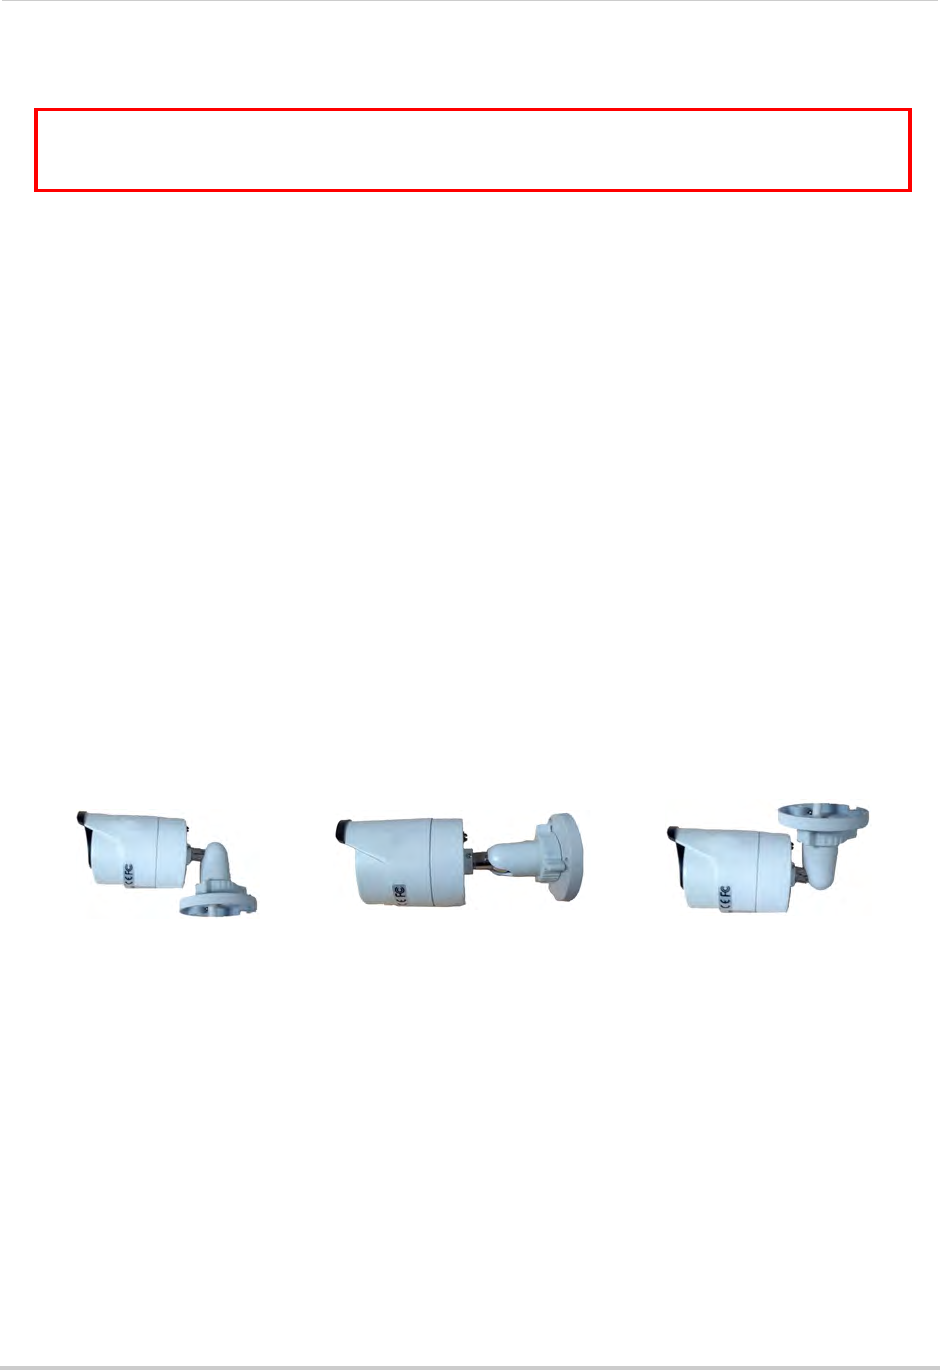
2 Adjust the camera stand to ensure that the camera has a satisfactory view of the area you
w
ould like to monitor. Stand configuration depends on the mounting surface you have chosen
(see below for suggested stand configurations).
Table Mount
Wall Mount
Ceiling Mount
Camera model not be exactly as shown.
3 Connect a Cat5e or better Ethernet cable from the camera to the NVR. The NVR features
integrated PoE (Power over Ethernet) ports that provide both power and data transmission to
PoE-compatible cameras over the Ethernet cables.
NOTE: The
cameras may take up to 1 minute to power on and show an image on the monitor
aft
er being connected to the NVR.