
Owner's Manual


Table Of Contents
- NVR Overview
- Basic Setup
- Step 1: Connect the IP Cameras
- Step 2: Connect the Mouse
- Step 3: Connect the Ethernet Cable
- Step 4: Connect the Monitor
- Step 5: Connect the Power Adapter and Power on the NVR
- Step 6: Verify Camera Image
- Step 7: Set the Time
- Default System Password & Port Numbers
- Quick Access to System Information
- Installing Cameras
- Mouse Control
- Remote Control
- Using the On-Screen Display
- Setting the Date and Time
- Recording
- Playback
- Backing Up Video
- Managing Passwords
- Using the Main Menu
- Manual
- HDD
- Record
- Camera
- Configuration
- Maintenance
- Shutdown
- Setting up your NVR for Remote Connectivity
- Client Software for PC
- Control Panel
- Main View
- Video Player
- E-Map
- Event Search
- Remote Playback
- Add Camera
- Local Log Search
- Account Management
- Device Management
- Configuring an NVR Through Device Management
- Camera Settings
- Adjusting Picture Settings
- Configuring Video Quality
- Configuring Camera Recording Schedules
- Configuring the Camera Video Display (OSD) and Privacy Masks
- Configuring Motion Detection Settings
- Configuring Tampering Alarm Settings
- Configuring Video Loss Alarms
- PTZ Control (Not Supported)
- Network Connection (Not Supported)
- System Configuration
- Connecting to your NVR Using a Web Browser
- Mobile Apps: Accessing your NVR Using a Mobile Device
- Appendix A: System Specifications
- Appendix B: Installing or Replacing the Hard Drive
- Troubleshooting
- Getting Started
13
Using the On-Screen Display
• Single Screen: Open a camera in full screen.
• Multi-Screen:
Select a split-screen layout.
• Previous Screen: Select the
previous channel or group of channels (e.g. if 2x2 Multi-Screen
is selected, click Previous Screen to see the next 4 channels).
• Next Screen: Select the next channel or group of channels.
• Start/Stop SEQ: Start/s
top Sequence Mode (NVR automatically changes channels every few
seconds.
• Start Recording: Sel
ect Continuous & Motion Record to start 24/7 continuous and motion
recording on all channels. Select Motion Detection Record to start 24/7 motion detection
recording on all channels.
• All-day Play
back: Open Playback Mode for the currently selected channel. For details, see
“Using All-day Playback” on page 18.
• Output Mode: Click to adjus
t the color output mode for your monitor. Select the color output
mode that looks best on your monitor: Standard, Bright, Gentle, or Vivid, and then click OK.
• Information: Cl
ick to access system information.
• Disable Beep: Disabl
es the system beep for alarms until the next alarm occurs.
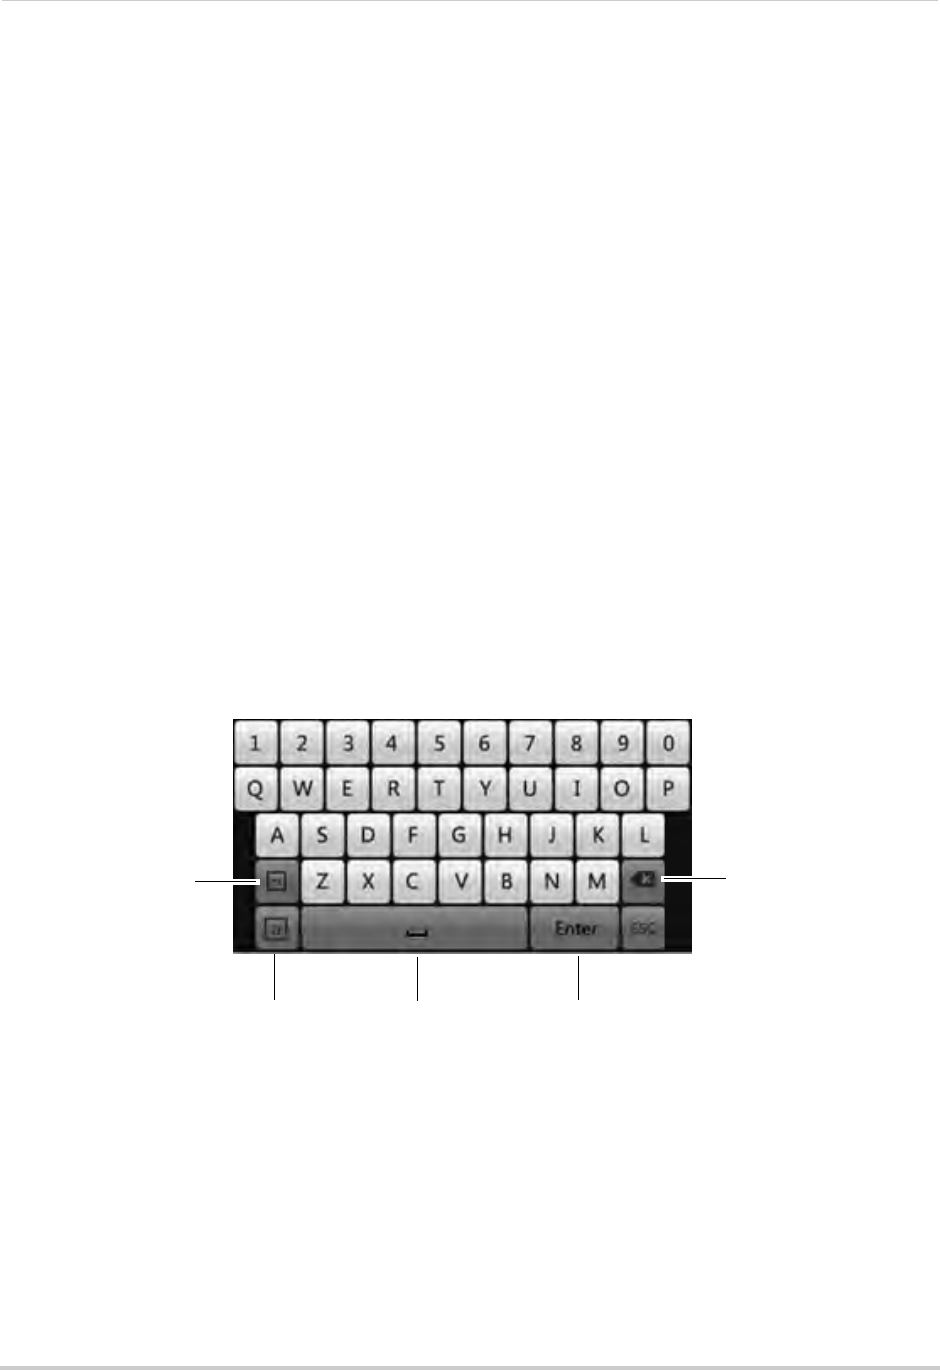
Using the Virtual Keyboard
You can input numeric or text values using the on-screen virtual keyboard. You will need to
use the Virtual Keyboard when entering your User Name and Password.
To use the Virtual Keyboard:
1 Click on
a
menu option the requires text input.
• The Virtual Keyboard opens.
Toggle uppercase /
lowercase
Space Confirm
Input
Enter special
characters
Backspace
2 Enter your text entry and then press Enter.