
Owner's Manual


Table Of Contents
- NVR Overview
- Basic Setup
- Step 1: Connect the IP Cameras
- Step 2: Connect the Mouse
- Step 3: Connect the Ethernet Cable
- Step 4: Connect the Monitor
- Step 5: Connect the Power Adapter and Power on the NVR
- Step 6: Verify Camera Image
- Step 7: Set the Time
- Default System Password & Port Numbers
- Quick Access to System Information
- Installing Cameras
- Mouse Control
- Remote Control
- Using the On-Screen Display
- Setting the Date and Time
- Recording
- Playback
- Backing Up Video
- Managing Passwords
- Using the Main Menu
- Manual
- HDD
- Record
- Camera
- Configuration
- Maintenance
- Shutdown
- Setting up your NVR for Remote Connectivity
- Client Software for PC
- Control Panel
- Main View
- Video Player
- E-Map
- Event Search
- Remote Playback
- Add Camera
- Local Log Search
- Account Management
- Device Management
- Configuring an NVR Through Device Management
- Camera Settings
- Adjusting Picture Settings
- Configuring Video Quality
- Configuring Camera Recording Schedules
- Configuring the Camera Video Display (OSD) and Privacy Masks
- Configuring Motion Detection Settings
- Configuring Tampering Alarm Settings
- Configuring Video Loss Alarms
- PTZ Control (Not Supported)
- Network Connection (Not Supported)
- System Configuration
- Connecting to your NVR Using a Web Browser
- Mobile Apps: Accessing your NVR Using a Mobile Device
- Appendix A: System Specifications
- Appendix B: Installing or Replacing the Hard Drive
- Troubleshooting
- Getting Started
21
Playback
3 Under IP Camera, check the cameras you would like to search for footage. Check/un-check
IP Camera to select/deselect all cameras.
4 Configure the
Record Type, File Type, Start Time, and End Time as needed and click Search.
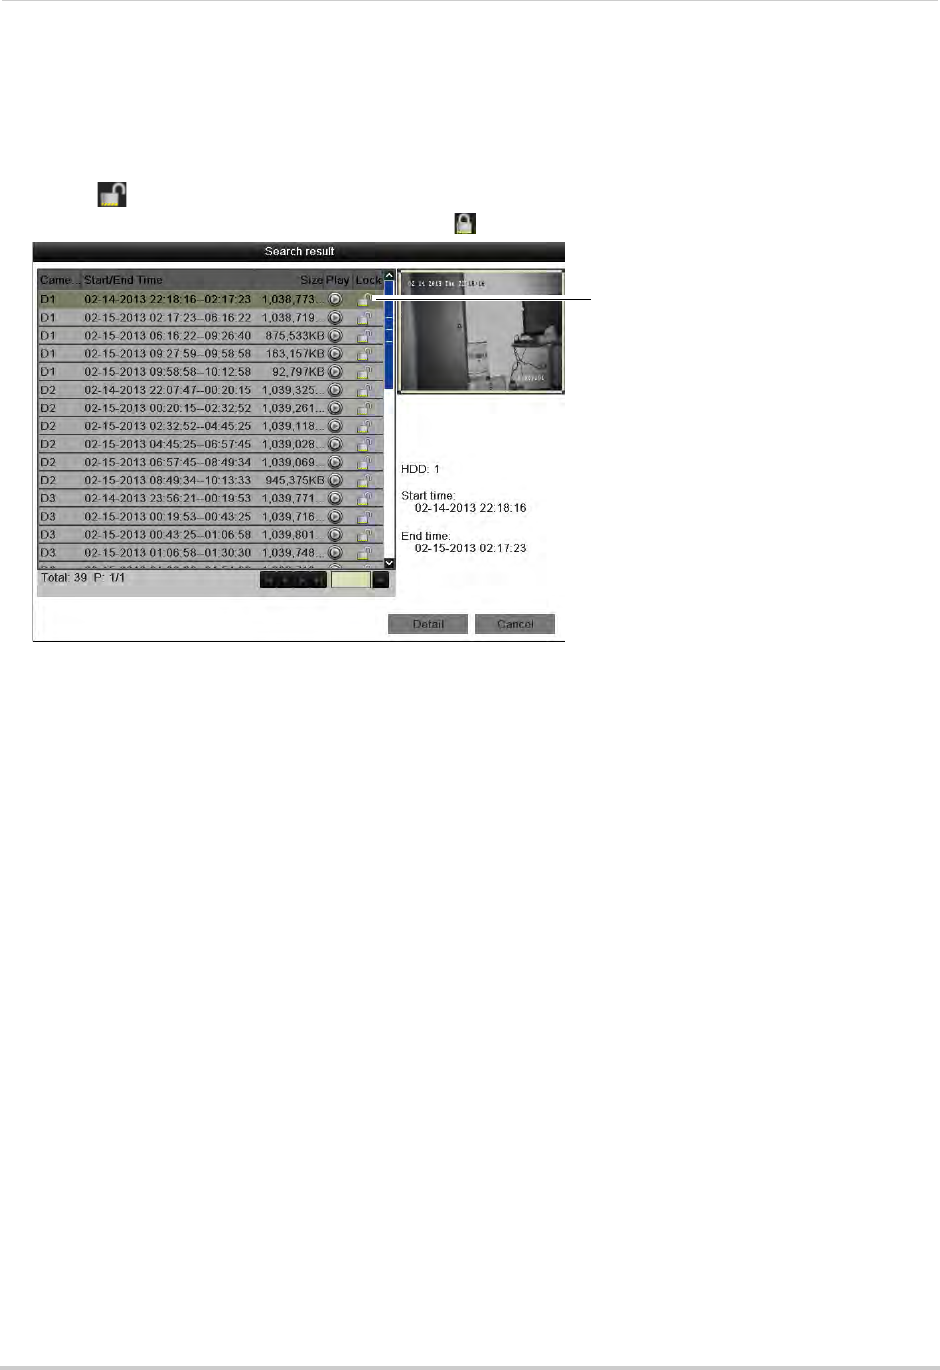
A list of files appears, based on your search.
5 Click
to lock/un-lock files. Locked files will not be overwritten when the internal hard
drive is full. Locked files are shown with a
Click to lock/un-lock files
.
6 Click Canc
el to exit. Changes are saved when exiting.
Event Search
The Event Search menu is used to search for video with motion recordings.
To search for video with motion recording e
nabled:
1 Right-click and then click Me
nu.
2 Click Playback and
then Event.
3 Under Start Time, sel
ect the start time for your search. Click inside the field on the left and
use the calendar to select the start date. Click inside the field on the right and use the
buttons to adjust the start time for playback. Click outside the field to confirm the time.
4 Under End
Time, select the end time for your search in the same way that you selected the
Start Time.