
User manual


51E TROUBLESHOOTING, DIAGNOSTICS, AND MAINTENANCE
MAINTENANCE CONTINUED
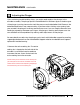
Adjusting the Plunger
If you are having trouble building things, you might need to adjust the plunger in the
extruder assembly. The plunger pushes the MakerBot PLA Filament against the drive gear.
If the plunger is putting too much or too little pressure on the MakerBot PLA Filament, the
MakerBot Replicator 2 may stop extruding. If you hear a faint clicking noise coming from
your extruder, the plunger is exerting too much pressure. If you can stop the filament from
feeding by squeezing it between your fingers, the plunger is exerting too little pressure. You
can solve both of these problems by making small adjustments to the plunger.
For more details on adjusting the plunger, get in touch with MakerBot support by emailing
support@makerbot.com or see the MakerBot Support website at makerbot.com/support/
replicator2/troubleshooting.
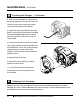
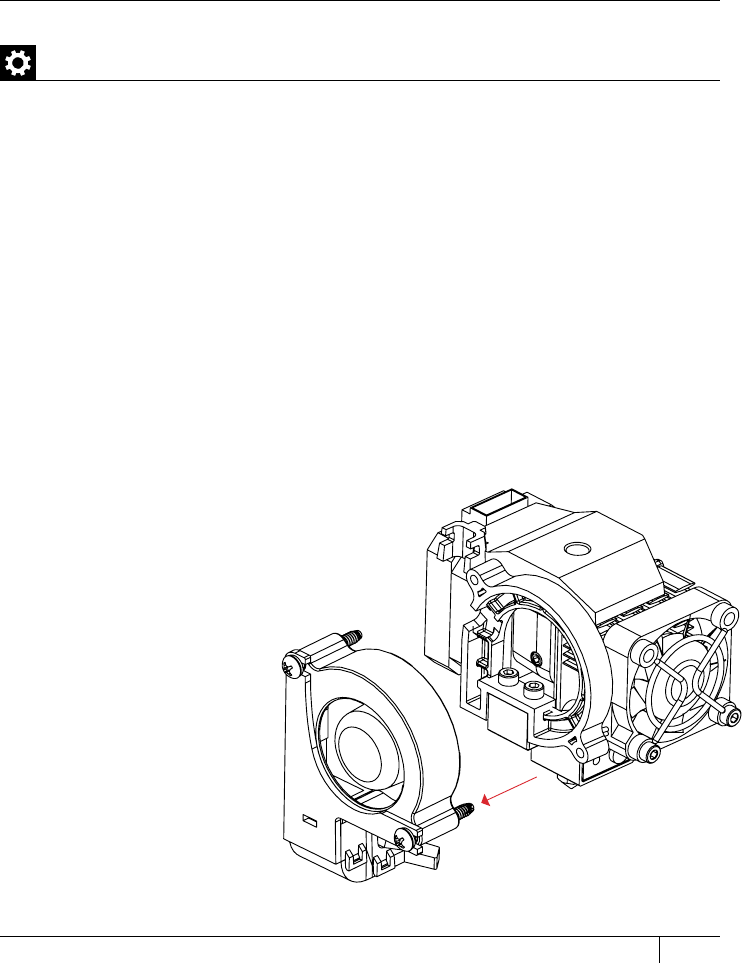
1. Remove the active cooling fan. The active
cooling fan is located on the le side of the
extruder. Use a Phillips head screwdriver
to remove the two screws that attach the
active cooling fan to the extruder.
NOTE: When you remove the active cooling fan
you will expose some of the extruder wires. Be
careful of these wires when adjusting the plunger
and reattaching the active cooling fan.