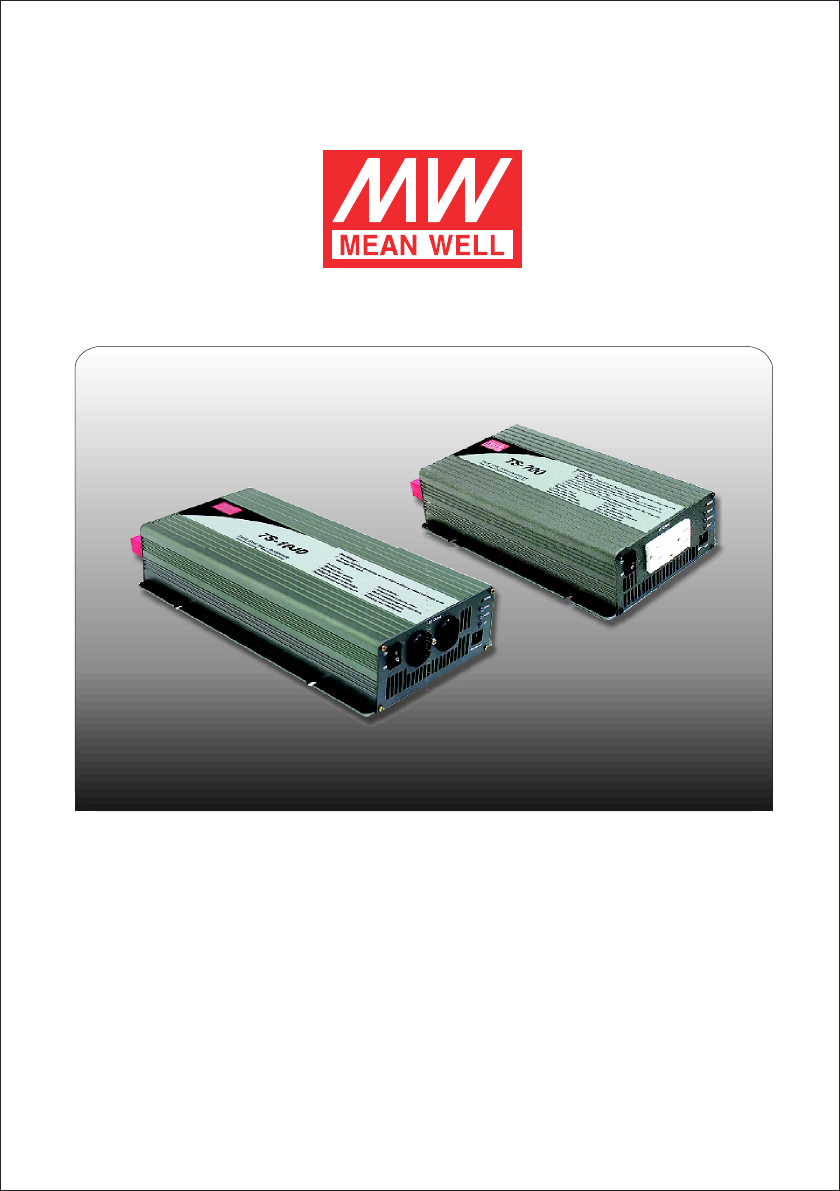
TS-700/1000 Inverter Instruction Manual
TS-700/1000 Inverter Instruction Manual Index 1. Safety Guidelines ............................................................................... 1 2. Introduction ........................................................................................ 1 2.1 Features ......................................................................................... 1 2.2 M ain Spe cific atio n ........................................................................ 2 3. User Interface ...............................
1.Sa fety Guidelines (Please rea d through this manual before assem bling TS700/1000) ‧Risk of electrical shock and energy hazard. All failu res sho uld be examined by the qual ified technician. Ple ase do not remo ve the case of the inve rter by yourself! ‧Plea se d o no t install the inverter in places with hig h moisture o r nea r wa ter. ‧Please do not install the inverter in places with high ambient temperature, under direct sunlight or nea r flam e source.
‧Fully digital controlled including monitoring & display ‧Compliance to UL 4 58(only TS- 1000) / F CC / E 13 / CE ‧Can be used for m ost electronic products w ith AC input ‧3 years globa l warranty 2.2 Mai n Sp ecification TS -700 Model Rated O power U T AC voltage P U T Waveform Protection 112 124 148 212 224 248 700W max. continuously, 800W max. for 180 seconds, 1050W max.
C Ventilation holes: The inverter requires suitable ventilation to work properly. Please make sure there is good ventilation and the lifespan of the inverter can be preserved. D Fu nction Setting: Output volta ge, frequency, a nd s avin g m ode can be set through this button. E LED Indicating Panel: Ope rating status, battery status, load condition, and all kind s of warnings will be disp layed on this panel. B C AC Output D Setting ON A Status OFF Battery Load } E Remote port Figure 3.
4.Se tup (Output Voltage, Frequency, and Saving Mode) 4.1 Initial State The initial state is set to110Vac/60Hz or 230Vac/50H z and disabled "Saving Mode" is a ctiva ted . If u ser s ne ed to revise it fo r ce rtain app lica tion , it c an be don e th e se tting but ton on the front panel (P leas e re fer to sectio n 4.2). Th e un it w ill st art u p a utom atic ally afte r th e se tting pro ced ure is finish ed and the new settings will be executed.
Note : Th e above indi cation will be shown in green STEP 4: The LEDs will change state each tim e you press the setting button for 1 second and the n re lease (refer to F igure 4.2). Please select the suitable comb ination of ou tput voltage and frequency you need. 115Vac (230Vac) 5 0Hz 110Vac (220 Vac) 5 0Hz 1 20Vac (240Vac) 50Hz 100Vac (200 Vac) 50Hz 100Vac (200Vac) 60Hz 120Vac (240 Vac) 6 0Hz 110Vac (220Vac) 60Hz 115Vac (230Vac) 6 0Hz Figu re 4 .
5.Protection 5.1 Input P rotection (A)Battery Polarity Protection: If the b attery input is connected in reverse polarity, the internal fuse of the inverter would blow and the inverter should be send back to MEAN WELL for repair. (B)Battery Under Voltage Protection: When the b attery voltage is low er than the pre set value, th e inverter will au tomatically te rminate the outp ut thus protect the battery from dam age. Please refer to Table 5-1 fo r mo re detail about the failure signals.
Table 5-1: Failure Messages On Front P ane l ○ S tatu s LED ○ B atte ry Indicator ○ L oad Output ○ ○ Overload ★ (105~115% load) Output ○ Overload ★ (115~150% load) ○ Output ○ Overload ★ (150% load) ★ Fa ilure M essage Abnormal AC Output Voltage ★ ★ ○ AC Output Short Circuit Abnormal Battery Voltage ★ ○ ○ Over Tempe ratu re ○ Status LE D ○ Battery Indicator ○ Load ★ ○ ★ Fa ilure M essage ★ ★ ★ ● Light ○ Dark ★ Flashing LED Status Note: The a bove indication will be shown in red 6.
(C)Requirement of Installation: Th e un it should be mou nted on a flat surface o r holding rack with suitable strengt h. In order to e nsure th e lifespan o f th e unit, p leas e re frain from operating in environment of high dust or high moisture. This is a power supply with built-in DC fan. Please mak e su re that ventilation is not blocked. There sho uld be no barriers within 15cm of the ventilating holes. >15cm Air >15cm Inverter Air Figu re 6.
Where, the DC I/P a nd c hassis fix manner as followin g : 1. Compa ny Na me : Mean Well Enterpris es Co Ltd 2. Model Name : 1GG1HS-1 91 3. Rating : 150A 4. Torque : 106.2 Ib.in max. 5. Suitable Wire : Cop per wire (tem p rati ng : 75 C ) 6. Intended for termin ation o nto a Listed ring to ngue connector 7. To Be Sold Only Wi th Inst allatio n Instr uction s 8.
(1)Sinc e in ductive loads or motor base d equipm ents ne ed a large s tart up current (6~1 0 times of its ra ted current) , th e inv erte r m ay n ot s tart up succ essfully with these kinds of load. (2)Whe n the output are capacitive or rectified equipm ents (such as sw itching power supply), it is suggested to operate these equipment at no load or light load. To ensure proper operation, you should incre ase the loads on ly after TS-700/1000 has started up. 7.
N o . 2 8 , Wu q u a n 3 r d R d ., Wu g u D i s t .