
Hardware manual
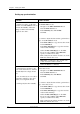
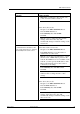
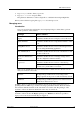
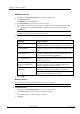
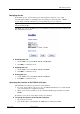


Table Of Contents
- Cover Page
- Contents
- About this guide
- Safety Instructions and safety warnings
- Before you start
- Introduction to NION
- Setting up the NION
- Introduction
- Configuration
- Updating the firmware
- Using the front panel
- Using the web interface
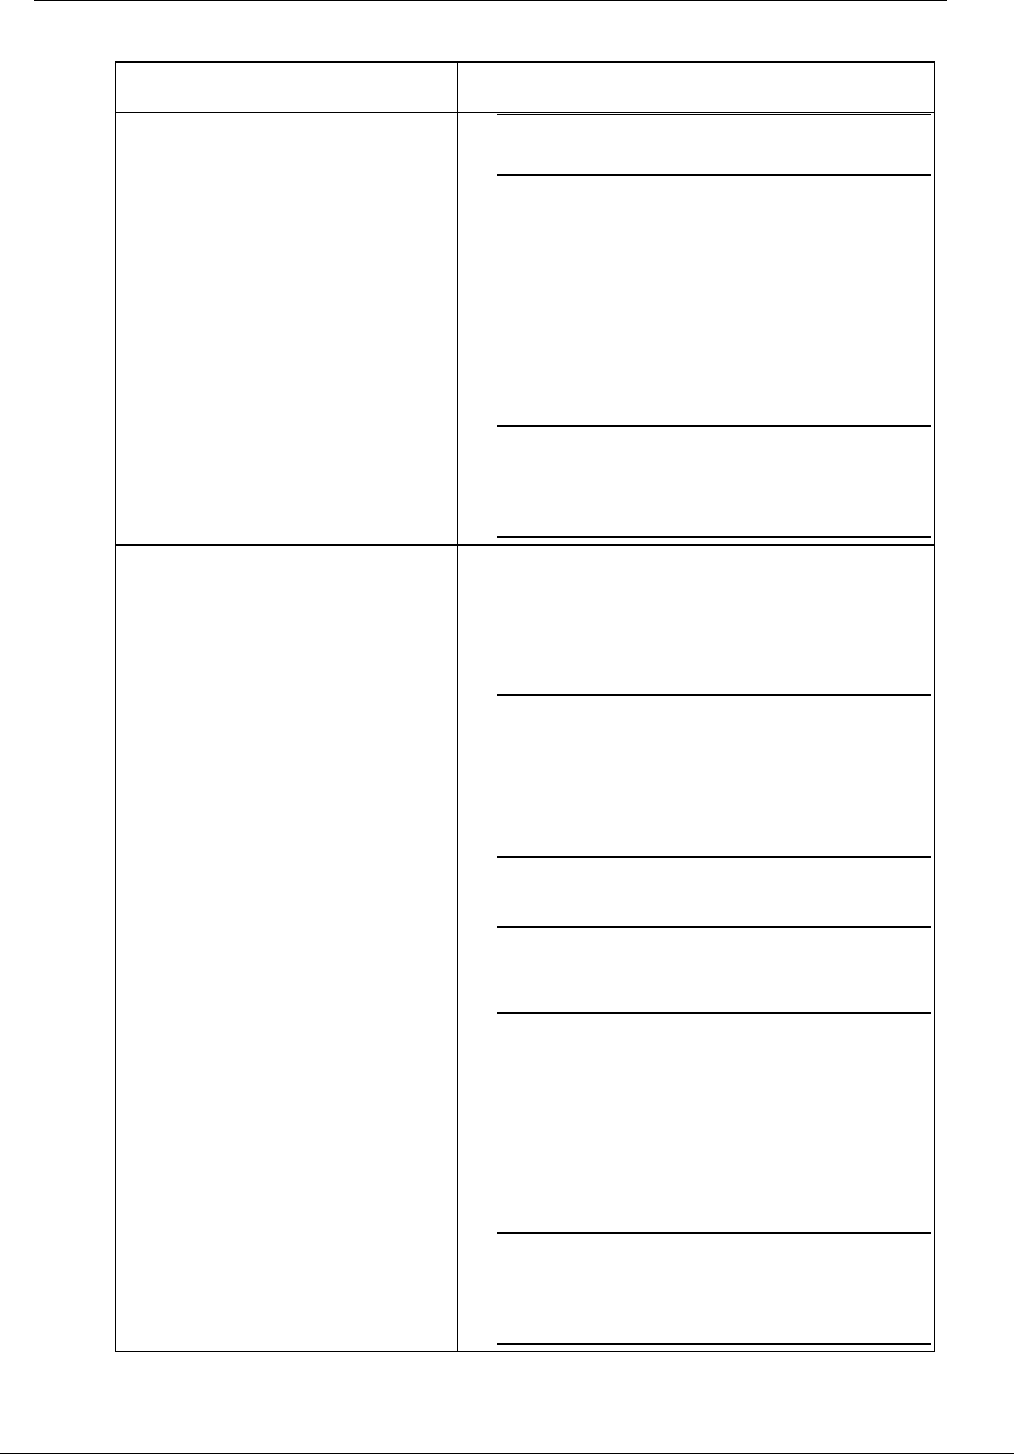
- Using XDAB clusters with VLANs and CobraNet
- Introduction
- Important concepts
- Use cases
- Scenario 1 - Basic network
- Scenario 2 - Network using VLAN
- Scenario 3 - Network with VLAN and analog interconnects
- Scenario 4 - Network with VLAN and digital interconnects
- Scenario 5 - Network with an XDAB cluster
- Scenario 6 - Network with VLAN and XDAB
- Scenario 7 - Network with VLAN and XDAB
- Scenario 8 - Network with VLAN and two XDAB clusters
- Scenario 9 - Network with VLAN and three XDAB clusters
- Setting conductor and XDAB priority in NWare
- Further examples
- Troubleshooting
- Connector ports
- Technical specifications
- Reference Information
- Warranty statement
NION Hardware Manual
May 17, 2011 Version 1.6.2a.0 39
Scenario Actions to take
Tip: Where a country has only one time zone,
you do not need to make a selection.
6. Under the Zone box, click Set.
On the other (slave) nodes:
1. Navigate to the Time and Timezone tab.
2. Clear the Time Server box.
3. In the Authority list, click normal.
4. Click Set.
Note: If you try to change the time and date
settings on the slave nodes, they will
automatically change to match the settings on the
master node.
You want the time and date for all
nodes on the network to be obtained
automatically from a time server.
a)
On the master (time server) node:
1. Navigate to the Time and Timezone tab.
2. In the Time Server box, type IP address or
domain name of a time server.
Note: If you are using a domain name to contact
the time server, a DNS must be present on the
network. If a DHCP server is not available on the
network, you must specify the IP address of the
DNS on the Network page for the local area
connection you are using.
3. In the Authority list, click time server.
4. Click Set.
Note: Once you select time server mode, you
will not be able to change the time or date
settings.
On the other (slave) nodes:
1. Navigate to the Time and Timezone tab.
2. Clear the Time Server box.
3. In the Authority list, click normal.
4. Click Set.
Note: If you try to change the time and date
settings on the slave nodes, they will
automatically change to match the settings on the
time server node.