
Operation Manual


INSTRUCTIONS MANUAL
9
4 - Grill
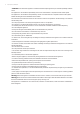
4.1 - Open the oven door and remove all
internal accessories.
4.2 - Remove the burner / reflector unit by
loosing the screw fixing the reflector and
remove all elements from the injector support
by turning downwards
4.3 - Unscrew and remove the injectors and
replace them those corresponding to the
available gas see table 1
4.4 - Screw the burner / reflector and put in place the internal accessories.
5 - Low flow adjustment:
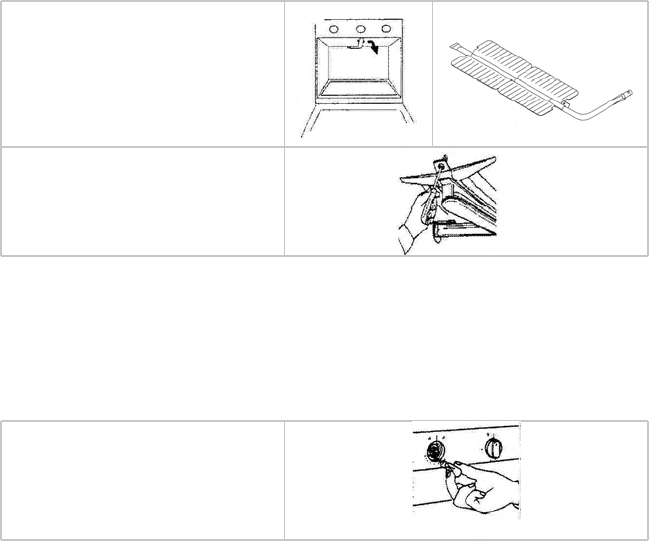
5.1 - Light the burner on and put the knob to the Low Position.
5.2 - In this position, remove the knob of the tap.
5.3 - With screw - driver perform on the taps
screw until the flame is conveniently regulated
to the low position and stable
5.4 - Reassemble the knob and pass quickly from the Full On Position to the Low Position, several times, to ensure
that the flame remains stable.
6 - After connecting the unit, check for gas leaks with soap and water solution. NEVER USE A FLAME.
7 - Place, near the inlet gas connection, a label indicating the type of gas for which the appliance is now prepared.
"Appliance prepared for..."