
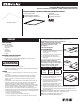
Installation Guide
1
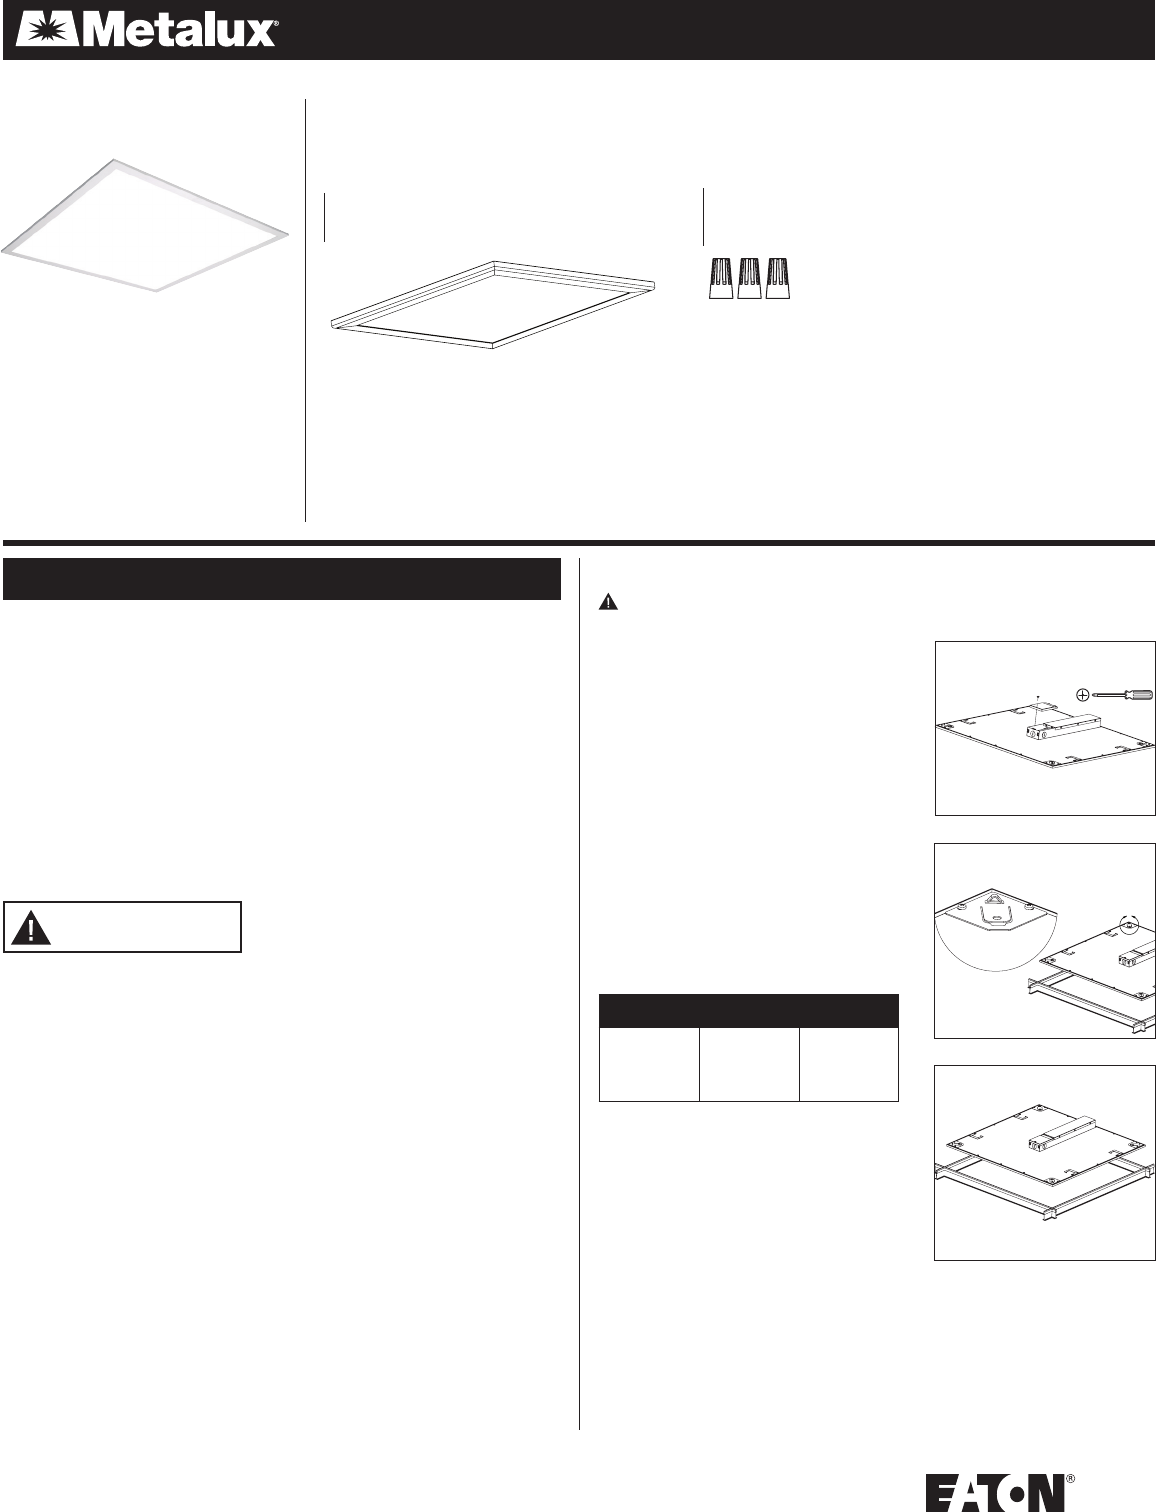
PACKAGING CONTENTS /CONTENU DE L’EMBALLAGE/CONTENIDO DEL PAQUETE
Instruction Manual/ Directives/Instrucciones
Questions?/Questions?/¿Preguntas ? 1-800-334-6871 www.eaton.com
ITEMS REQUIRED
(Purchase separately)
• Phillips screwdriver
• Flat head screwdriver
• Wire Cutters
• Hammer
• Safety glasses
• Wire Strippers
• Ladder
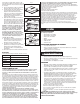
IMPORTANT SAFETY INSTRUCTIONS
• Read and follow these instructions.
• Heed all warnings, including below warnings AND those included on product.
• Save these instructions and warnings.
• Risk of fire/electric shock.
• Ground fixture to avoid potential electric shock.
• Turn off the power at fuse or circuit breaker box before installation and maintenance.
• Edges may cut. Handle with care.
CAUTION
• Connect fixture to a 120/277 volt, 60 Hz power source. Any other connection voids
the warranty.
• Fixture should be installed by persons with experience wiring or by a qualified
electrician. The electrical system, and the method of electrically connecting the
fixture to it, must be in accordance with the National Electrical Code and local
building codes.
• This equipment has been tested and found to comply with the limits for a Class A
digital device, pursuant to Part 15 of the FCC Rules. These limits are designed to
provide reasonable protection against harmful interference in a residential
installation. This equipment generates, uses and can radiate radio frequency energy
and if not installed and used in accordance with the instructions, may cause harmful
interference to radio communications. However, there is no guarantee that
interference will not occur in a particular installation. If this equipment does cause
harmful interference to radio or television reception, which can be determined by turning
the equipment off and on, the user is encouraged to try to correct the interference by
one or more of the following measures:
- Reorient or relocate the receiving antenna.
- Increase the separation between the equipment and receiver.
- Connect the equipment into an outlet on a circuit different from that to which the
ENGLISH
A. Fixture housing assembly
Assemblage du boîtier du luminaire
Unidad de alojamiento de la luminaria
RT Panel Series
WARNING
receiver is connected.
- Consult the dealer or an experienced radio/TV technician for help.
WARNING: FCC Regulations state that any unauthorized
changes or modifications to this equipment not
expressly approved by the manufacturer could
void the user’s authorization to operate
this equipment.
SAVE THESE INSTRUCTIONS.
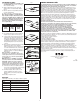
For T-Grid Mounting
1. Turn off the power at the main fuse/breaker box.
Carefully open carton, remove panel
from packaging.
2. Locate fixture junction box cover and remove it
using Phillips head screw driver (Fig. 1).
3. Remove appropriate knockout(s) for power
supply wiring.
4. Locate grid location for panel to be installed at.
Note: Fixture weights are listed below.
Ensure grid location is rated for fixture weight
before moving to next step. Use cable to support
fixture to structure above fixture using the
circular holes in the corner tabs (Fig 2).
2' x 2' 1' x 4' 2' x 4'
9.4lbs
(4.2kg)
9.8lbs
(4.4kg)
18.5lbs
(8.4kg)
5. Pass fixture through the grid at a 45 degree angle
and lay fixture into the grid (Fig. 3).
6. Grid clips are provided for additional retention to
ceiling system. Orient 4 tabs on back of fixture over
T-GRID by bending tabs up 90 degrees
perpendicular to back of fixture. Next bend tabs
90 degrees towards T-GRID frame (Fig. 4).
7. Using the open knockout bring in the supply line.
Using the three provided wire nuts (B) to attach the ground wire to the ground supply
wire, the black (line) wire to the black supply wire, and the white (neutral) wire to the
white supply wire (Fig. 5).
NOTE: Fixture is compatible with 0-10V dimmer If installing dimming wires follow your dim-
mer instructions for wiring to the purple (Dim +) and grey (Dim –) leads.
NOTE: Fixture is compatible with battery backup system
including Surelites EBPLED7W and EBPLED14W. If
Fig. 1
Fig. 2
Fig. 3
B. (3) Wire nuts
(3) Conectores del cables
(3) Capuchons de connexion