
Operating instructions


The “Weighing” application
44
“Dash Line”: Inserts a dashed line (this option is available twice).
“3 Blank Lines”: Prints 3 blank lines at the end of the printout (paper advance).
Factory setting: “Appl. Name” and “Date/Time” activated (in this order).
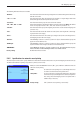
Options for printing single values
In this submenu you can specify which information should be printed for each individual weighing result. Printing is initiated by pressing
the button «F» or automatically (if the automatic printing function is activated, see section 5.2.5).
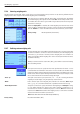
The following information is available for printing weighing results:
“Header”: The information defined for the header is printed (see above).
“Levelcontrol”: A printout is made, indicating whether the balance is correctly leveled or not.
“ID1”, “ID2”, “ID3” and “ID4”: The IDs defined via the “ID” function key are printed (section 5.3.4).
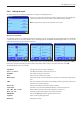
“Nom., +Tol, –Tol”: Prints the specified target weight and the selected tolerances.
“MW Method”: The selected MinWeigh method is printed (section 5.2.14).
“Tare”: The tare value for the current weighing operation is printed.
“Net”: The net weight value for the current weighing operation is printed.
“Gross”: The gross weight value for the current weighing operation is printed.
“Info Unit”: The weighing result (net value) is also printed in the selected info unit (section 5.2.6).
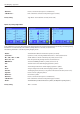
“Signature”: Inserts a line for signing the printout.
“Blank Line”: A blank line is printed.
“Dash Line”: Inserts a dashed line (this option is available twice).
“3 Blank Lines”: Prints 3 blank lines at the end of the printout (paper advance).
“Footer”: The information specified for the footer is printed (see “Options for printing footer”).
Factory setting: “Net” is activated.