
Operating instructions
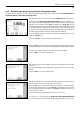
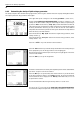
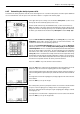
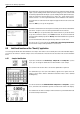

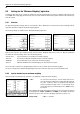

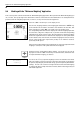
Table Of Contents
- Front page
- Overview of your AX balance
- Overview of your MX/UMX balance
- Contents
- 1 Getting to know your balance
- 2 Setting up the balance
- 3 Your first weighing
- 4 Basic operating concepts for the terminal and software
- 5 System settings
- 5.1 Calling up the system settings
- 5.2 Overview of the system settings
- 5.3 Settings for adjustment and test
- 5.3.1 Displaying the adjustment history (“History ”)
- 5.3.2 Defining adjustment and test reports
- 5.3.3 “ProFACT ” fully automatic adjustment function
- 5.3.4 Defining an external adjustment weight
- 5.3.5 Defining an external test weight
- 5.3.6 Entering the weight certificate designation
- 5.3.7 Defining the weight identification
- 5.4 Specifiying the weighing parameters
- 5.5 “SmartSens ” settings
- 5.6 Renaming the user profile
- 5.7 Selecting the door function
- 5.8 Selecting peripheral devices
- 5.9 Terminal settings
- 5.10 Resetting to the factory settings
- 5.11 Date and time
- 5.12 Selecting the dialog language
- 5.13 Security settings
- 5.14 Energy-saving function and battery change date
- 5.15 Recording the system settings
- 6 The “Weighing ” Application
- 6.1 Selecting the application
- 6.2 Settings for the “Weighing ” application
- 6.2.1 Overview
- 6.2.2 Select function keys
- 6.2.3 “SmartTrac ” and stopwatch
- 6.2.4 Selecting information fields
- 6.2.5 Manual/automatic transfer of weight values
- 6.2.6 Selecting weighing units
- 6.2.7 Defining custom weighing units
- 6.2.8 Defining the weighing record
- 6.2.9 Parameters for manual record printing
- 6.2.10 Defining identifications and record titles
- 6.2.11 Parameters for processing bar code data
- 6.3 Working with the “Weighing ” application
- 6.3.1 Manually entering the tare preset
- 6.3.2 Changing the resolution of the weighing result
- 6.3.3 Specifying the target weight and tolerances
- 6.3.4 The “SmartTrac ” graphical weighing-in aid
- 6.3.5 Weighing-in and using the statistics
- 6.3.6 Working with identifications
- 6.4 Adjusting the balance and checking the adjustment
- 6.4.1 Fully automatic adjustment using ProFACT
- 6.4.2 Adjustment using the internal weight
- 6.4.3 Adjustment using an external weight
- 6.4.4 Checking the adjustment with the internal weight
- 6.4.5 Checking the adjustment with an external weight
- 6.4.6 Adjustment and test records (examples)
- 7 The "Percent Weighing"Application
- 7.1 Introducing the "Percent Weighing"application
- 7.2 Selecting the application
- 7.3 Settings for the "Percent Weighing"application
- 7.3.1 Overview
- 7.3.2 Special function keys for percent weighing
- 7.3.3 Special information fields for percent weighing
- 7.3.4 Additional unit for percent weighing
- 7.3.5 Special record information for percent weighing
- 7.4 Working with the “Percent Weighing ” application
- 8 The “Density ” Application
- 8.1 Introducing the “Density ” application
- 8.2 Selecting the application
- 8.3 Settings for the “Density ” application
- 8.3.1 Overview
- 8.3.2 Selecting the method for density determination
- 8.3.3 Selecting the auxiliary liquid
- 8.3.4 Special function keys for density determination
- 8.3.5 Special information fields for density determination
- 8.3.6 Special record information for density determination
- 8.3.7 Use of bar codes during density determination
- 8.3.8 Specifying the number of decimal places for the result
- 8.4 Working with the “Density ” Application
- 8.4.1 Determining the density of non-porous solids
- 8.4.2 Determining the density of liquids using a sinker
- 8.4.3 Determining the density of pasty substances using a gamma sphere
- 8.4.4 Determining the density of liquids using a pycnometer
- 8.4.5 Determining the density of porous solids
- 8.5 Additional functions of the “Density ” application
- 8.5.1 Sample identification
- 8.5.2 Printing out the result of a density determination
- 8.5.3 Using the density statistics
- 9 The “Minimum Weighing ” Application
- 9.1 Introducing the “Minimum Weighing ” Application
- 9.2 Selecting the application
- 9.3 Settings for the “Minimum Weighing ” application
- 9.3.1 Overview
- 9.3.2 Special function keys for minimum weighing
- 9.3.3 Special information fields for minimum weighing
- 9.3.4 Information menu for minimum weighing
- 9.3.5 Special record information for minimum weighing
- 9.4 Working with the “Minimum Weighing ” Application
- 10 Loading Applications via the Internet
- 11 Further important information
- 12 Technical data and accessories
- 13 Appendix
- 14 Index
Chapter 9: The “Minimum Weighing” Application
78
9.3 Settings for the “Minimum Weighing” application
A number of application-specific settings are available for minimum weighing which you can use to adapt the application to your
needs. Note: Your settings apply for the currently active user profile. Make sure that the desired profile has been selected before you
make the settings.
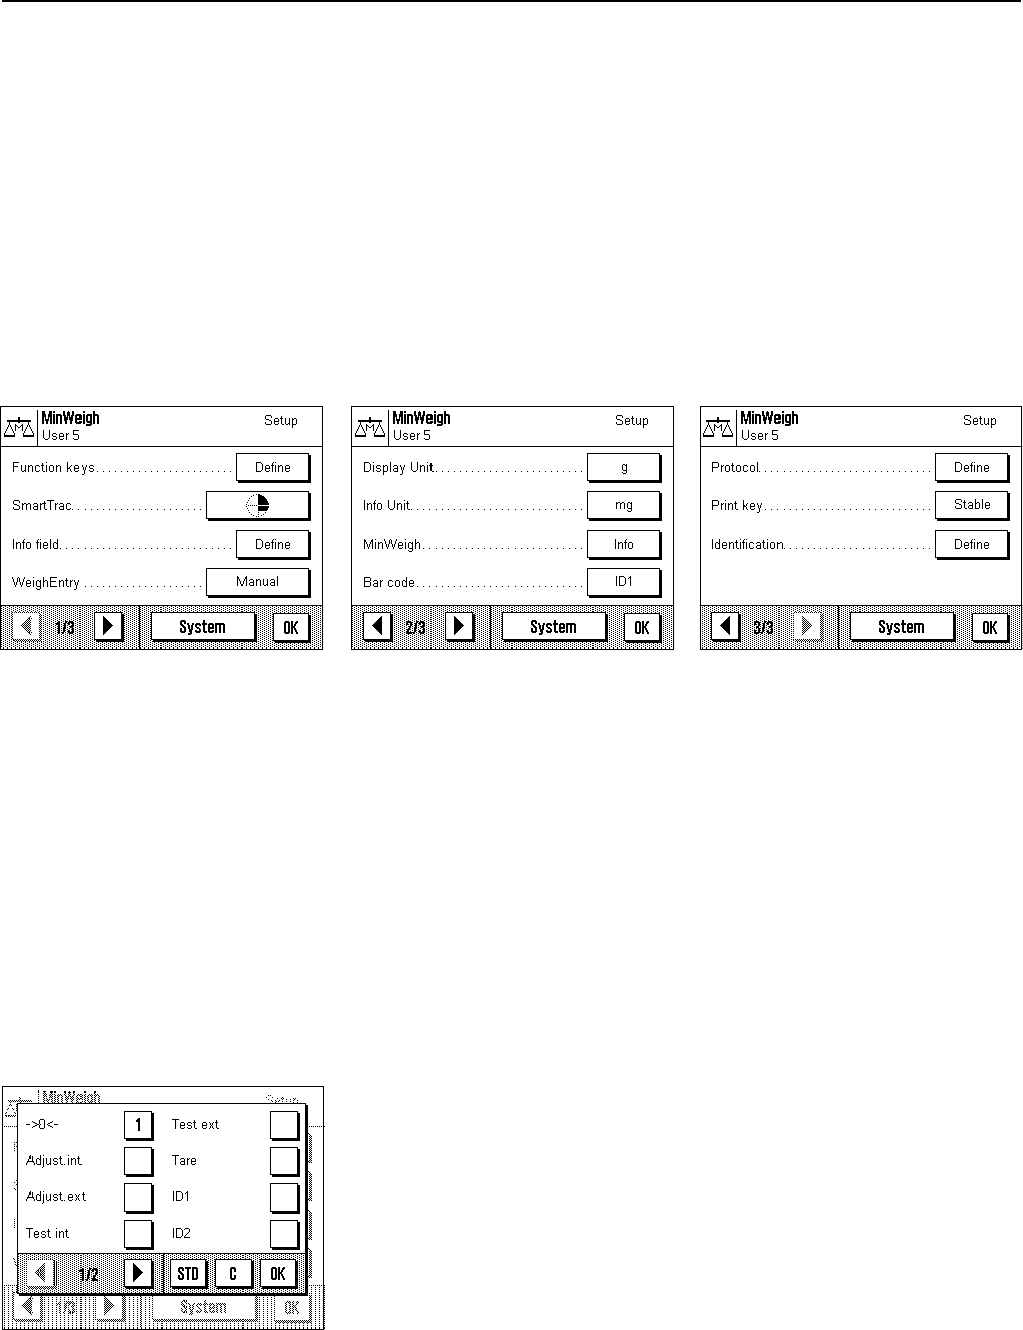
9.3.1 Overview
The application-dependent settings can be accessed with the «7» key. When this key is touched, the first of 3 menu pages with the
application-dependent settings for minimum weighing appears.
The following settings are available for the “Minimum Weighing” application:
With only few exceptions, these settings are identical to those for the “Weighing” application (Section 6.2). Only the settings that
are different are descrilbed below. These are in the following menus:
“Function keys”: A special function key is available for minimum weighing.
“Info field”: There are three additional information fields for minimum weighing.
“MinWeigh”: Special information can be called up for minimum weighing.
“Protocol”: Additional information for minimum weighing can be printed on the reports.
Please note that in contrast to the “Weighing” application there are no custom units for minimum weighing.
The specific settings for the “Minimum Weighing” application are described in detail in the sections that follow below.
9.3.2 Special function keys for minimum weighing
On the first page of the function keys menu there is an additional setting for minimum weighing:
“–>0<–”: You can use this function key to reset the display value to zero.
Since the minimum weighing value is significantly affected by the
tare value, a difference has to be made between taring and
zeroing (resetting the display to zero). Use this function key to
reset the display to zero, and for taring use the «1» key on
the terminal.
In the “Minimum Weighing” application the function key for selecting the resolution of
the weighing result (“1/10d”, “1/100d” and “1/1000d”) is not available. All the other
function keys are the same as for the “Weighing” application (Section 6.2.2).
Factory setting: “–>0<–” is activated.