
User manual


Main User Guide/ Main Screen 101-5-01-000
Ripstation Lite Pro – User Manual Page 15 of 37
4.3.1 Ripstation Lite Pro Button Controls
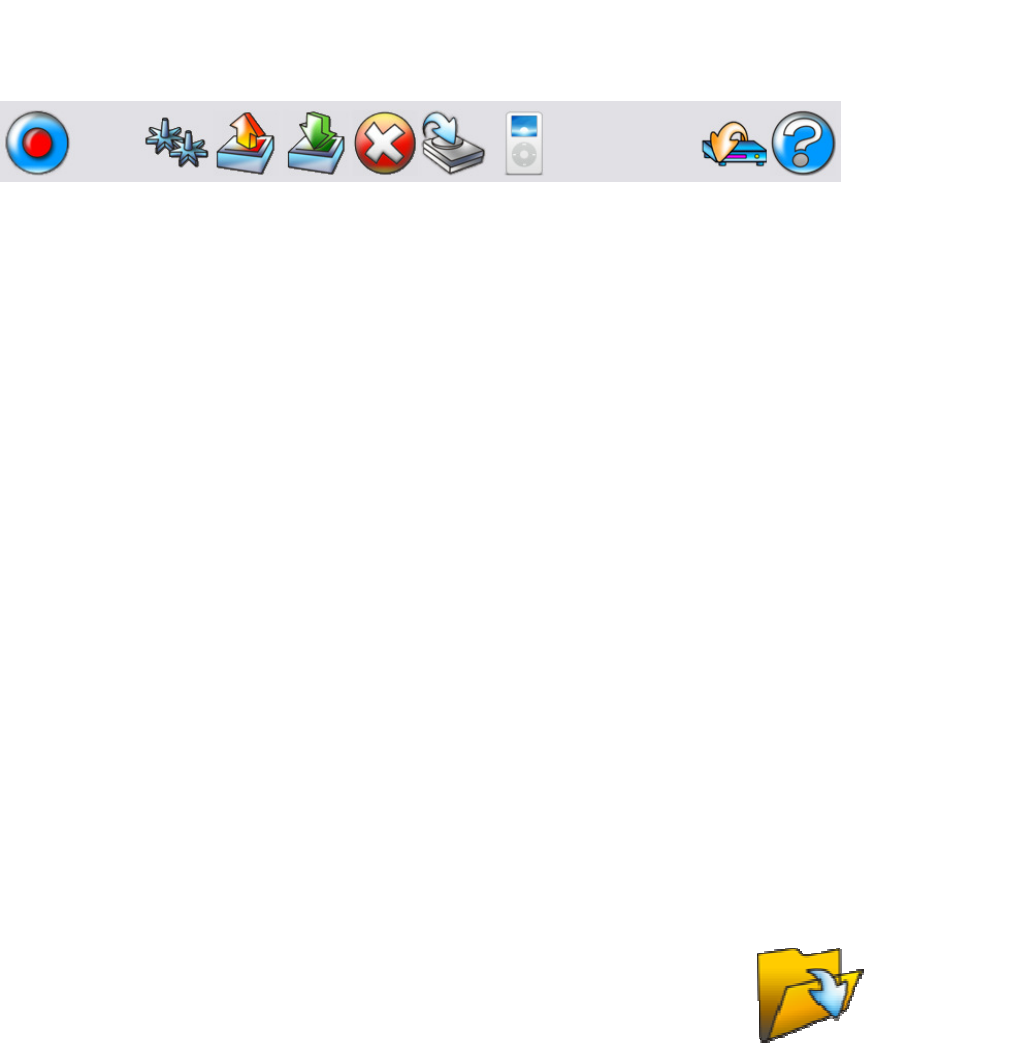
The Ripstation Lite Pro Main button controls are shown in figure 4.2. The operations of
the buttons are detailed in the key below.
1 2 3 4 5 6 7 8 9
Figure 4.2 – Ripstation Lite Pro Main Screen Button Controls
1. New Batch / Cancel Batch
Opens the New Batch dialog. If a batch is currently running, this button will
cancel the batch.
2. Preferences
Opens the preferences dialog.
3. Load
Opens a browser dialog to load previously saved batch settings into an RSF file.
RSF file contains Client Name, folder masks and configurations of all CODECs,
codec selection, output path and force default filenames selection.
4. Save
Opens a browser dialog to save the current batch settings into an RSF file.
5. Delete Customer Files
Deletes the last Client folder that was ripped. Will display a confirmation dialog
showing the name of the folder about to be deleted.
NOTE: If no client folder
loaded – deletes all files ripped from top-level folder down.
6. Send to Disk
Opens the Ripstation ‘Send to HD’ module – please refer to this product’s user
manual.
7. Podload
Opens iTunes for add to library function and iPod loading
8. Server Transfer (optional module)
Opens the optional Ripstation ‘Audioloader’ module – please refer to this
product’s user manual.
9. Help
Opens Ripstation Lite Pro HTML Help.
The Open Batch Folder button shown in the bottom right hand corner of
the main user screen can be clicked at any time during the ripping process to
open the current client audio folder. You may want to do this to check that file
and folder naming and locations of audio files are being created as expected.