
Specifications


Table Of Contents
- Content
- Welcome!
- Warranty
- 1. Getting Started
- 2. Software Configuration
- 3. Data Capturing
- 3.1. Open Files
- 3.2. Replay of Files
- 3.3. Editing Video Sequences
- 3.4. Saving Files
- 3.4.1. Setting the Recording Frame Rate
- 3.4.2. Setting the Recording Modes
- 3.4.3. Temporary Recording File
- 3.4.4. Saving Radiometric Video Sequences or AVI Files
- 3.4.5. Saving Image Data as Radiometric Snapshot or Text File
- 3.4.6. Saving Text File of the Temperature / Time Diagram
- 3.4.7. Location and Filename Templates of Triggered Recordings
- 3.4.8. Display of Snapshots in a Separate Window
- 3.4.9. Saving Images or Screenshots to Clipboard
- 4. Data Processing
- 5. Visual Camera (TIM200 only)
- Linescanner Mode
- 7. Further Information
thermoIMAGER TIM 6
1. Getting Started
1.1. Software Installation
Please install at first the software TIM Connect from the CD. The CD contains the software application, the
specific calibration data of the imager as well as some sample files. These data will be installed automatically.
Note
Before installing the new software please uninstall earlier versions of the TIM Connect. If you want to
uninstall the software from your system please use the uninstall icon in the start menu.
Insert the installation CD into the according drive on your computer. If the autorun option is activated the
installation wizard will start automatically. Otherwise please start setup.exe from the CD-ROM. Follow the
instructions of the wizard until the installation is finished.
The installation wizard will place a launch icon on the desktop and in the start menu:
[Start]\Programs\MICRO-EPSILON GmbH u Co KG\TIM Connect.
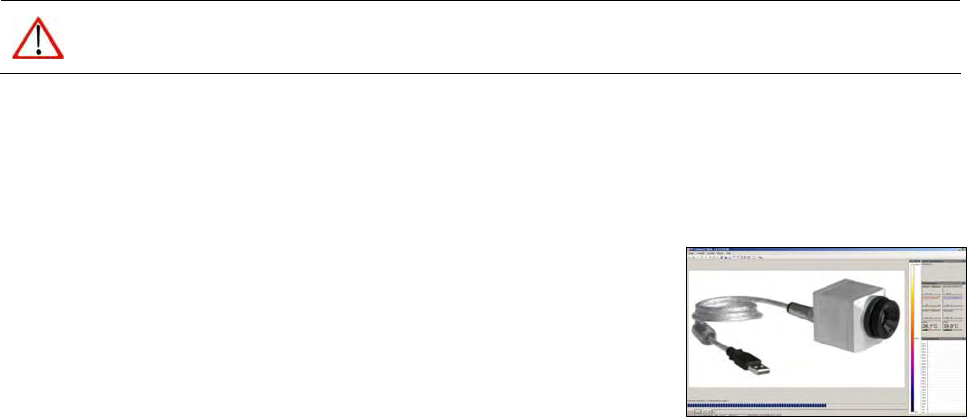
Now you can connect the infrared imager into an USB port (USB 2.0) of your
PC. After the software has been started, you should see the live image from
the camera inside a window on your PC screen.
The sharpness of the image can be adjusted by turning the exterior lens ring
at the camera.