
Specifications


Table Of Contents
- TABLE OF CONTENTS
- CAUTION
- Foreword
- For safe operation
- How to Read This Operation Manual
- CHAPTER 1 Before Use
- CHAPTER 2 Basic Operations
- CHAPTER 3 Useful Function
- Changing origin
- Adjusting head gap
- When nozzles missing can not be improved
- Setting the print condition in a set
- Setting the print condition
- Setting media compensation
- Setting the print method
- Registering head gap value
- Set the scan width of the head
- Changing the UV illumination intensity
- Sets UV irradiation at starting/ ending of drawing
- Setting the priority
- Sets the cooling time per scan
- Initializing the settings
- Turning OFF the UV lamp
- Setting the UV lamp OFF duration
- Changing the UV illumination intensity
- MACHINE SETUP
- Other useful functions
- CHAPTER 4 How to care
- Maintaining
- Ink cartridge
- Washing cartridge
- Cleaning the flushing box
- Avoiding ink dripping at printing
- When the waste ink tray is full
- Setting nozzle face cleaning time
- Perform cleaning automatically when the power supply is turned on
- Preventing nozzle dropout while power-off
- Regular maintenance of white ink
- If blur or missing remains
- Wiper cleaning
- Refill antifreeze liquid
- Cleaning of the UV lamp filter
- Cleaning of the UV power supply filter
- Cleaning of the optional vacuum unit filter
- Replacing the mist fan filter
- Replacing UV lamp
- Checking method of UV illumination intensity
- Cleaning of the Ionizer
- Prevent the nozzle clogging of spot color
- CHAPTER 5 In Case of Trouble
- CHAPTER 6 Appendix
Cleaning of the Ionizer
4-46
5
Clean the electrode needle and around it by the cleaner.
• Hold both edges and break the glass.
• Enough care should be taken not to bend and break the edge of the electrode needle.
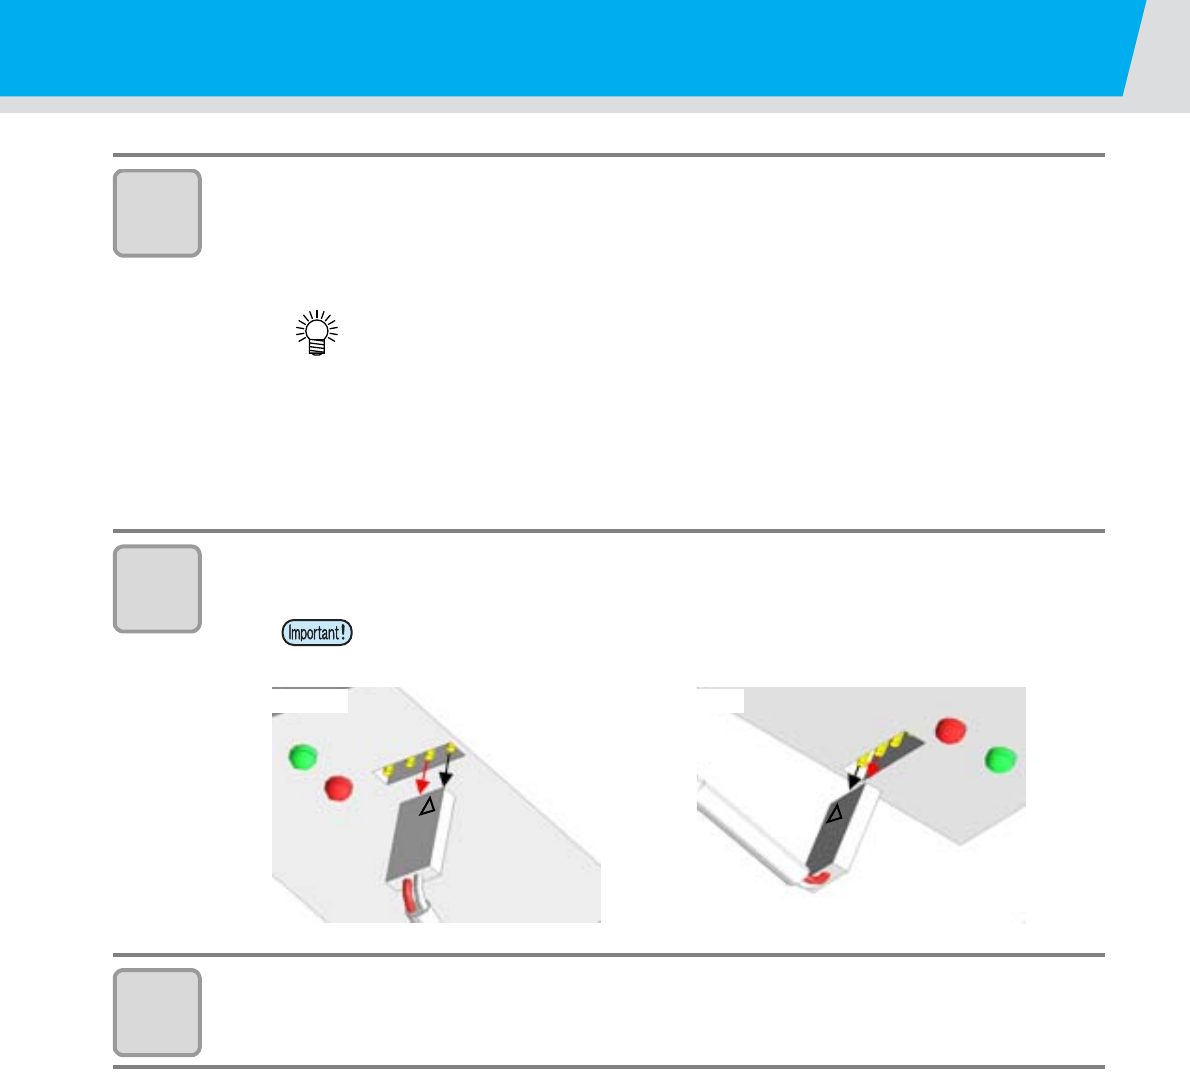
6
Attach the ionizer FAN.
7
Close the front right cover.
• You can procure the cleaner in unit of 20 pieces. (Cleaner for electrode
needle: SPC-0611)
• When the electrode needle deteriorates, the charge eliminating performance
will be degraded. If abrasion, break, bending, etc. occurs on the edge, it is
recommended to replace with a new one.
• You can procure the electrode needle in unit of 4 pieces. (Electrode needle
for replacing: SPC-0612)
• Be careful not to mess up the position to insert the code at attaching.
• Insert the connector with the Δ mark facing outside of the ionizer.
Front Rear