
Installation guide
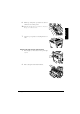
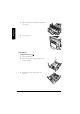
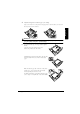
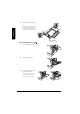
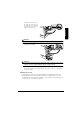
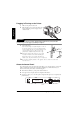
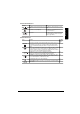
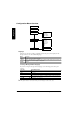
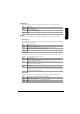
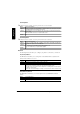
Table Of Contents
- Contents
- Getting Acquainted with Your Printer
- Documentation Set
- Setting up Your Printer
- Plugging in/Turning on the Printer
- About the Control Panel
- Configuration Menu Overview
- Connecting the Printer
- Installing Printer Drivers and Software
- Troubleshooting
- Accessories and Consumables
- Regulatory Compliance
- Warranty Considerations
- Manufacturer’s Declaration of Conformity—Europe 220 Volt
- Manufacturer’s Declaration of Conformity—Latin America 110 Volt
- Manufacturer’s Declaration of Conformity—Latin America 220 Volt
Plugging in/Turning on the Printer12
English
Plugging in/Turning on the Printer
1
Make sure the printer is turned off.
2
Plug the printer power cord into the printer and
into the dedicated, grounded, surge-protected
electrical outlet.
WARNING!
Do not overload the outlet. For products installed outside North America, do not connect the
groundwire to gas or water pipes or grounding for telephones.
3
Turn on the printer.
After a brief warmup, your printer displays “
IDLE
” on
the message window. If “
IDLE
” is not displayed in the
message window after the power switch is turned on, the
setup operation is not proceeding correctly or the
printer may be malfunctioning. Recheck the setup.
The printer automatically switches to power-saving
mode after 60 minutes of inactivity. In the Engine/
Energy Saver menu, you can change the number of
minutes before the printer switches to power-saving mode.
In compliance with UL guidelines, “The appliance inlet is considered to be the main
disconnect device.”
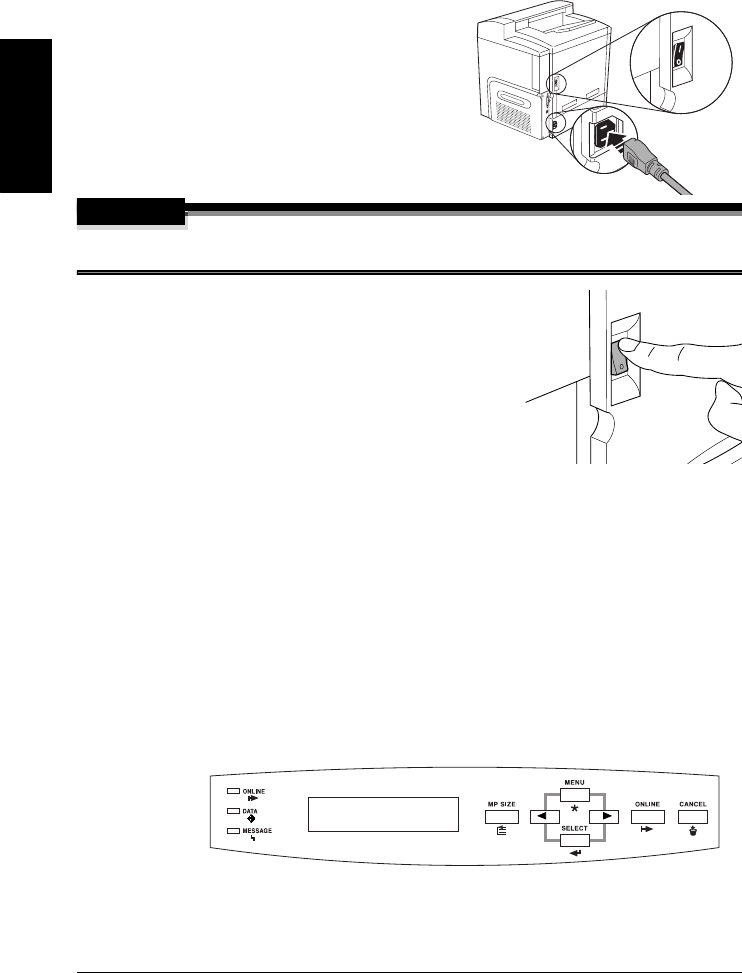
About the Control Panel
The control panel, located on the front of the printer, allows you to direct the printer’s operation. In
addition, it displays the current status of the printer, including any condition that needs your
attention. The control panel consists of the following parts:
Three indicators (LEDs) to provide printer status information.
A message window to display status and configuration information.
Seven keys to allow you to control the printer configuration through access to frequently used
printer functions.
MESSAGE
WINDOW