Moov 300-Series Moov 200-Series User Manual
This manual provides information on the hardware and non-navigation features. For navigation software information, please refer to the other manual. R02 (EEU) Trademarks All brand and product names are trademarks or registered trademarks of their respective companies. Disclaimer Specifications and documents are subject to change without notice. Mio Technology does not warrant this document is error-free.
Table of Contents Getting to know your Mio ................................................................................................................................ 3 Moov 200-Series............................................................................................................................................ 3 Moov 300-Series............................................................................................................................................
Image Search ................................................................................................................................................25 Photo Album.................................................................................................................................................26 Toolbar......................................................................................................................................................
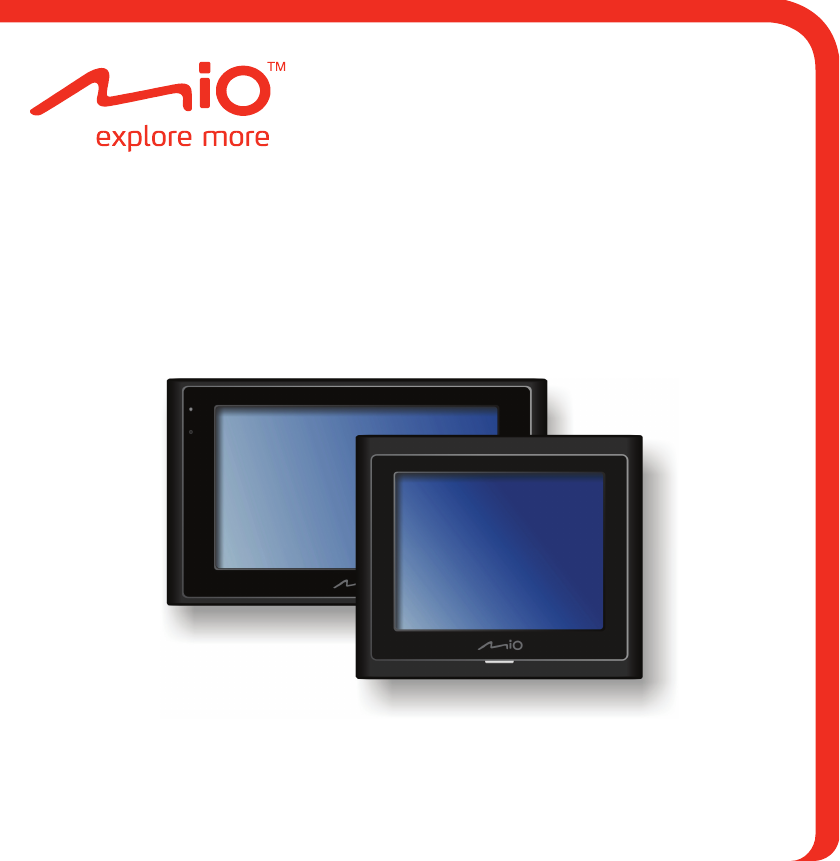
Getting to know your Mio Moov 200-Series Name Description n Power switch Turns your Mio on and off. o Memory card slot (Not available on all models) Accepts a SD (Secure Digital), SDHC (Secure Digital High Capacity), or MMC (MultiMediaCard) card for accessing data such as additional maps. p Charge indicator Indicates the level of battery charge: Green - battery full Amber - battery charging. q Mini-USB connector Connects to the charger or USB cable. r Holder socket For the holder.
Moov 300-Series Name Description n Power switch Turns your Mio on and off. o Memory card slot (Not available on all models) Accepts a SD (Secure Digital), SDHC (Secure Digital High Capacity), or MMC (MultiMediaCard) card for accessing data such as additional maps. p Charge indicator Indicates the level of battery charge: Green - battery full Amber - battery charging. q Microphone (Not available on all models) For Bluetooth hands-free calling.
Performing the initial start-up 1. For the initial start-up, slide the power switch to the ON position. Moov 200-Series 2. Moov 300-Series Your Mio turns on. Note: The battery may not be fully charged when you use your Mio for the first time. To charge the battery, see the next section. 3. Follow the prompts. 4. The map screen will display. You can now use your Mio.
Charging the battery via the USB cable If you intend to charge your Mio in this way, turn off your Mio so that it takes less time to charge the battery. 1. Turn on the computer. 2. Connect the mini-USB end of the USB cable to the bottom of your Mio and the other end to a USB port on your computer. Moov 200-Series 3. Moov 300-Series The charge indicator glows amber when charging is in progress. When the battery is fully charged, the indicator turns green.
Using your Mio in a vehicle CAUTION: Select an appropriate location for mounting the Mio in a vehicle. Never place the Mio where the driver’s field of vision is blocked. If the car’s windscreen is tinted with a reflective coating, it may be athermic and impact the GPS reception. In this instance, please mount your Mio where there is a “clear area.” To protect your Mio against sudden surges in current, connect the car charger only after the car engine has been started.
3 8 4
Operating basics Turning on and off For normal operation, turn off your Mio by sliding the power switch to the OFF position. Your Mio enters a suspended state. To use it again, slide the power switch to the ON position. Your Mio will be back to where you left off. Moov 200-Series Moov 300-Series Shutdown and hardware reset Occasionally, you may need to perform a hardware reset when your Mio stops responding; or appears to be “frozen” or “locked-up.
Mio Connect (select models only) Mio Connect allows you to search for and navigate to POIs provided by online services. If your Mio model has Bluetooth capability, you can connect your Mio to a Bluetooth mobile phone capable of Internet connection. Then, you can use your Mio to directly search online for live POI information. Note: You can also use MioMore Desktop on your computer to search online for live POI information and import the POIs to your Mio. (See “MioMore Desktop” for more information.
6. The Preview screen will display. To navigate to the location, tap . Or, you can use one of the other buttons for a specific purpose. (See the MioMap manual for detailed information on navigation.
Bluetooth connectivity (Moov 330/360 only) Devices with Bluetooth capabilities can exchange information over a distance of about 10 meters (30 feet) without requiring a physical connection. The Bluetooth profiles supported by your Mio vary with models. Bluetooth profile Function Supported by Dial-up Networking Profile (DUN) Allows your Mio to connect to the Internet and other dial-up services over a Bluetooth mobile phone.
5. The search result displays. Tap the headset you want to connect. 6. When prompted, enter the passkey of the headset. (See your headset manual for information.) 7. Tap OK About shortcuts Once a Bluetooth connection has been established, a shortcut will be saved. For Moov 330: Your Mio will try to connect the last paired mobile phone when a Bluetooth connection is required the next time.
Disconnecting (for Moov 360) To disconnect, tap Phone on the Main Menu and tap Connect to Phone or Connect to Headset. Tap the connected device icon on the screen and tap Disconnect. Bluetooth settings Tap Preferences on the Main Menu and tap Bluetooth Æ Phone on the Main Menu and tap Connect to Phone Æ . Or, if your model is Moov 360, you can tap . * * This item appears only on Moov 360. To turn on/off the Bluetooth radio, tap the check box before Enable Bluetooth.
Using Bluetooth Hands-Free Calling (Moov 360 only) Placing a call using the onscreen keypad 1. After your Mio is connected to a mobile phone, tap Phone on the Main Menu. 2. Tap Dial. 3. Enter the telephone number. The number of the last call displays when you next access the Dial screen. The number will be cleared as you start entering the number. To delete the last digit entered, tap the Backspace button. Tap and hold the button for about 1 second will clear the entire number. 4.
Placing a call using the phonebook 1. After your Mio is connected to a mobile phone, tap Phone on the Main Menu. 2. Tap Contacts. 3. If the phonebook has not yet been downloaded, a message appears on the screen. Tap Yes to download the phonebook from your phone. Note: Not all mobile phone models support the downloading of such data. 4. The contact list appears on the screen. Scroll through the list to locate the contact or tap the index for faster search. Tap the name of the contact you want to call.
Placing a call using the call history 1. After your Mio is connected to a mobile phone, tap Phone on the Main Menu. 2. Tap Call History. Note: The call history lists the calls during the time your Mio is connected to a mobile phone. 3. By default, the list shows the incoming, outgoing, and missed calls. You can filter the calls by tapping a corresponding button. 4. Tap the number you want to call and tap . Note: To delete an entry in the call history, tap the entry and tap .
Operations during a call During a phone call, you can do the followings.
MioMore Desktop MioMore Desktop is a suite of tools you can use to access greater functionality and product information via your computer.
MioMore Desktop features Note: Not all features are available on all models. The total number of buttons shown on the left side of the window varies with models. Some buttons will display only after your Mio is connected. n o p q r s t Element Description n Menu bar Provides access to basic MioMore Desktop functionality. o Mio Online Displays the Mio website. p My Maps Allows you to install and manage maps. q MioMore Services Allows you to search and install local POIs for a route.
MioMore Desktop preferences When the MioMore Desktop window is open, click Tools Æ Options Æ General. You can change the MioMore Desktop measurement preferences to metric units and decimals by selecting the respective check boxes. Mio Online Note: Make sure that your computer is connected to the Internet. Clicking the Mio Online button on the left side displays the company’s official website in the embedded browser window. You can then browse the web pages in the window.
If you are installing a new map, browse to the folder containing the map. 5. Click Install. The selected map(s) will be installed onto your Mio. Removing maps from your Mio 1. Connect your Mio to your computer via the USB cable. 2. Start MioMore Desktop. Click the My Maps button. 3. From the Installed Maps section, select the check box next to the map you want to remove. 4. Click Uninstall to remove the selected maps.
Note: Depending on the country you are navigating, the available search services may vary. 9. Enter your search keyword and then click Search. 10. A list of search results will display. Importing POIs from your computer to your Mio 1. Perform step 1 to 10 of “Searching for a POI using MioMore Services.” 2. Click next to the POI you want to import to your Mio. Note: You can install a maximum of 200 POIs on your Mio via MioMore Services.
Deleting a POI from your Mio 1. From My Saved Locations select a checkbox of the POI you want to delete. 2. Click Delete Selected. The POI is deleted from your Mio. Note: To delete all the POIs installed on your Mio, select the Select all check box and then click Delete Selected. Point of Interest Point of Interest allows you to create or import your own POI files. These are called custom POIs. Unlike preinstalled POIs, custom POIs can be removed from your Mio.
6. If you choose to create a new custom POI category, you can select an icon to display on the map screens for POIs of the category. Click Browse to select the icon file from your local or network drive. When you have located the icon file, select it and click Open. Note: If you do not select a custom icon, a default icon will display. 7. Click on Add to device button to add the POI to your Mio. Uninstalling Points of Interest 1. Connect your Mio to your computer via the USB cable. 2.
6. The matching photos will appear in the display area. The bottom of the screen provides a Back and a Next button for going to the previous and next page. 7. From the display area select a picture or group of pictures you want to import to your Photo Album. 8. Right click and select Import to Photo Album. A new album is created in the Desktop album section of Photo Album.
Toolbar n o p q r s t u The following options are available on the toolbar: Element n Create new Description Creates a new album in the NavPix library you are viewing. album o Rotate left Rotates the selected NavPix 90° to the left. p Rotate right Rotates the selected NavPix 90° to the right. q Transfer to your If you are viewing NavPix in the NavPix library on your computer, this will display as Transfer to your Mio. Click to transfer the selected NavPix to your Mio.
Note: If you have transferred a NavPix with GPS coordinates you can then navigate to where the picture was taken. More to do with pictures and albums Complete one of the following: If you want to ... Then ... add a picture to another album Select the picture and then drag it to the other album. remove a picture from an album Select the picture, right click (or click NavPix in the menu bar) and select Remove from album. Note: Select Delete NavPix if you want to delete the picture from all albums.
Making backups of your Mio You can save backups of information such as Favourites and preferences, and later restore them to your Mio. Before you begin, ensure your Mio is connected to your computer via the USB cable. 1. Start MioMore Desktop. Click Tools Æ Backup and Restore. 2. Click Create new backup. 3. Select the data you would like to backup, then enter a description for the backup in the Description field. 4. Click OK.
Reference Inserting a memory card CAUTION: Do not apply pressure to the centre of the memory card. Hold the card (SD, SDHC, or MMC) by the edges and gently insert it into the slot with the label facing the front of the Mio. Moov 200-Series Moov 300-Series To remove a card, gently push the top edge of the card inwards to release it, and pull it out of the slot. Troubleshooting Note: If you encounter a problem you cannot solve, contact an authorized service center for assistance.
Caring for your Mio Taking good care of your Mio will ensure trouble-free operation and reduce the risk of damage to your Mio. Keep your Mio away from excessive moisture and extreme temperatures. Avoid exposing your Mio to direct sunlight or strong ultraviolet light for extended periods of time. Do not place anything on top of your Mio or drop objects on your Mio. Do not drop your Mio or subject it to severe shock.
Regulatory information Note: For regulatory identification purposes, Moov 200-Series is assigned a model number of N177 and Moov 300-Series is assigned a model name of N179. Regulations statements European Notice Products with the CE marking comply with Radio & Telecommunication Terminal Equipment Directive (R&TTE) (1999/5/EC), the Electromagnetic Compatibility Directive (2004/108/EC) and the Low Voltage Directive (2006/95/EC) - issued by the Commission of the European Community.
Allow adequate ventilation around the charger when using it to operate the device or charge the battery. Do not cover the charger with paper or other objects that will reduce cooling. Do not use the charger while it is inside a carrying case. Connect the charger to a proper power source. The voltage requirements are found on the product case and/or packaging. Do not use the charger if the cord becomes damaged. Do not attempt to service the unit. There are no serviceable parts inside.