DigiWalker User Manual P350 P550
Table Of Contents
- 1 Warnings and safety information
- 2 General information
- 3 Operating Mio Map (Controls)
- 3.1 Hardware buttons
- 3.2 Screen buttons and controls
- 4 Discovering the program through the screens
- 4.1 Main menu
- 4.2 The map
- 4.2.1 2D and 3D map views
- 4.2.2 Zoom levels
- 4.2.3 Daylight and night colour schemes
- 4.2.4 Streets and roads
- 4.2.5 Other objects
- 4.2.6 Current position and Lock-on-Road
- 4.2.7 Selected map point, also known as the Cursor
- 4.2.8 Visible POIs (Points of Interest)
- 4.2.9 Speed cameras
- 4.2.10 Contacts
- 4.2.11 Elements of the Active Route
- 4.3 Screens with map
- 4.3.1 Turn preview (No. 1)
- 4.3.2 Zoom in and out (No. 2 & 3)
- 4.3.3 Tilt up and down (No. 4 & 5)
- 4.3.4 Lock to GPS position and heading (No. 6)
- 4.3.5 Cursor (No. 7)
- 4.3.6 Map scale (No. 8)
- 4.3.7 Menu (No. 9)
- 4.3.8 Map orientation and Overview (No. 10)
- 4.3.9 GPS position quality (No. 11)
- 4.3.10 Battery status (No. 12)
- 4.3.11 Sound muting (No. 13)
- 4.3.12 Track Log recording/playback indicator (No. 14)
- 4.3.13 Cursor menu (No. 15)
- 4.3.14 Current street (No. 16)
- 4.3.15 Travel and Route data (No. 17)
- 4.3.16 Distance to next turn (No. 18)
- 4.3.17 Next street / Next settlement (No. 19)
- 4.3.18 Approaching next turn (No. 20)
- 4.3.19 Current speed limit (No. 21)
- 4.4 GPS Data screen
- 4.5 Route Information screen
- 4.6 Menu
- 4.7 Speed cameras
- 4.8 TMC
- 5 Find
- 5.1 Main menu Find buttons (Address, Favourites, POI, History)
- 5.2 Selection by tapping the map
- 5.3 Using the Find menu
- 5.3.1 Find an Address, Street, Intersection or City
- 5.3.2 Find in History
- 5.3.3 Find Coordinates
- 5.3.4 Find a POI
- 5.3.5 Find one of the Favourites (Home/Work)
- 6 Settings
- 6.1 General settings
- 6.2 Sound settings
- 6.3 Route parameter settings
- 6.4 Language & Units
- 6.5 Advanced settings
- 6.6 About screen
- 6.7 Manual GPS configuration
- 7 Troubleshooting guide
- 8 Glossary
- 9 Index

• GPS Position: the search will be carried out around the current location given
by the GPS if it is available. If no GPS position is available, the last known
GPS position (grey arrow on the map) will be used.
• Destination: the search will be carried out around the destination of your
current route.
• Cursor: the search will be carried out around the previously selected map
point.
The current selection is always shown in the green field at the top of the page.
Note: The default reference point for POI search is the current GPS position, if it is
available, or the Cursor, when there is no reliable GPS position.
Once you have set the reference point, you have the following options on the Find
POI screen:
• Search in POI subgroups: highlight one of the POI groups by tapping or using
the direction buttons, then press Enter or tap it again to see the list of
subgroups. Using the same action you can move deeper into subgroups.
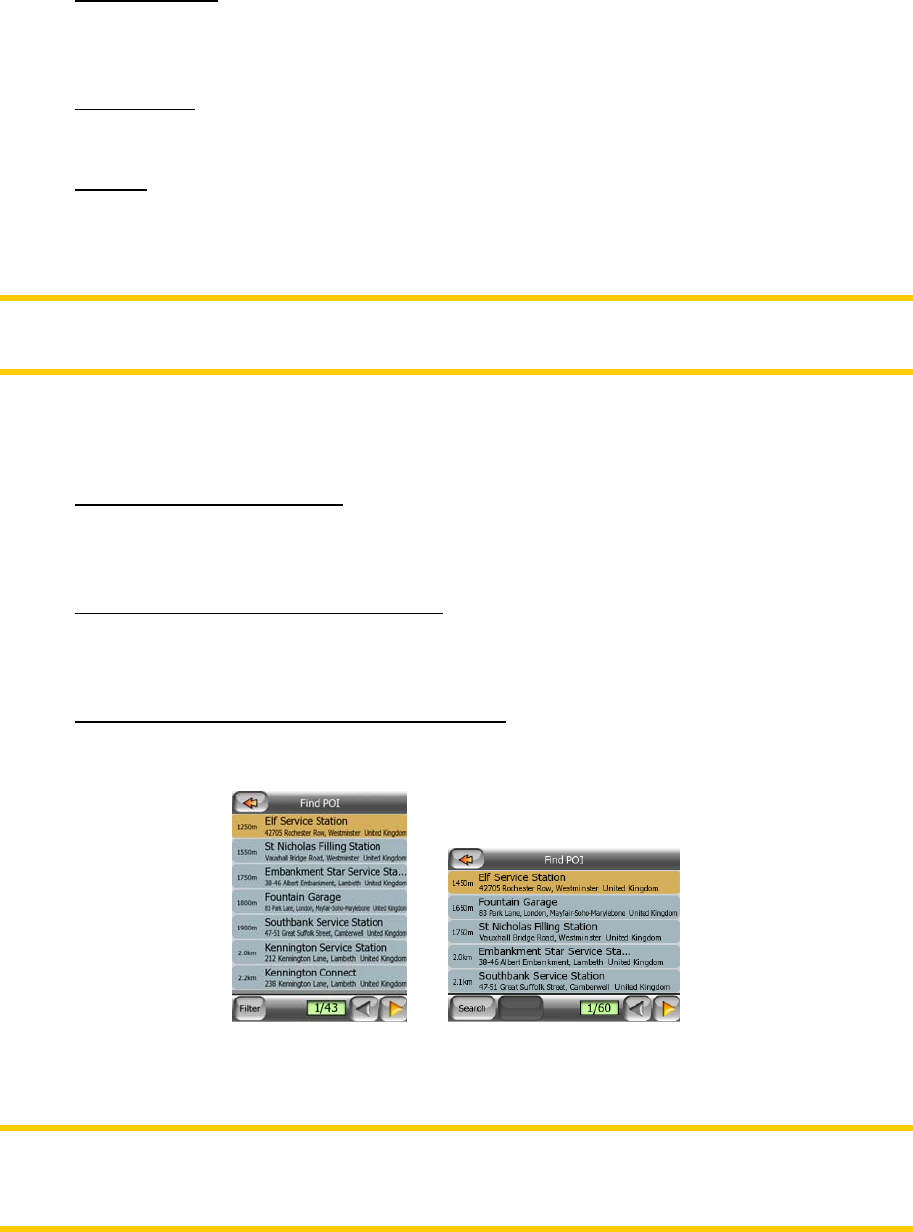
• Filter from all the POIs of that level: tapping the Filter button will bring up a text
input screen to let you narrow the list of POIs. If you tap Filter in the list of
subgroups, you will only search in the group you are already in.
• See all POIs of the current group in a list: tapping the All button opens the list
of all points in the group or subgroup you are already in. Use the Next and
Previous buttons to browse through the list.
Search results are ordered by their distance from the given reference point (nearest
first).
Note: In the case of POI items that you have created, you can also see the results in
alphabetical order. Push the button with the label ABC that appears between Filter
and the page number.
Once the desired POI item is selected, Mio Map will show its details.
74


