
Installation manual


60
Working with the Panel
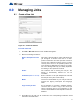
9.2 Send Job
To send a job to the panel
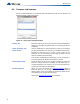
1. Click Panel > Send Job. A confirmation window will appear.
2. Click Yes. Once the job has been successfully sent a confirmation window will appear.
Click OK.
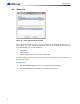
9.3 Get Job
To get a job from the panel
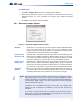
1. Click Panel > Get Job. The create job window will appear.
2. Enter the Job information and click OK. Once the job has been retrieved a confirmation
window will appear. Click OK.
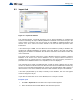
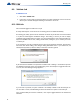
9.4 Panel Information
This dialog displays a summary of panel and the configurator information, with options to view
more detail. The information includes:
• The Product Version
• Name and Version of the job currently loaded on the panel.
• Model (deduced from Product, System (build) Type and Hardware Features).
• The Date it was sent
• The ESD and Tech who sent / owns the job. (For products secured with a key)
• Security Key SIN. (For products secured with a key)
• FXConfig Version
• Date and Time Last Changed
• Number of times auto configured.
• The Panel Time.
An Advanced button launches Advanced Panel Info
which retrieves and displays the Type,
Product Version, Language, on line status, etc. of all Nodes and their CPUS.
An Update button allows the panel time to be corrected/updated from the configurator for
those products that support the feature.
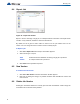
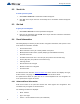
9.4.1 Advanced Panel Information
Polls all the nodes on the panel and checks their status against the configuration. This
information may not appear for all annunciators.
The following information is displayed:
• Node - address
• Type - CPU Type
• Version - current firmware version (n/a for RA1000)