English Deutsch CITY MULTI Control System and Mitsubishi Mr. Slim Air Conditioners MA Remote Controller PAR-30MAA Simple Operation Manual Prior to use, thoroughly read the instructions in this manual to use the product correctly. Retain for future reference. Make sure that this CD-ROM and the Installation Manual are passed on to any future users. To ensure safety and proper operation of the remote controller, the remote controller should only be installed by qualified personnel.
Safety precautions • Thoroughly read the following safety precautions before using the unit. • Observe these precautions carefully to ensure safety. WARNING CAUTION Indicates a risk of death or serious injury. Indicates a risk of serious injury or structural damage. • After reading this manual, pass it on to the end user to retain for future reference. • Keep this manual for future reference and refer to it as necessary. This manual should be made available to those who repair or relocate the controller.
CAUTION To reduce the risk of fire or explosion, do not place flammable materials or use flammable sprays around the controller. To reduce the risk of injury and electric shock, avoid contact with sharp edges of certain parts. To reduce the risk of damage to the controller, do not directly spray insecticide or other flammable sprays on the controller. To avoid injury from broken glass, do not apply excessive force on the glass parts.
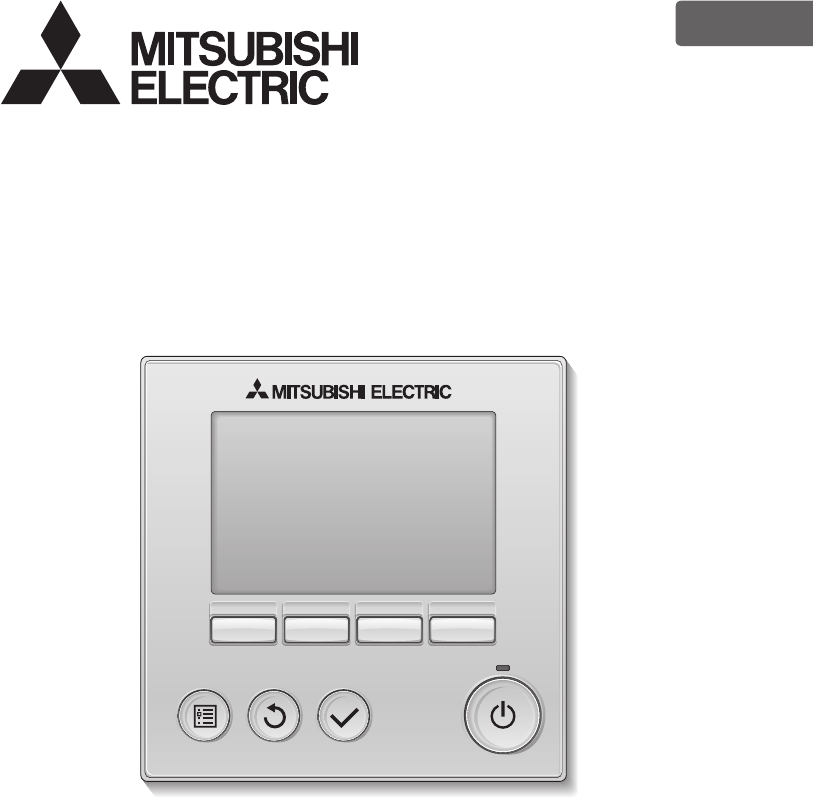
Names and functions of controller components The main display can be displayed in two different modes: "Full" and "Basic." The factory setting is "Full." Display Full mode b cd e f g h Fri 6 7 8 9 0 j Room Set temp. Cool 3 i Auto 1 4 1Operation mode b Indoor unit operation mode appears here. Appears when the buttons are locked. 2Preset temperature c Preset temperature appears here. Appears when the On/Off timer or Night setback function is enabled. 3Clock (See the Installation Manual.
Basic operations Operation mode icons Cool Dry Fan Auto Auto cool Heat Auto heat Turning ON and selecting operation mode 1 2 Press button 1 ( ON/OFF ). Press button 7 ( F1 ) to go through the operation modes. Cool Dry Fan Auto The ON/OFF lamp and the LCD will light up. F1 Heat *1 *1 *1 Operation modes that are not available to the connected indoor unit models will not appear on the display.
Vane setting 1 Press button 4 ( MENU ). 2 "Vane•Louver•Vent.(Lossnay)" is selected. Press button 2 ( SELECT ). Set temp. Auto Temp. Fan Mode F1 F2 F3 Main display: Cursor F4 Step 1 Auto Press button 7 ( F1 ) or 8 ( F2 ) to change the vane angle. Fri Main Main menu Vane·Louver·Vent. (Lossnay) High power Timer Weekly timer OU silent mode Fri Room Cool 3 F1 Step 2 F2 Step 3 Vane Page F3 F4 Step 4 F1 Step 5 F2 Low On Vent.
Troubleshooting When an error occurs, the following screen will appear. Check the error status, stop the operation, and consult your dealer. Error code, error unit, refrigerant address, unit model name, and serial number will appear. The model name and serial number will appear only if the information have been registered. Error information Error code Error unit IU Ref. address Unt# Model name Serial No. Press button 7 ( F1 ) or 8 ( F2 ) to go to the next page.
Timer, Weekly timer, Energy saving The settings for Timer, Weekly timer, and Energy saving operation can be made from the remote controller. Press button 4 ( MENU ) to go to the Main menu, and move the cursor to the desired setting with button 7 ( F1 ) or 8 ( F2 ). Refer to the Instruction Book of the remote controller for further information. Main Main menu Vane·Louver·Vent.
Maintenance Filter information Fri will appear on the Main display in the Full mode when it Room Set temp. Cool Mode is time to clean the filters. Auto Temp. Fan Resetting the filter sign 1 Select "Filter information" from the Main menu and press button 2 ( SELECT ). Main Main menu Restriction Energy saving Night setback Filter information Error information Main display: Cursor Page F1 F2 F3 2 Press button 0 ( F4 ) to reset filter sign. 3 Select "OK" with button 0 ( F4 ).
This product is designed and intended for use in the residential, commercial, and light-industrial environment. The product at hand is based on the following EU regulations: • Low Voltage Directive 2006/95/EC • Electromagnetic Compatibility Directive 2004/108/EC HEAD OFFICE: TOKYO BLDG. , 2-7-3, MARUNOUCHI, CHIYODA-KU, TOKYO 100-8310, JAPAN Authorized representative in EU: MITSUBISHI ELECTRIC EUROPE B.V. HARMAN HOUSE, 1 GEORGE STREET, UXBRIDGE, MIDDLESEX UB8 1QQ, U.K.