
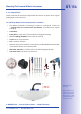
Specifications

66/1�61�6
Q24M Camera Manual: INSTALLATION
© MOBOTIX AG • Security-Vision-Systems • Made in Germany
www.mobotix.com • sales@mobotix.com
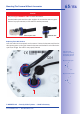
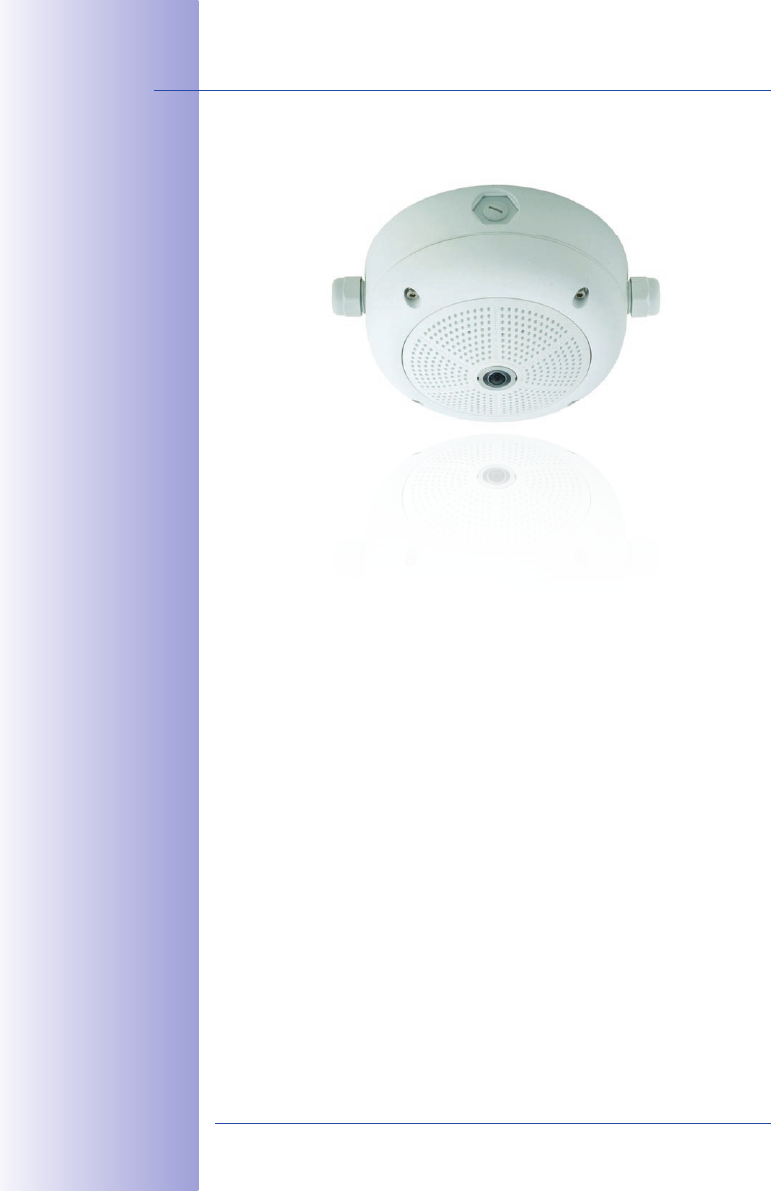
Mounting The Camera With The On-Wall Set2.�
Mounting Instructions2.�.1
On-Wall sets available in 0° and 10° inclinations allow fast and simple installation of
the Q24M on a wall or room ceiling. When using the set outdoors (IP65), ensure that
the screw holes on the rear of the camera housing are sealed with the included foam
rubber washers.
It is not possible to install the on-wall set directly above an on-wall or flush-mounted
outlet.
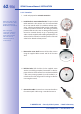
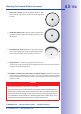
Installation using the 10° On-Wall Set is often the right choice if a Q24M is to be used as a
panorama camera installed at a greater than usual height (3 m or higher). Tilting the lens
in the direction of the center of activity in the room maximizes image quality. Consider the
desired camera position carefully during installation!
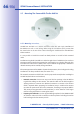
If discreet appearance of the Q24M is of particular importance, the In-Ceiling Set for ceiling
installation is the best possible choice (see section 2.6).
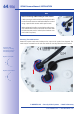
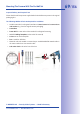
The network connection and drill holes must be prepared correctly before installing the
On-Wall Set (both indoors and outdoors):
Network connection• : You can use any one of the four openings in the On-Wall set
to guide the cabling into the camera. The network cable must be fed through the
opening without a connector. An additional connector to connect to the camera
cable is required. When preparing for installation, keep in mind that the camera
must later be positioned in the correct orientation, according to its purpose (OBEN /
TOP arrow pointing upwards for wall installation, or in the direction of the longer
wall for ceiling installation in rectangular rooms).
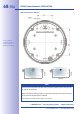
Preparing the drill holes• : Use the supplied drilling template for the Q24M On-Wall
Set (fold-out at the end of this manual) to mark the position for drilling the anchor
holes with regard to the camera position.