
Specifications


28
❏
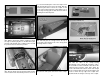
9. Drill a 1/8" [3.2mm] hole through the center of
the control stick boot. Trim the seat along the cutout
lines and glue it to the pedestal on the cockpit fl oor.
Now glue the control stick in the previously drilled
hole using the height of the seat as a guide.
❏
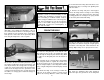
10. Now is the time to install a pilot before gluing
the canopy on. Wash the canopy in warm water, and
then, dry it off. Place the canopy on the fuselage. Be
certain it is centered from side-to-side and mark the
outline on the fuselage. As before, prick holes in the
covering or trim and remove the covering, just inside
the outline. Use canopy glue to attach the canopy on
the fuselage.
The “bubble canopy” version was a result of pilots’
complaints of lack of rearward visibility. In 1943
a P-47D-5 was modifi ed by removing the razor
spine and fi tting a modifi ed Hawker Tempest
bubble canopy. In addition to the new canopy was
a fl at, armored windscreen. The fi rst production
version of the bubble canopy was designated
P-47D-25-RE (produced in Farmingdale), of
which 385 were built.
FINISH THE WING
❏
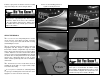
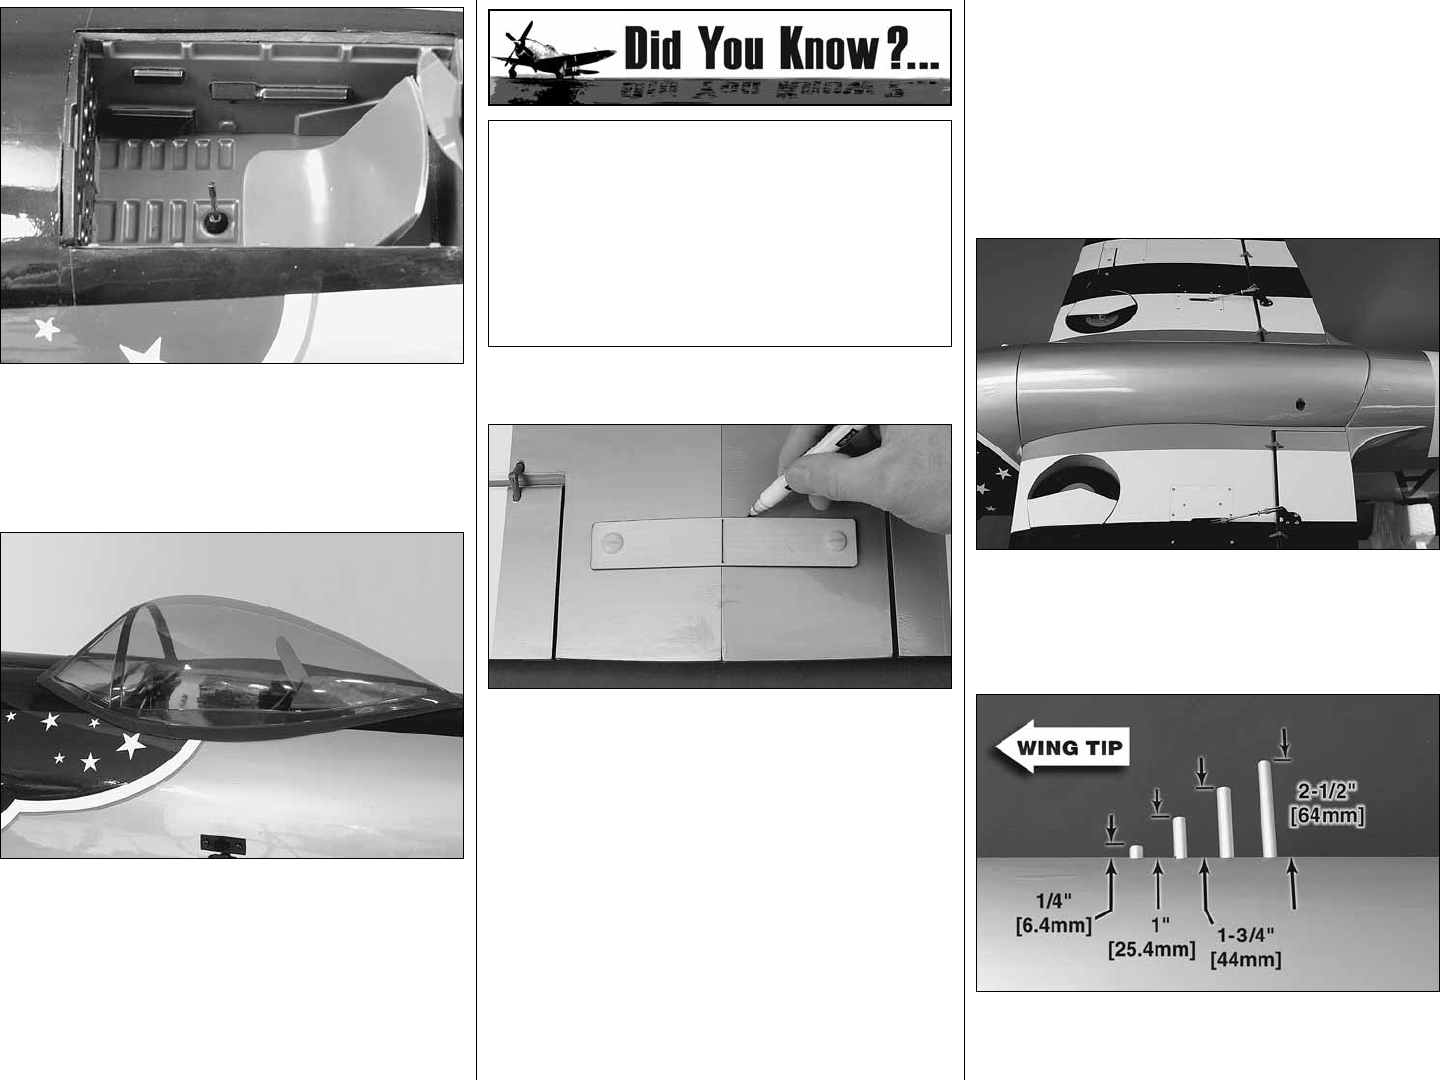
1. Place the wing bolt plate on the bottom of the
wing and insert the 1/4-20 x 2" [51mm] nylon wing
bolts through the wing bolt plate and the wing. Mark
the outline of the wing bolt plate onto the bottom of
the wing.
❏
2. Carefully cut the covering with a sharp hobby
knife, using the outline as a guide. Be careful not to
cut into the balsa. Peel the covering from the wing.
Glue the wing bolt plate to the wing with 6-minute
epoxy, using the wing bolts and masking tape to hold
it down.
❏
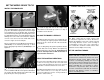
3. Mount the wing on the fuselage. Position the
belly pan on the wing so that it is evenly spaced
between the fuselage. Mark the outline of the belly
pan on the bottom of the wing. Cut and remove a 1/2"
[12.7mm] wide strip of covering, 1/32" [0.8mm] from
inside the outline.
❏
4. Remove the wing and place waxed paper
between the wing and the fuselage at the leading
and trailing edge. This will prevent the wing from
becoming glued to the fuselage if the epoxy should
run out of the joint. Reinstall the wing.
❏
5. Glue the belly pan to the wing using 30-minute
epoxy. Make sure that the belly pan is tight against
the bottom of the wing and centered between the
fuselage. Wipe off any excess epoxy before it cures.
❏
6. Clean the aluminum tubes with denatured
alcohol and glue the gun barrels in the wing with