
Specifications

8
the wrinkles disappear, then go over the area again,
pushing down on the iron to bond the covering to the
wood. If the wrinkles don’t disappear, the balsa in
that area might be fl exing inward. If this is happening,
don’t press down. Simply let the heat of the iron shrink
the covering. If the wrinkles momentarily disappear,
then immediately reappear, the iron may be too hot,
thus causing air bubbles. Lower the temperature of
the iron or use a sharp #11 blade to puncture several
holes in the covering, then reheat. The suggested
iron temperature is around 360 degrees F.
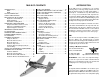
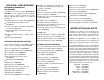
The P-47 had many attributes that led to its
reputation. One of the most important was its
durability in combat. Oftentimes the P-47 would
bring pilots home with missing cylinders, blown-off
wing tips and large portions of tail surfaces missing.
The P-47’s internal systems were also durable and
well protected.
MOUNT THE AILERON SERVOS
❏
❏
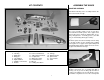
1. Use a sharp hobby knife to trim the opening
from over the left aileron servo hatch and the eight
screw holes.
❏
❏
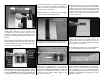
2. Install a servo arm on the aileron servo.
Position the aileron servo on the aileron servo hatch
cover as shown with the servo arm centered in the
opening. Set the two 5/16" x 5/8" x 13/16" [7.9 x 15.8
x 20.6mm] hardwood blocks in the embossed servo
block locations, checking that they are correct. If not,
mark the new location.
❏
❏
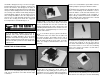
3. Use 6-minute epoxy to glue the two blocks
to the bottom of the servo hatch over the embossed
servo block locations. Thoroughly coat the end of
the blocks and allow them to set for a few seconds
while the blocks absorb the epoxy. Then, recoat the
blocks. Use clamps to hold the blocks to the servo
hatch tray.
❏
❏
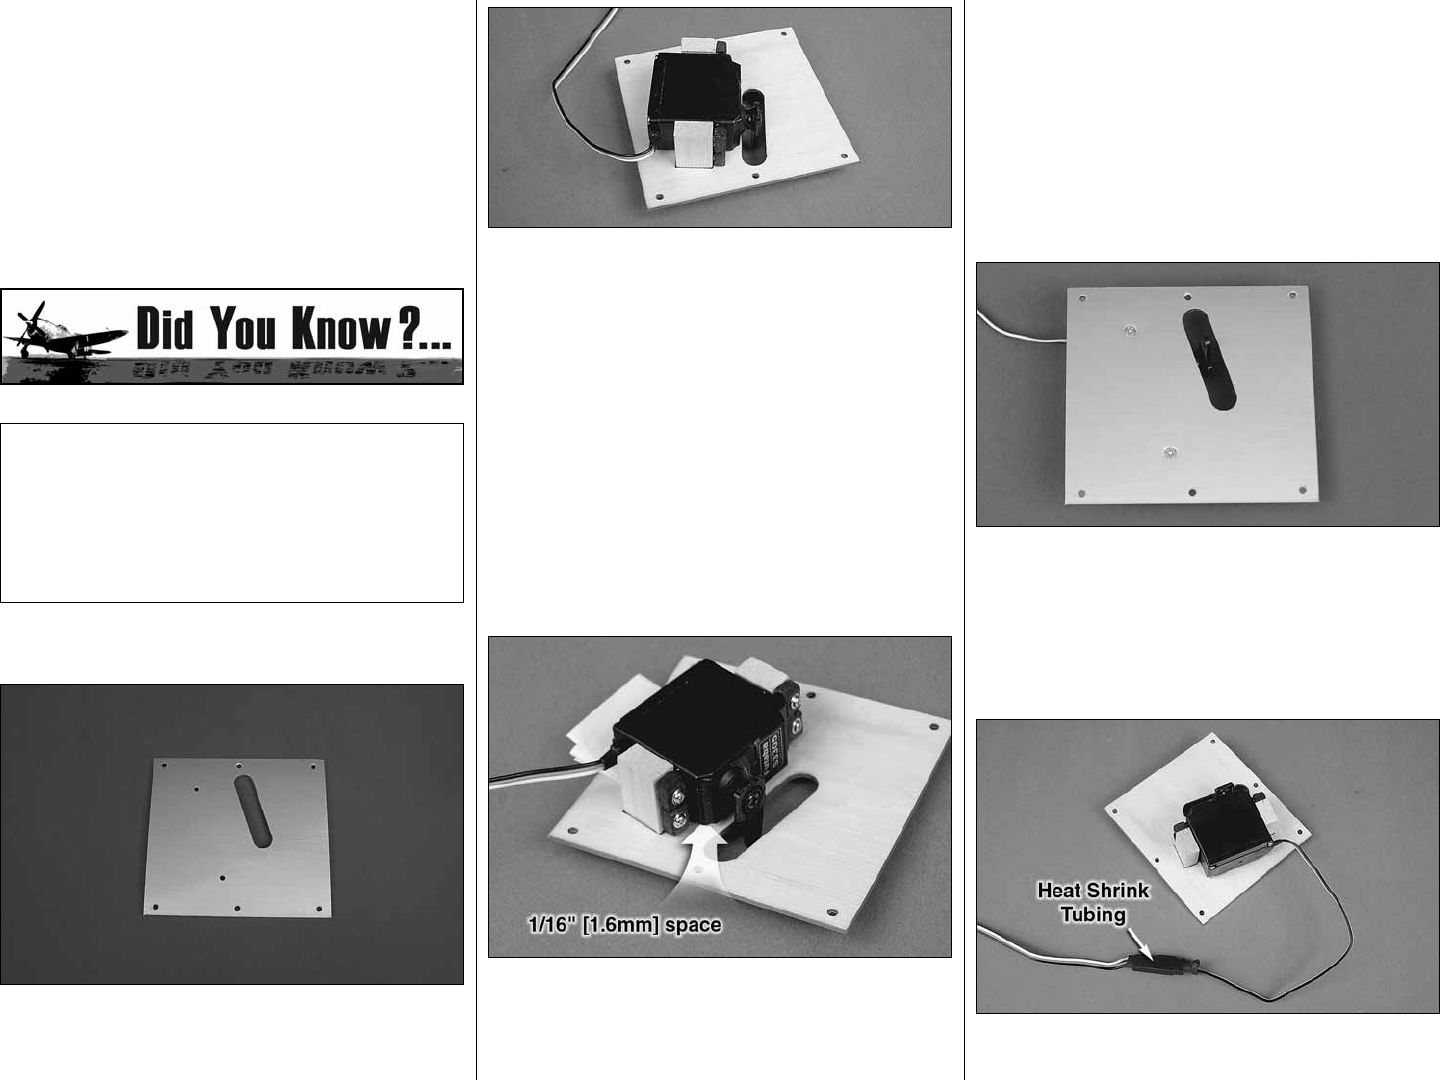
4. Once the epoxy has cured, remove the
clamps. Place a 1/16" [1.6mm] spacer, such as a piece
of cardstock or a piece of paper folded several times,
under the servo and between each mounting block.
After the servo is installed the spacer will be removed,
providing adequate spacing for vibration isolation.
❏
❏
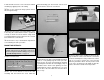
5. Drill 1/16" [1.6mm] holes through the blocks
for the servo mounting screws. Mount the servo to
the blocks with the screws that came with the servo.
Remove the servo mounting screws and apply a
couple of drops of thin CA in each hole to harden the
threads. Allow the CA to fully harden. Then, reinstall
the servos and remove the spacer.
❏
❏
6. Drill 1/16" [1.6mm] holes through the blocks
at the two hole locations on the top of the aileron
servo hatch. Install two #2 x 3/8" [9.5mm] fl at head
sheet metal screws to secure the servo mounting
blocks to the aileron servo hatch. Use thin CA to
harden the screw threads
❏
❏
7. Connect a 24" [610mm] servo extension wire
to the aileron servo. Cut a piece of heat shrink tubing