
User Manual
Guide new module
onto CV shaft and
into knuckle. (Align
carefully or premature
failure may result!)
Before completing
installation, attach
ABS connector (if so
equipped) and check
with key on to ensure
vehicle is reading a
correct signal from
the sensor.
Torque hub
mounting bolts
(steering knuckle
to module ange)
to manufacturer’s
specications,
using appropriate
torque wrench.
Reassemble brake
rotor and caliper.
Torque axle nut
to manufacturer’s
specications. Do so
while vehicle is raised
and hub assembly is
unloaded. Replace
with new axle nut. Do
NOT use an impact
wrench. Torque
specications can be
found at:
www.FMe-cat.com
Replace tire/wheel
on vehicle. Lower
vehicle to ground
and torque lug nuts
to specication,
using a torque
wrench.
Overview
Removal
Installation
No one can afford to do the job twice.
Following the removal and installation
procedures illustrated below, along
with the vehicle manufacturer’s
instruction manual, will ensure the
hub replacement is done correctly.
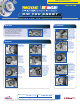
Tools required
for proper
removal and
installation
of wheel end
modules.
©2015 Federal-Mogul Motorparts Corporation. NASCAR is a registered trademark of NASCAR, Inc. MOOG and The Problem Solver are trademarks owned by Federal-Mogul Corporation,
or one or more of its subsidiaries, in one or more countries. All other trademarks are the property of their respective owners. All rights reserved. Form # MH-DYK14-102-R
tech line:
1-800-325 -8886
moogproblemsolver.com
www.FMe-cat.com
For parts lookup, visit
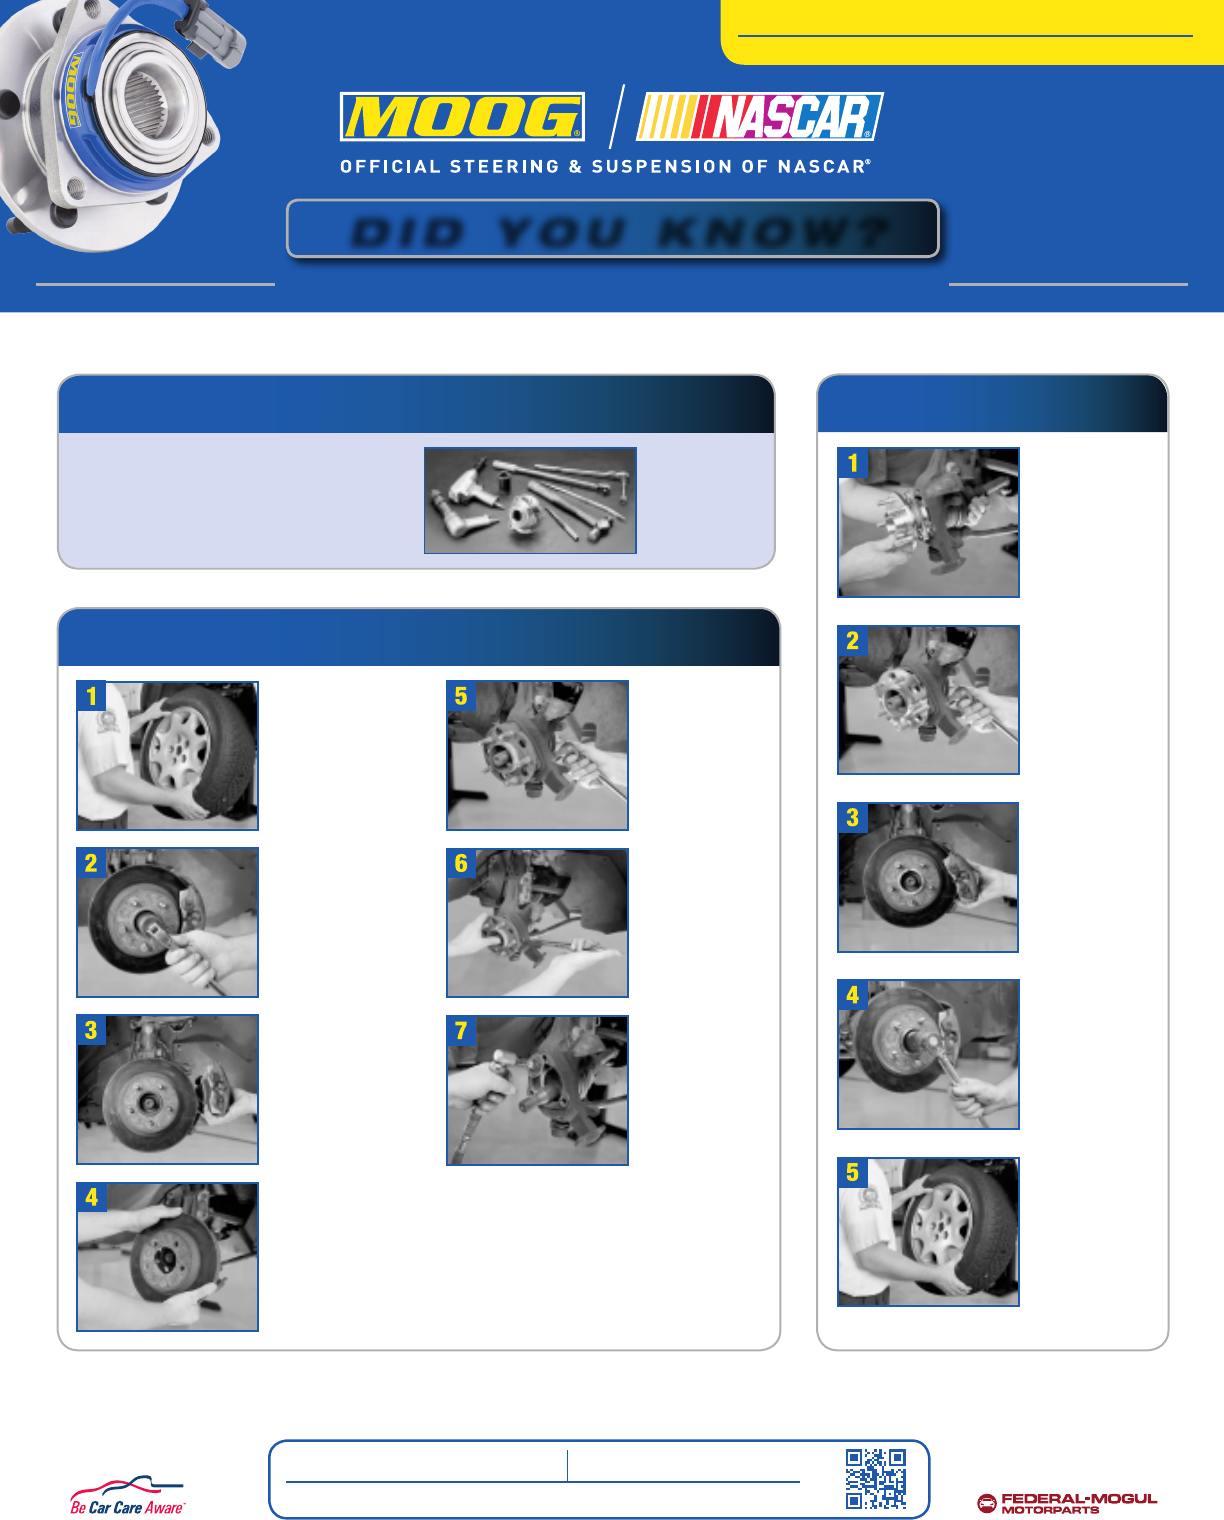
Remove the
brake rotor.
Raise vehicle
off the ground
and remove lug
nuts and wheel.
Remove the
hub bolts
from the
steering
knuckle.
Remove axle
nut, using an
axle nut socket.
(An impact
wrench is not
recommended.)
Socket size
can range from
30mm to 36mm.
Using a pry
bar between
the module
and knuckle,
carefully
separate the
module from
the knuckle.
Remove and
support the
brake caliper.
Make certain it is
positioned so that
it will not interfere
with the installation
procedure. Inspect
brake pads.
Remove any burrs
or loose metal
from the knuckle
(bearing housing)
to provide proper
alignment when
the hub is being
seated. Inspect
the splines on
the CV shaft
for damage.
D Y K14 -10 2
MOOG
®
Hub Assemblies
ADVICE FOR THE PROFESSIONAL
DID YOU KNOW?
Installation Instructions