
User's Manual


6
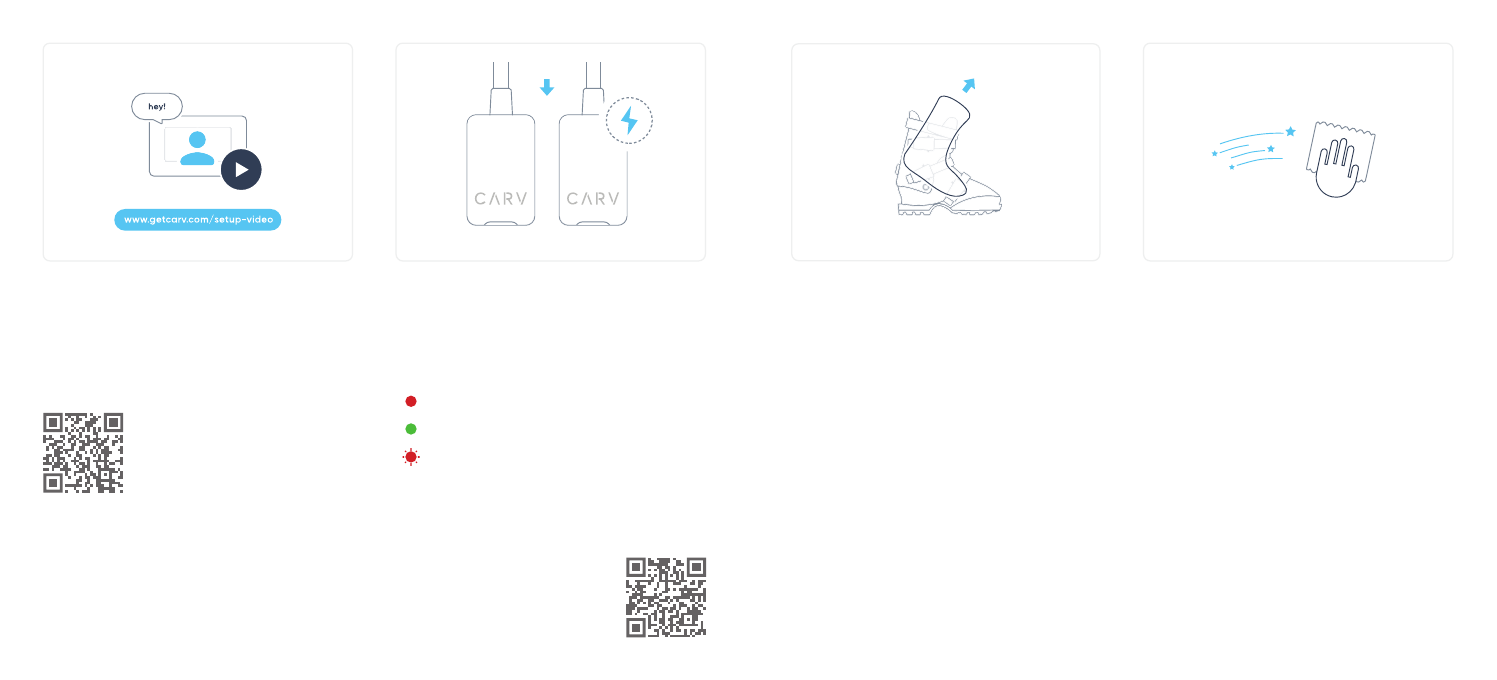
We recommend you go to the link shown above
to watch our step-by-step guided installation
video.
Installation video
When charging, the Carv logo on each tracker
lights up to indicate the following:
Red = Charging
Green = Charged
Red flashing = Charging issue*
*Please try another charger - if it continues,
please see getcarv.com/support for more
information.
Step 1 - Plug-in and charge the trackers
7
Make sure the buckles and power strap
are open.
Hold the back of the shell with one hand and
grab the back of the liner with the other.
Push the top of liner toward the toe of the boot
until it pops out of the shell. This can sometimes
take some force!
Step 2 - Remove ski boot liners
Clean the area where the heel is positioned in
the boot - we’ll be sticking the Carv inserts
down here so it’s important the area is free
from dirt.
Allow the area to dry before proceeding.
Step 3 - Clean