
User's Guide


Modern, Efficient,
With Exceptional Value
Business Portable
Two-Way Radio
A
B
C
D
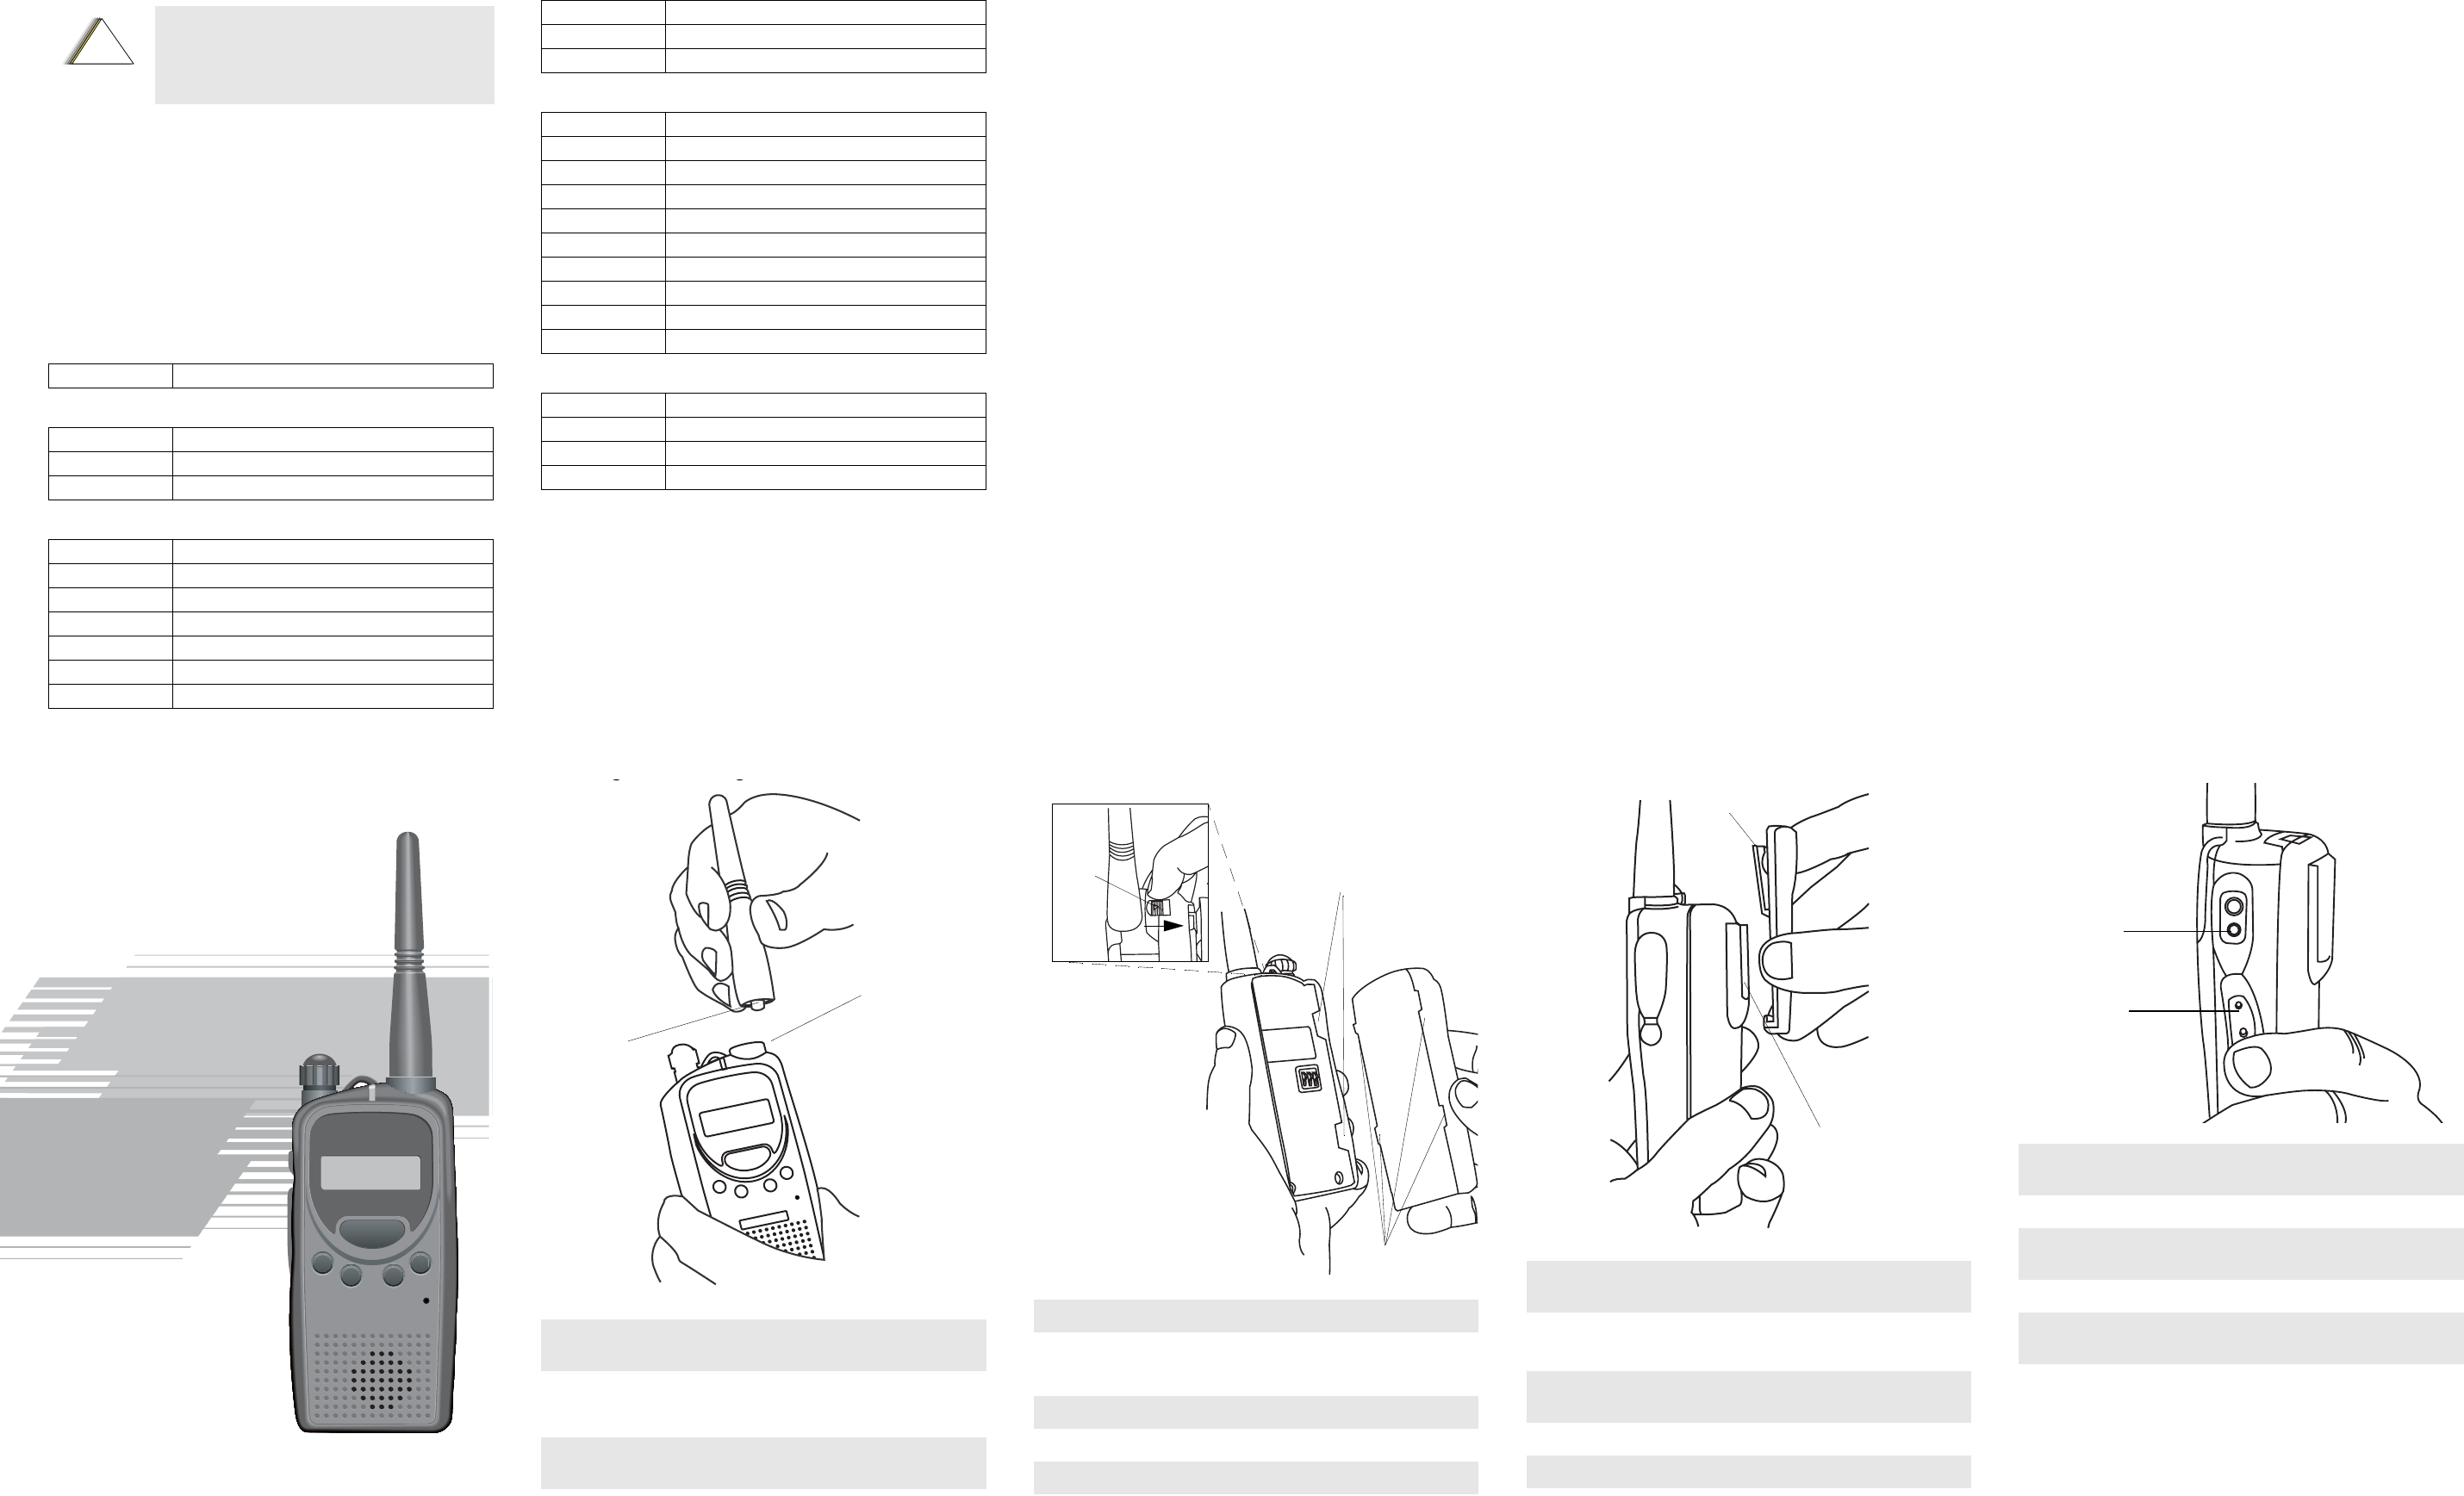
Attaching and Removing the Antenna
To Attach Antenna
To Remove Antenna
1. Fasten the antenna to the radio by placing the threaded end of
the antenna into the Antenna Connector.
2. Rotate the antenna clockwise until tight.
1. Turn the antenna in a counter-clockwise direction until it dis-
engages from the radio.
gg
Antenna Connector
Threaded End
of Antenna
Attaching and Removing the Battery
To Attach Battery
To Remove Battery
1. Fit the battery slots with the grooves on the radio.
2. Slide the battery upwards until a click is heard.
1. Slide the battery clasp away from the radio.
2. Slide the battery downwards.
3. Pull the battery away from the radio.
Battery Slots
Grooves
Battery
Clasp
Attaching and Removing the Belt Clip
To Attach Belt Clip
To Remove Belt Clip
1. Align mounting rails of the radio with the grooves of the belt
clip.
2. Slide the belt clip downwards until it clicks into place.
1. Insert the end of a key between the release tab and the back
surface of the radio.
2. Lift the release tab.
3. Slide the belt clip upwards.
Release Tab
Mounting Grooves
Charging your Radio
1. Turn off your radio, if it is turned on. It is highly
recommended that the radio be turned off while charging.
2. Lift the Dust Cover covering the Accessory Connector.
3. Insert charging connection of the charger into the Programming
Port.
4. Plug in charger to wall outlet.
5. Radio should be charged at least 16 hours initially before
decreasing charging time to 10 hours.
6. Turn on your radio, when charging is complete; you should
see all 3 bars of the Battery Level Indicator illuminated.
Programming
Port
Dust Cover
*6881096C35*
6881096C35-O
© 2003 by Motorola, Inc.
Motorola, Inc.
1301 E. Algonquin Road, Schaumburg IL 60196
Printed in Penang. All Rights Reserved.
Product Safety and RF Exposure Compliance
ATTENTION!
This radio is restricted to occupational use only to satisfy FCC RF
energy exposure requirements. Before using this product, read the RF
energy awareness information and operating instructions in the Product
Safety and RF Exposure booklet enclosed with your radio (Motorola
Publication part number 68P81095C98) to ensure compliance with RF
energy exposure limits.
Accessories
There are a number of accessories to enhance the productivity of your
two-way radio. Many of the available accessories are listed below.
Note:
Before using this product, read the operating instruc-
tions for safe usage contained in the Product Safety
and RF Exposure booklet enclosed with your radio.
Batteries
PMNN4046 NiMH, 1300 mAH
Chargers
PMTN4048 Rapid Charger, 110 V US NA w/Line Cord
PMLN4139 Transformer for PMTN4048
PMTN4073 10 Hour Charger, 120 V US NA Plug
Antennas
PMAD4012 136-155 MHz, Helical Antenna, 9cm
PMAD4013 155-174 MHz, Helical Antenna, 9cm
PMAE4011 435-480 MHz, Helical Antenna, 10cm
PMAD4014 136-155 MHz, Helical Antenna, 14cm
PMAD4027 136-155 MHz, Helical Antenna, 15cm
PMAD4028 148-174 MHz, Helical Antenna, 15cm
PMAD4015 155-174 MHz, Helical Antenna, 14cm
!
C a u t i o n
PMAE4003 430-470 MHz, Helical Antenna, 9cm
NAE6483 403-520 MHz, Whip Antenna
NAD6502 146-174 MHz, Heliflex Antnna
Carry Accessories
PMLN4467 Leather Carrying Case
PMLN4468 Carry Holster Case, Grey
PMLN4469 Carry Holster Case, Blue
4285820Z01 Shoulder Strap
HLN9844 1-1/2 inch Belt Clip
RLN4815 Fanny Pack
4280384H01 Radio Pak Replacement Retaining Strap w/Snap
4280384F89 Radio Pak Belt Lengthener for RLN4815
HLN9985 Waterproof Bag
JMZN4020 Hand Strap for Radio
Audio Accessories
PMLN4294 Ear Set Mic w/PTT
PMLN4425 Ear Set Boom Mic w/Remote Ring PTT
HMN9030 Remote Speaker Mic
HMN9013 Lightweight Handset w/Boom Mic
Antennas