
User Manual


Table Of Contents
- Copyright and Trademarks Notice
- 2. Introductions
- Unpacking
- Product Overview
- How to Use the Keyboard
- Windows Key
- Quick Launch Keys
- Disable or Enable Touchpad
- Enter Sleep Mode
- Switch Display
- Use Multiple Monitors
- Adjust the Brightness Level of the Display
- Adjust the Sound Level of the Speaker
- Adjust the Brightness Level of the Keyboard Backlight LED(optional)
- Application: True Color (optional)
- Video: How to Use [Fn] Buttons
- Specifications
- 3. How to Get Started
- Begin to Use the Notebook
- How to Use the Notebook Comfortably
- How to Manage Power Supply
- How to Set Up a Power Plan in Windows 10
- How to Use the Touchpad
- About HDD and SSD
- About M.2 SSD Slot
- How to Connect the Internet
- How to Set Up Bluetooth Connection
- How to Connect External Devices
- Video: How to Use RAID Function
- How to Select Boot Mode in BIOS
- Video: How to Restore Windows 10 Operating System on MSI Notebooks
- Video: How to Use MSI One Touch Install
User's Manual
2-14 2-15
Disable or Enable Touchpad
+
Enable or disable the touchpad function.
Enter Sleep Mode
+
Force the computer into sleep state (depending on the system
configuration). Press the Power button to wake up the system
from sleep state.
Switch Display
+
Switch the display output mode between the LCD, external
monitor and both.
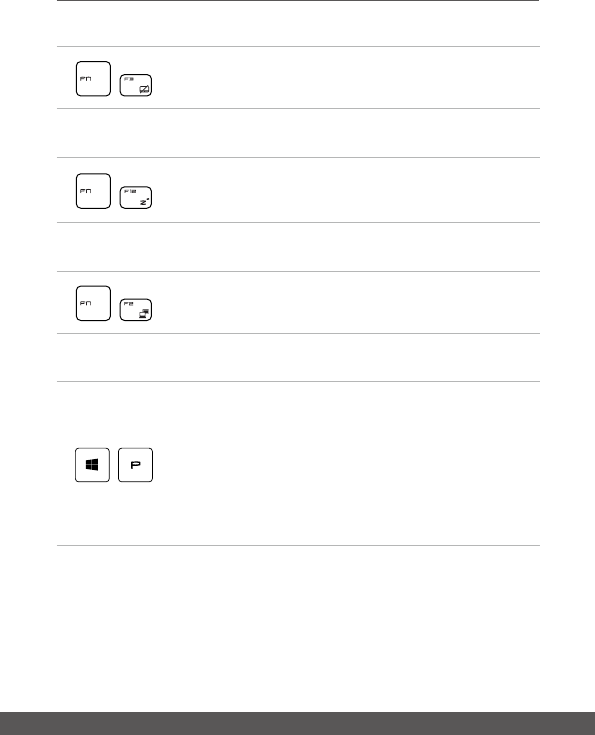
Use Multiple Monitors
+
If users connect an additional monitor to the notebook, the
system will automatically detect the external monitor connected.
Users will be allowed to customize the display settings.
• Connect the monitor to the notebook.
• Press and hold the Windows key, and then press [P] key to
bring up [Project].
• Select how you want your display to project on the second
screen from the selections of PC screen only, Duplicate,
Extend, and Second screen only.