
LCD Projector User's Manual GT1150


E – 7
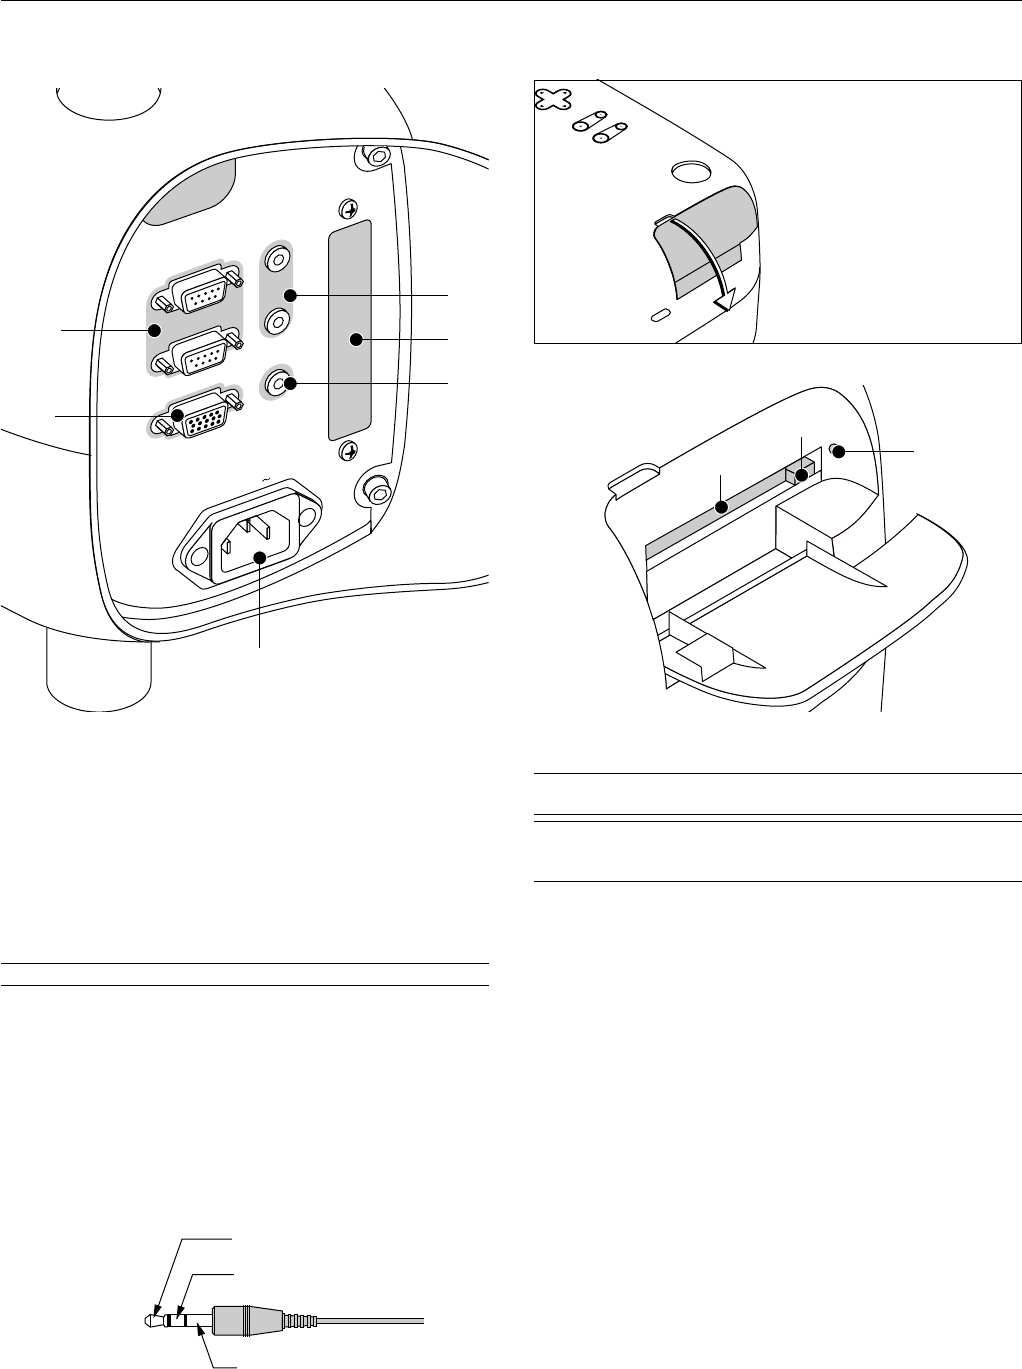
REMOTE 1
PC CONTROL
R
EM
O
TE
2
AC IN
SC, TRIGGER
OUT OUT
IN
IN
3
5
4
1
2
6
9
8
7
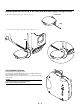
LENS SHIFT
LEFT
ZOOM
FOCUS
UP
DOWN
RIG
1. PC CONTROL Connectors (Mini D-Sub 9 pin)
For system expansion such as PC-Control.
IN: connect to the external equipment such as PC.
OUT: for daisy-chaining multiple projectors and operating them with
the same external equipment. To do so, connect to a second
projector’ s IN terminal to relay the input at the IN terminal of the
first projector until all the projectors are connected.
2. REMOTE 1 Connector (Mini D-Sub 15 pin)
This terminal allows external control of the projector from either the
Switcher or from an external control. When the Switcher is used, con-
nect to the REMOTE 1 terminal on the back of the Switcher.
NOTE: This projector is compatible with the ISS-6020 Switcher.
3. REMOTE 2 Mini Jacks
IN: wired remote control input.
OUT: for daisy-chaining multiple projectors and operating them with
the same remote control. To do so, connect to a second projec-
tor’ s IN terminal to relay the input at the IN terminal of the first
projector until all the projectors are connected.
4. SC. TRIGGER Mini Jack
Screen Trigger- When the GT1150 is powered ON the screen trigger
output sends a low voltage trigger to the screen controller and the
screen will go down.
Front Terminal Panel (Left)
When the GT1150 is powered OFF the screen trigger stops sending a
low voltage trigger to the screen controller and the screen will go up.
NOTE: Screen Controllers are supplied and supported by screen manufactures.
This option is not included with the GT1150 projector.
NOTE: Do not use this jack for anything other than intended use. Connecting
the wired remote control to the SC. TRIGGER Mini Jack causes damage to the
remote control.
5. Slot for LAN Board (Optional)
Use this connector to control the projector on a LAN. The optional LAN
kit is required when this connector is used. See the instructions in-
cluded with the optional LAN kit.
6. AC IN
Connect the supplied power cable’s three-pin plug here.
Three types of power cable are supplied with this LCD projector: three-
pin type for U. S. A. and Canada. Two-pin type for Germany and Japan.
7. PC Card Slot
Insert a PC card here.
8. PC Card Eject Button
Press to eject a PC card.
9. PC Card Access Indicator
Lights while accessing a PC card.
PC Card Viewer
Push down to open the PC
Card Slot cover.
Tip (12V)
Ring (0V)
Sleave (ground. 0V)
Stereo mini cable
(not supplied)