
LCD Projector User's Manual GT1150


E – 45
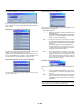
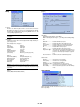
1. Open the On/OFF Timer window.
2. Select EDIT and press ENTER on the remote control to open the
EDIT window.
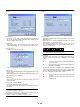
3. Set the Week, Day, On-Time and Off-Time using the Select buttons
and Source buttons (1 thru 10). To cancel the on-time or off time,
use Delete.
4. Select Set and press the ENTER button on the remote control to
complete the setting. To close, select Close.
5. To enable your setting, select Active on the Execute Switch.
6. Select OK and press the ENTER button on the remote control to
complete the setting.
NOTE: When On Timer is set and the projector is in the standby mode, the
Status indicator flashes green (4 sec interval) to show that On Timer program
is active.
The projector must be in stand-by mode at the time of turning on.
The preset power-on time will be void if the cooling fan is working or an error
occurs. Unplugging the projector cancels your 1 Week programs regardless of
whether the program was executed or not. However, your Every Week program
will not be cancelled even if you unplug the projector.
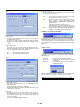
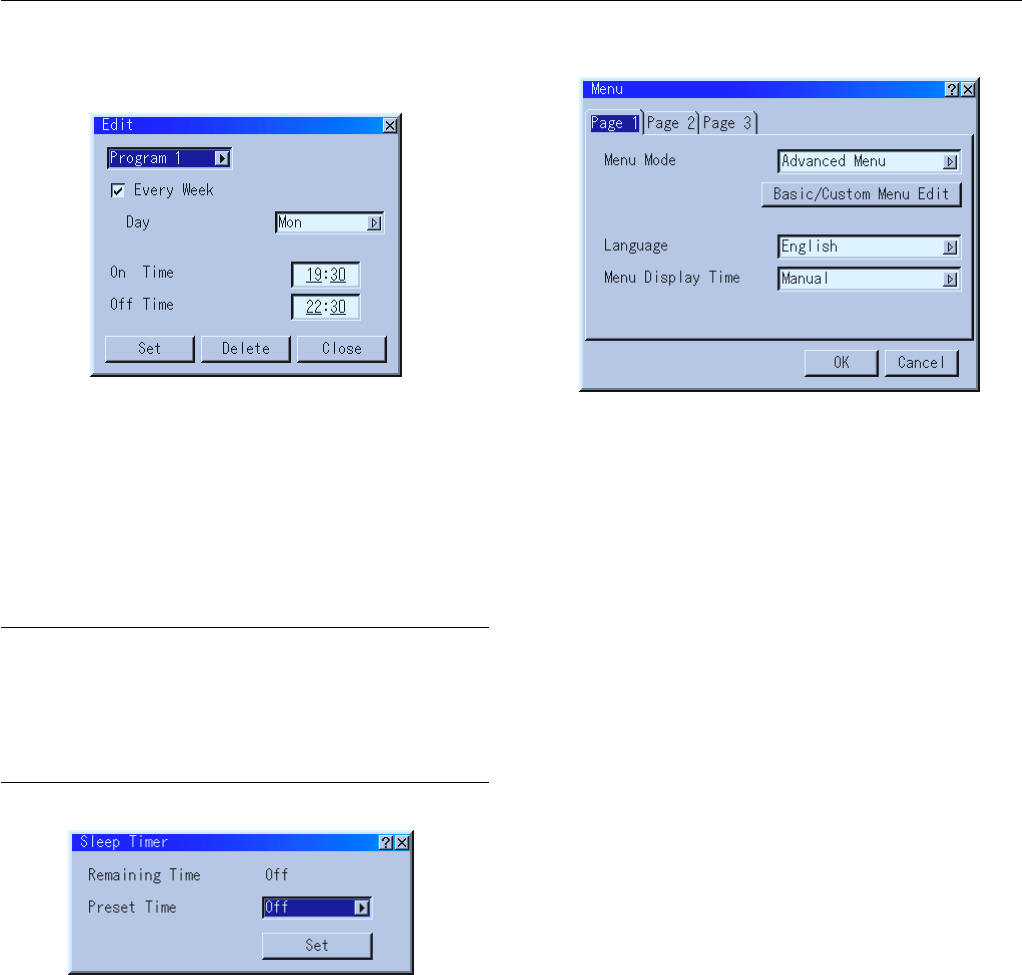
Sleep Timer
1. Select your desired time between 30 minutes and 2 hours in 30
minute increments.
2. Select Set and press the ENTER button on the remote control.
3. The remaining time starts counting down.
4. The projector will turn off after the countdown is complete.
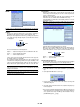
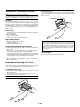
Menu
[Page 1]
Allows you to set preferences for the on-screen menu.
Press "OK" to save your changes for all the features.
Menu Mode:
This feature allows you to select two menu modes: Advanced Menu
and Basic/Custom Menu.
Advanced Menu .......... This is the menu that contains all the available menus
and commands.
Basic/Custom Menu ....This is the menu that you can customize using the
Basic/Custom Menu Edit to fit your needs.
The factory default Basic/Custom menu includes:
Source Select (RGB1/2, Video1/2, S-Video, DVI (Digital), DVI (Ana-
log) and PC Card Viewer), Picture, Volume, Image Options (Key-
stone, Color Temperatureand and Lamp Mode), Projector Options
(Menu and Setup), Tools (Capture and PC Card Files) and Help
(Contents and Information). See page E-36 for instructions about
how to customize the Basic/Custom Menu.
Language:
You can choose one of seven languages for on-screen instructions.
The options are: English, German, French, Italian, Spanish, Swed-
ish and Japanese.
Menu Display Time :
This option allows you to select how long the projector waits after
the last touch of a button to turn off the menu.
The preset choices are "Manual", "Auto 5 sec", "Auto 10 sec", and
"Auto 30 sec". The "Auto 10 sec" is the factory preset.
Manual ......... The menu can be turned off manually.
Auto 5 sec .... The menu will automatically be turned off in 5 seconds if no
buttons are pressed within 5 seconds.
Auto 10 sec .. The menu will automatically be turned off in 10 seconds if no
buttons are pressed within 10 seconds.
Auto 30 sec .. The menu will automatically be turned off in 30 seconds if no
buttons are pressed within 30 seconds.