
Operation Manual


Table Of Contents
- INTRODUCTION
- INSTALLATION AND CONNECTIONS
- PROJECTING AN IMAGE
- CONVENIENT FEATURES
- USING THE VIEWER
- USING ON-SCREEN MENU
- Basic Menu Operation
- Menu Descriptions & Functions
- Source Select
- Picture (not available for Viewer and LAN)
- Volume
- Image Options
- Selecting Aspect Ratio (not available for Viewer and LAN)
- Masking Unwanted Area (Blanking)
- Adjusting Position and Clock
- Selecting Resolution
- Selecting Overscan Percentage
- Selecting Video Filter Level (not available for Video, Viewer and LAN)
- Selecting Noise Reduction Level (not available for RGB, Viewer and LAN)
- Picture Management
- Projector Options
- Tools
- Help
- Returning to Factory Default
- MAINTENANCE
- TROUBLESHOOTING
- SPECIFICATIONS
- APPENDIX
E-42
PROJECTING AN IMAGE
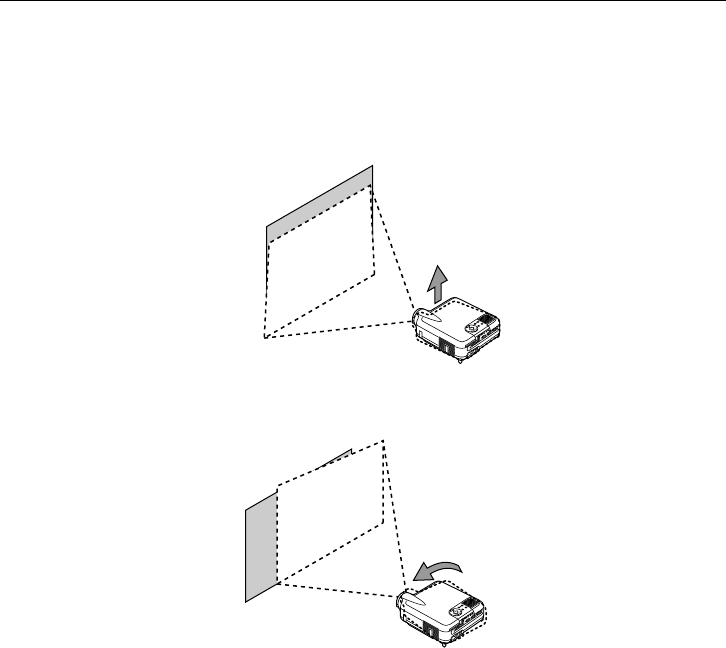
Adjusting the Picture Size and Position
Place your projector on a flat level surface and ensure that the projector is
square to the screen.
Lift the front edge of the projector to center the image vertically.
Move the projector left to center the image horizontally on the screen.
Use the 3D REFORM feature for proper adjustment. See page E-45.