
User guide
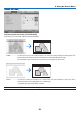
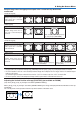
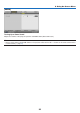
Table Of Contents
- Front cover
- Table of Contents
- Important Information
- 1. Introduction
- 2. Projecting an Image (Basic Operation)
- (1) Flow of Projecting an Image
- (2) Connecting Your Computer/Connecting the Power Cord
- (3) Turning on the Projector
- (4) Selecting a Source
- (5) Adjusting the Picture Size and Position
- (6) Correcting Keystone Distortion Manually
- (7) Optimizing Computer Signal Automatically
- (8) Turning Up or Down Volume
- (9) Turning off the Projector
- (10) After Use
- 3. Convenient Features
- (1) Turning off the Image and Sound
- (2) Freezing a Picture
- (3) Enlarging a Picture
- (4) Changing Eco Mode/Checking Energy-Saving Effect Using Eco Mode [ECO MODE]
- (5) Preventing the Unauthorized Use of the Projector [SECURITY]
- (6) Operating Your Computer’s Mouse Functions from the Projector’s Remote Control via the USB Cable (Remote Mouse Function)
- (7) Projecting Your Computer’s Screen Image from the Projector via the USB Cable (USB Display)
- (8) Controlling the Projector by Using an HTTP Browser
- (9) Projecting Your Computer’s Screen Image from the Projector via a Network [NETWORK PROJECTOR]
- (10) Using the Projector to Operate Your Computer via a Network [REMOTE DESKTOP]
- 4. Using the Viewer
- 5. Using On-Screen Menu
- 6. Installation and Connections
- 7. Maintenance
- 8. User Supportware
- (1) Installing Software Program
- (2) Using the Computer Cable (VGA) to Operate the Projector (Virtual Remote Tool)
- (3) Projecting Your Computer’s Screen Image from the Projector over a LAN (Image Express Utility Lite)
- (4) Projecting an Image from an Angle (Geometric Correction Tool in Image Express Utility Lite)
- (5) Projecting Images or Videos from the Projector over a LAN (Image Express Utility 2.0)
- (6) Using the Projector to Operate Your Computer over a LAN (Desktop Control Utility 1.0)
- (7) Controlling the Projector over a LAN (PC Control Utility Pro 4)
- (8) Converting PowerPoint files to Slides (Viewer PPT Converter 3.0)
- (9) Projecting Your Mac’s Screen Image from the Projector over a LAN (Image Express Utility 2 for Mac)
- 9. Appendix
86
5. Using On-Screen Menu
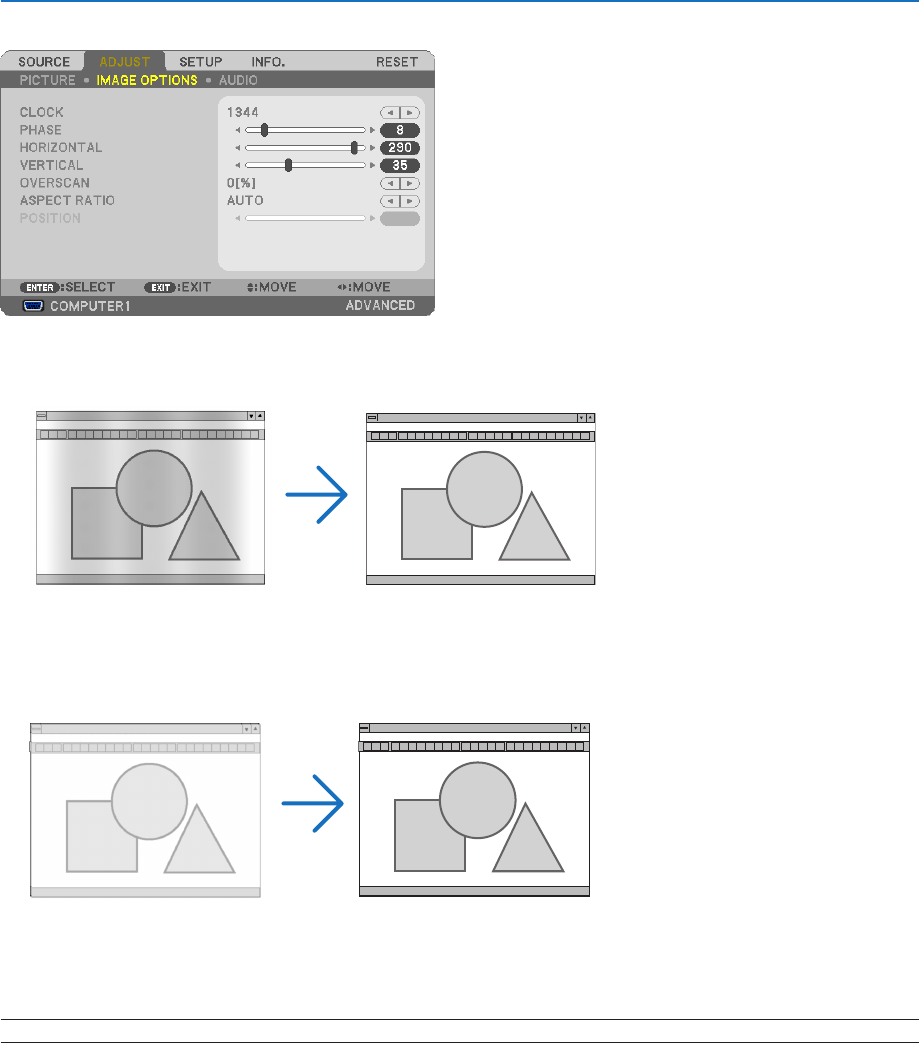
[IMAGE OPTIONS]
Adjusting Clock and Phase [CLOCK/PHASE]
ThisallowsyoutomanuallyadjustCLOCKandPHASE.
CLOCK ������������������� Use this item to fine tune the computer image or to remove any vertical banding that might appear� This
function adjusts the clock frequencies that eliminate the horizontal banding in the image�
This adjustment may be necessary when you connect your computer for the first time�
PHASE ������������������� Use this item to adjust the clock phase or to reduce video noise, dot interference or cross talk� (This is
evident when part of your image appears to be shimmering�)
Use [PHASE] only after the [CLOCK] is complete�
NOTE:The[CLOCK]and[PHASE]itemsareavailableforRGBsignalsonly.