
- Netgear ProSafe WFS709TP Smart Wireless Controller Manual


Table Of Contents
- WFS709TP ProSafe Smart Wireless Switch Software Administration Manual
- Contents
- About This Manual
- Chapter 1 Overview of the WFS709TP
- Chapter 2 Deploying a Basic WFS709TP System
- Chapter 3 Configuring Network Parameters
- Chapter 4 RF Plan
- Chapter 5 Configuring WLANS
- Chapter 6 Configuring AAA Servers
- Chapter 7 Configuring 802.1x Authentication
- Chapter 8 Configuring the Captive Portal
- Chapter 9 Configuring MAC-Based Authentication
- Chapter 10 Adding Local WFS709TPs
- Chapter 11 Configuring Redundancy
- Chapter 12 Configuring Wireless Intrusion Protection
- Chapter 13 Configuring Management Utilities
- Chapter 14 Configuring WFS709TP for Voice
- Appendix A Configuring DHCP with Vendor-Specific Options
- Appendix B Windows Client Example Configuration for 802.1x
- Appendix C Internal Captive Portal
- Appendix D Related Documents
- Index
WFS709TP ProSafe Smart Wireless Switch Software Administration Manual
Adding Local WFS709TPs 10-3
v1.0, June 2007
• Verify connectivity to the master WFS709TP by pinging it from the local WFS709TP.
• Ensure that the master WFS709TP recognizes the new WFS709TP as its local WFS709TP.
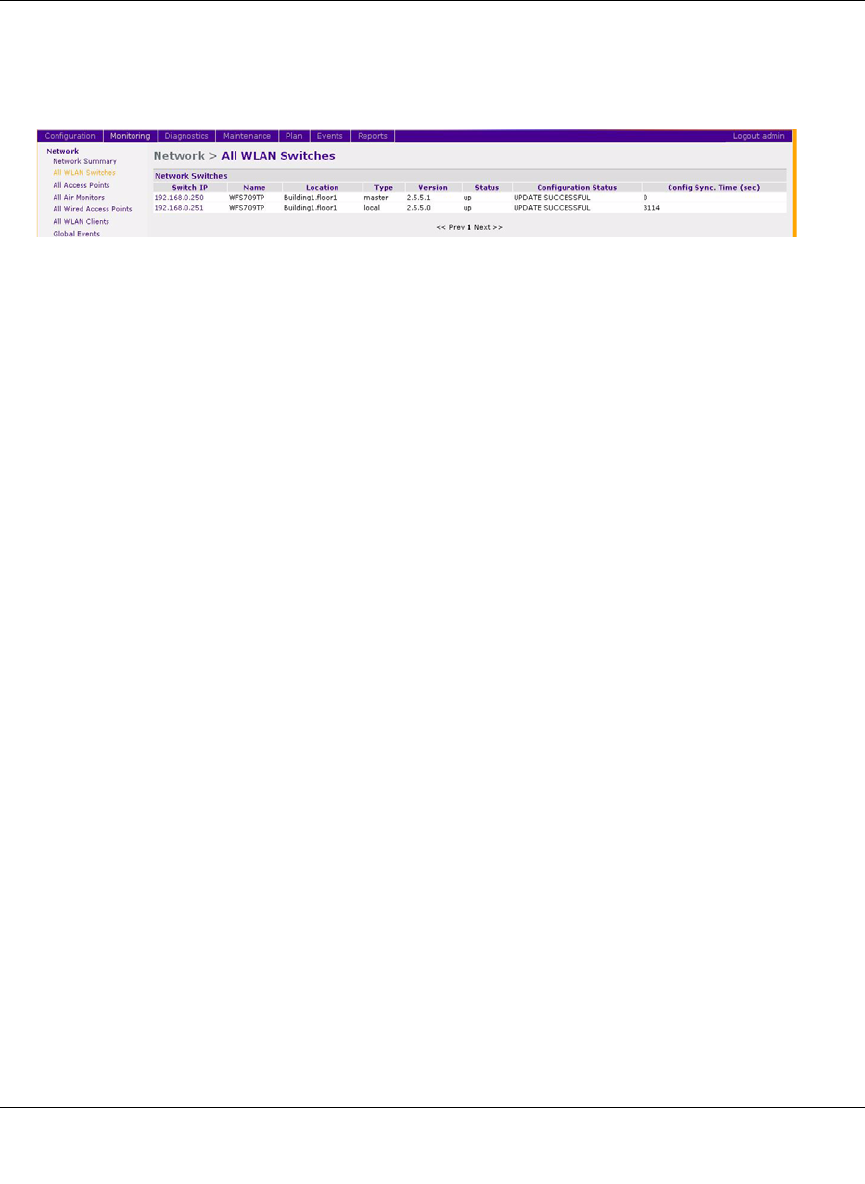
The local WFS709TP should be listed with type local in the Monitoring > Network > All
WLAN Switches page on the master (see Figure 10-2). It takes about 4–5 minutes for the
master and local WFS709TPs to synchronize configurations.
Configuring Trusted Ports
• On the local WFS709TP, navigate to the Configuration > Advanced > Switch > General > Port
page and make sure that the port connecting to the master WFS709TP is trusted.
• On the master WFS709TP, make sure that the port connecting to the local WFS709TP is
trusted.
Configuring APs
For APs that boot from the local WFS709TP, you must configure the LMS IP address under the
AP’s location ID. This configuration has to be done on the master WFS709TP. When the changes
are applied, the master WFS709TP pushes these configurations to the local WFS709TP.
To configure the LMS IP address:
1. Navigate to the Configuration > Advanced > WLAN > Advanced > General page.
2. Configure the LMS IP (see Figure 10-3).
Figure 10-2