
User's Manual


Table Of Contents
- WFS709TP ProSafe Smart Wireless Switch Software Administration Manual
- Contents
- About This Manual
- Chapter 1 Overview of the WFS709TP
- Chapter 2 Deploying a Basic WFS709TP System
- Chapter 3 Configuring Network Parameters
- Chapter 4 RF Plan
- Chapter 5 Configuring WLANS
- Chapter 6 Configuring AAA Servers
- Chapter 7 Configuring 802.1x Authentication
- Chapter 8 Configuring the Captive Portal
- Chapter 9 Configuring MAC-Based Authentication
- Chapter 10 Adding Local WFS709TPs
- Chapter 11 Configuring Redundancy
- Chapter 12 Configuring Wireless Intrusion Protection
- Chapter 13 Configuring Management Utilities
- Chapter 14 Configuring WFS709TP for Voice
- Appendix A Configuring DHCP with Vendor-Specific Options
- Appendix B Windows Client Example Configuration for 802.1x
- Appendix C Internal Captive Portal
- Appendix D Related Documents
- Index
WFS709TP ProSafe Smart Wireless Switch Software Administration Manual
Configuring the Captive Portal 8-7
v1.0, June 2007
3. (Optional) Customize the captive portal background text.
a. Set the background color in the Custom page background color field. The color code must
a hexadecimal value in the format #hhhhhh.
b. Click Submit on the bottom on the page.
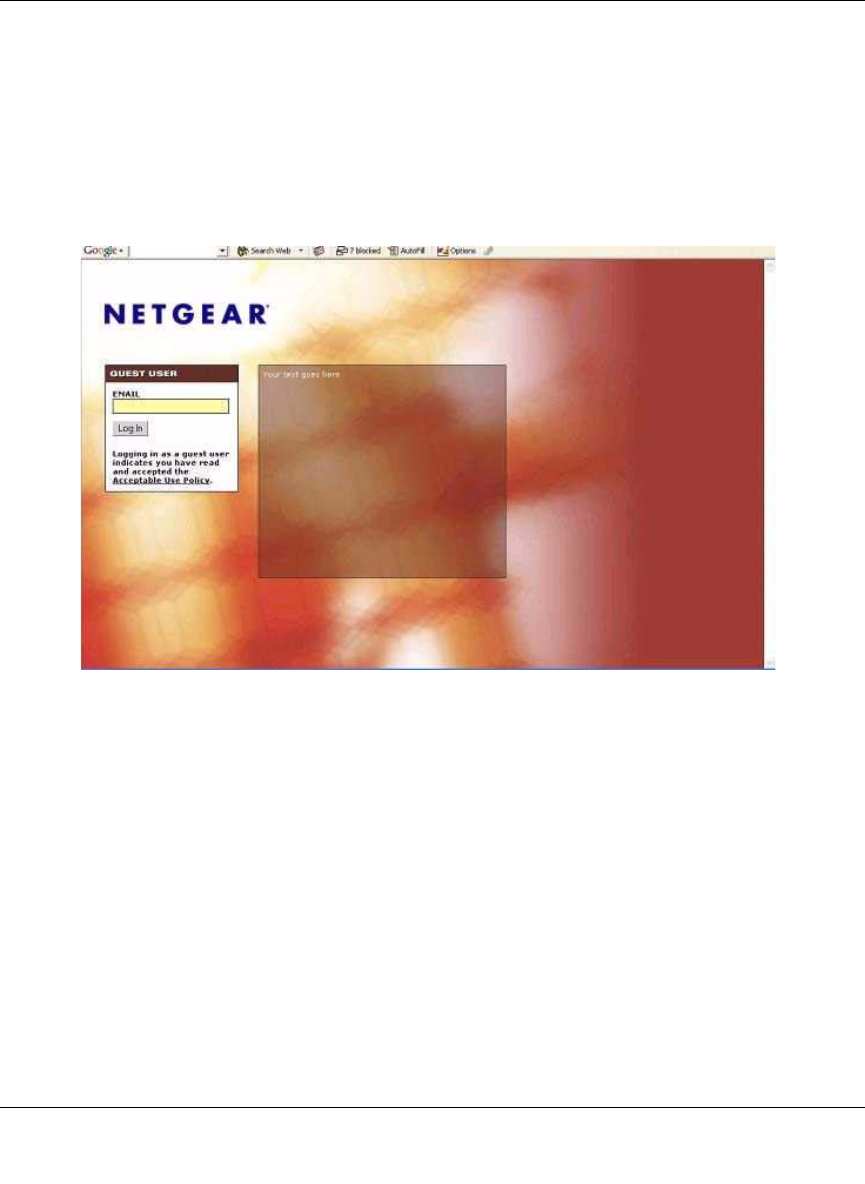
c. To view the background setting, click the View Captive Portal link. This displays the
Captive Portal page as it will be seen by users (Figure 8-4).
4. (Optional) Customize the captive portal background text:
a. Enter the text that needs to be displayed (in HTML format) in the Page Text message box.
b. To view the changes, click Submit at the bottom on the page and then click the View
Captive Portal link. This displays the Captive Portal page as it will be seen by users.
5. (Optional) Customize the text under the Acceptable Use Policy:
a. Enter the policy information in the Policy Text text box. This text appears only for a guest
logon.
b. To view the changes, click Submit at the bottom on the page and then click the View
Captive Portal link. This displays the Captive Portal page as it will be seen by users
(Figure 8-5).
Figure 8-4