
User's Manual


Table Of Contents
- WFS709TP ProSafe Smart Wireless Switch Software Administration Manual
- Contents
- About This Manual
- Chapter 1 Overview of the WFS709TP
- Chapter 2 Deploying a Basic WFS709TP System
- Chapter 3 Configuring Network Parameters
- Chapter 4 RF Plan
- Chapter 5 Configuring WLANS
- Chapter 6 Configuring AAA Servers
- Chapter 7 Configuring 802.1x Authentication
- Chapter 8 Configuring the Captive Portal
- Chapter 9 Configuring MAC-Based Authentication
- Chapter 10 Adding Local WFS709TPs
- Chapter 11 Configuring Redundancy
- Chapter 12 Configuring Wireless Intrusion Protection
- Chapter 13 Configuring Management Utilities
- Chapter 14 Configuring WFS709TP for Voice
- Appendix A Configuring DHCP with Vendor-Specific Options
- Appendix B Windows Client Example Configuration for 802.1x
- Appendix C Internal Captive Portal
- Appendix D Related Documents
- Index
WFS709TP ProSafe Smart Wireless Switch Software Administration Manual
2-14 Deploying a Basic WFS709TP System
v1.0, June 2007
3. Click Apply at the bottom of the page (you may need to scroll down the page).
4. At the top of the page, click Save Configuration.
You need to reboot the WFS709TP for the new IP address to take effect.
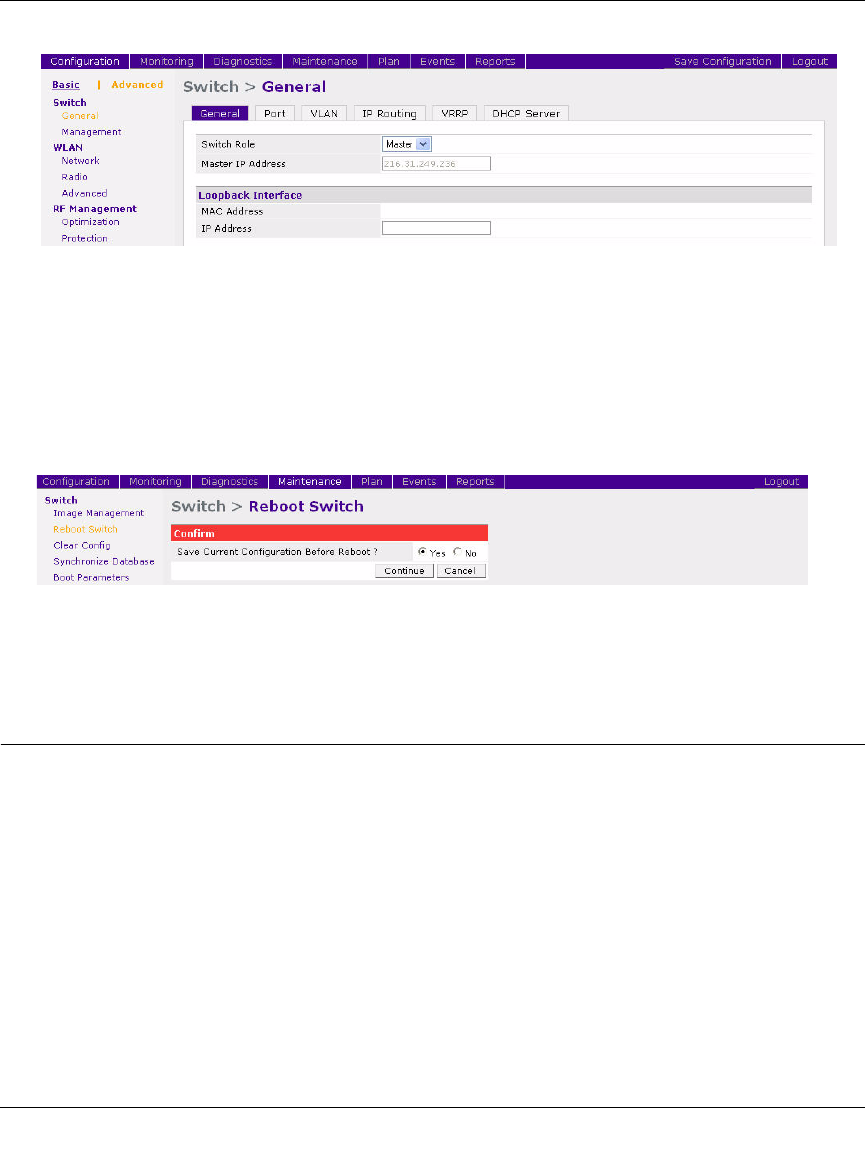
5. Navigate to the Maintenance > Switch > Reboot Switch page (Figure 2-11).
6. Click Continue.
Deploying APs
APs and AMs are designed to require only minimal provisioning to make them fully operational in
a WFS709TP system. Once APs have established communication with the WFS709TP, you can
apply advanced configuration to individual APs or globally across the entire system using the
browser interface on the WFS709TP.
You can deploy APs from the browser interface by performing the following tasks:
1. Ensure that the APs can locate the WFS709TP when they are connected to the network. There
are several ways in which APs can locate the WFS709TP (see “Locate the WFS709TP” on
page 2-16).
2. Install the APs by connecting the AP to an Ethernet port and, optionally, to a power source.
Figure 2-10
Figure 2-11