
Owner's Manual


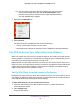
Table Of Contents
- User Manual
- Table of Contents
- Overview
- Connect to the Network and Access the Router
- Specify Your Internet Settings
- Use the Internet Setup Wizard
- Manually Set Up the Internet Connection
- Specify IPv6 Internet Connections
- Requirements for Entering IPv6 Addresses
- Use Auto Detect for an IPv6 Internet Connection
- Use Auto Config for an IPV6 Internet Connection
- Set Up an IPv6 6rd Tunnel Internet Connection
- Set Up an IPv6 6to4 Tunnel Internet Connection
- Set Up an IPv6 Pass Through Internet Connection
- Set Up an IPv6 Fixed Internet Connection
- Set Up an IPv6 DHCP Internet Connection
- Set Up an IPv6 PPPoE Internet Connection
- Change the MTU Size
- Control Access to the Internet
- Optimize Performance
- Specify Network Settings
- View or Change WAN Settings
- Dynamic DNS
- Set Up a Default DMZ Server
- Change the Router’s Device Name
- Change the LAN TCP/IP Settings
- Specify the IP Addresses That the Router Assigns
- Disable the DHCP Server Feature in the Router
- Manage Reserved LAN IP Addresses
- Custom Static Routes
- Specify Basic WiFi Settings
- Set Up a Guest WiFi Network
- View or Change Advanced WiFi Settings
- Use the Router as a WiFi Access Point
- Generate a New Backhaul Password
- Manage Your Network
- Customize Internet Traffic Rules for Ports
- Use VPN to Access Your Network
- Troubleshooting
- Supplemental Information
- Specs
- Quick Start Guide
- Spec Sheet
Use VPN to Access Your Network
106
Orbi High-Performance AC3000 Tri-band WiFi System
14. To specify the destination folder, click the Browse button and select a destination folder.
A Windows Security window opens.
15. Click the Install button.
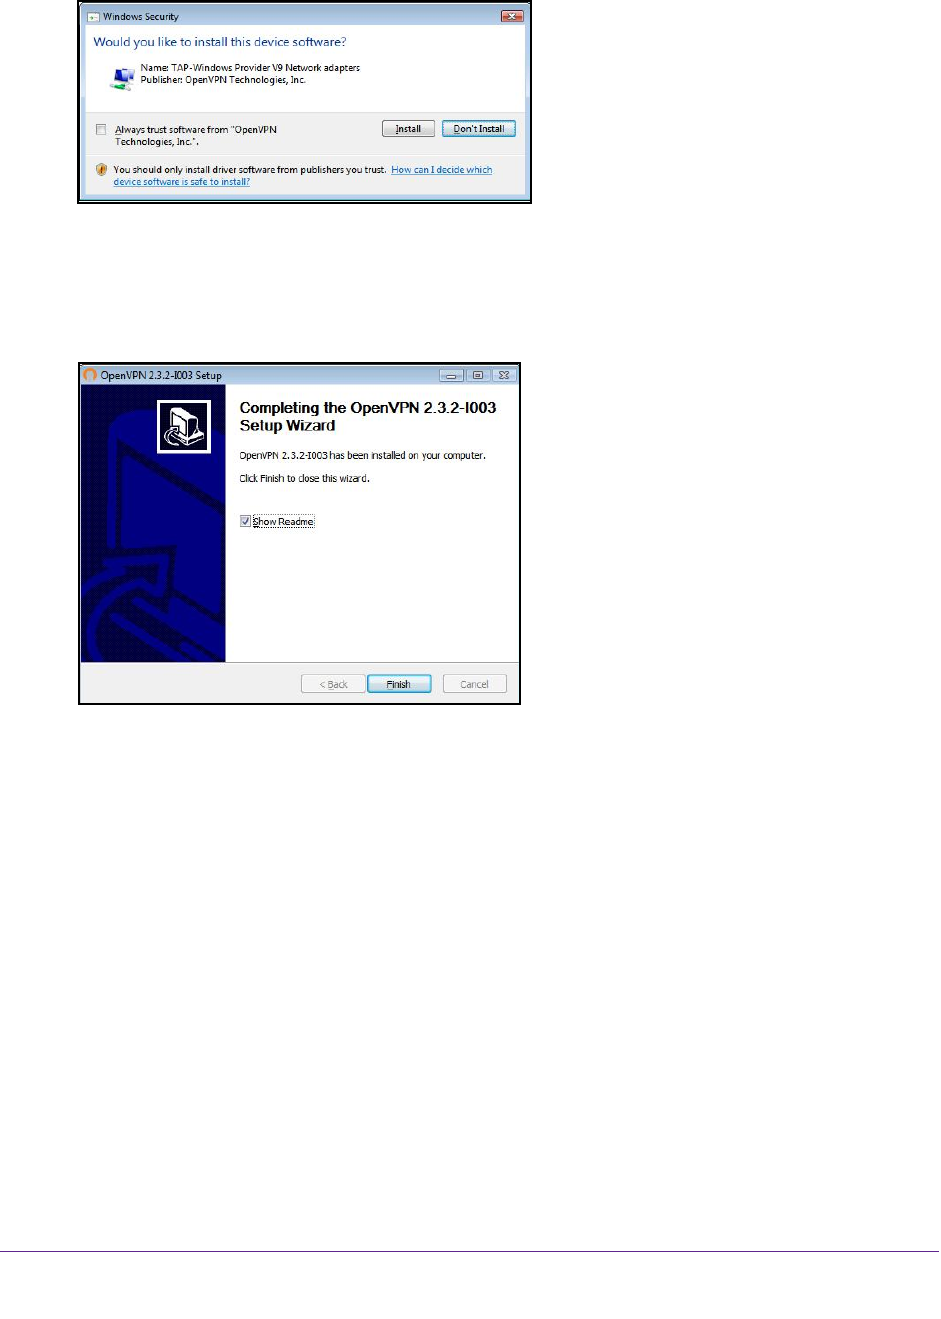
The window displays the progress of the installation and then displays the final installation
page.
16. Click the Finish button.
17. Unzip the configuration files that you downloaded and copy them to the folder where the
VPN client is installed on your device.
For a client device with Windows 64-bit system, the VPN client is installed at
C:\Programfiles\OpenVPN\config\ by default.
18. For a client device with Windows, modify the VPN interface name to NETGEAR-VPN:
a. On your computer
, go to the Networks page. If you are using Windows 10, select
Control Panel > Network and Sharing Center > Change adapter settings.
b. In the local area connection list, find the local area connection with the device name
T
AP-Windows Adapter.
c. Select the local area connection and change its name (not its device name) to
NETGEAR-VPN.
If you do not change the VPN interface name, the VPN tunnel connection will fail.
For more information about using OpenVPN on your Windows computer, visit
https://openvpn.net/index.php/open-source/documentation/howto.html#quick.