
Use and Care Manual
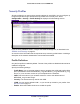
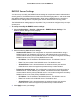
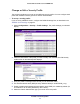
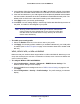

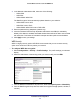
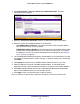
Table Of Contents
- ProSafe Wireless-N Access Point WNAP210
- Contents
- 1. Getting Started
- 2. Installation and Configuration
- Wireless Equipment Placement and Range Guidelines
- Prepare to Install the Access Point
- Connect to the Access Point
- Log In to the Access Point
- Configure LAN Settings
- Set Basic IP Options
- Set Up and Test Basic Wireless Connectivity
- QoS Settings
- Deploy the Access Point
- Wireless Security Options
- Security Profiles
- Restrict Wireless Access by MAC Address
- 3. Management
- 4. Monitoring
- 5. Advanced Configuration
- 6. Troubleshooting and Debugging
- A. Supplemental Information
- B. Command Line Reference
- C. Notification of Compliance
- Index
Installation and Configuration
27
ProSafe Wireless-N Access Point WNAP210
4. Select the radio button of the security profile you want to modify, and click Edit..
5. In the Network Authentication field, select one of the following:
• WPA2 with Radius
• WPA with Radius
• WPA2 & WPA with Radius
The encryption type displayed in the Data Encryption field is automatically updated based
on your selection in the Network Authentication list.
6. Leave the Wireless Client Security Separation radio button set to No (it is selected by
default). If this feature is enabled, associated wireless clients will not be able to
communicate with each other. This feature is intended for hotspots and other public access
situations.
7. Click Apply to save your settings.
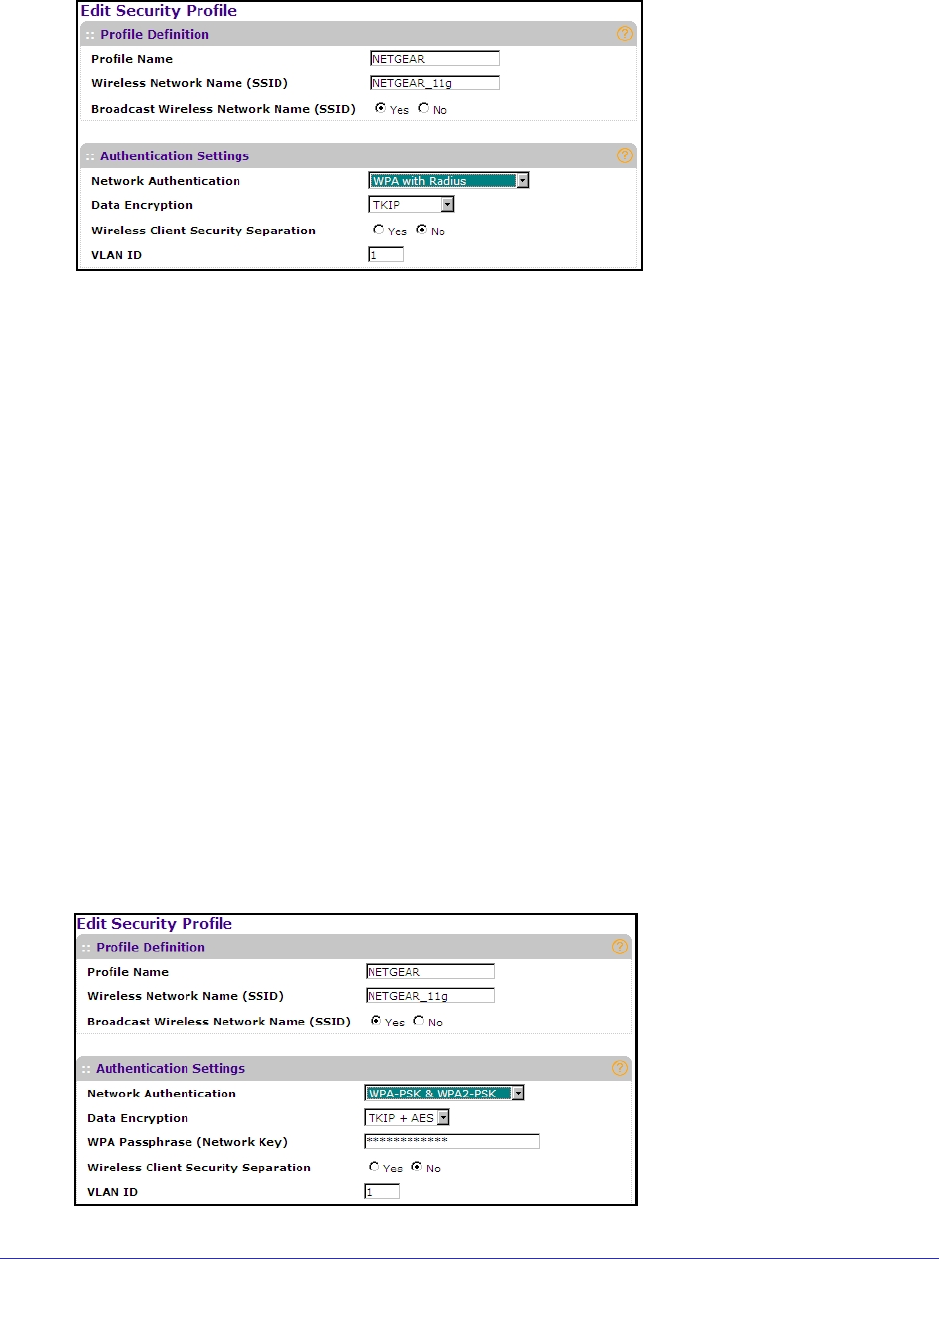
WPA2-PSK, WPA-PSK, or WPA2-PSK & WPA-PSK
Make sure that your wireless clients support the option that you plan to use (WPA2-PSK or
WPA-PSK).
To configure WPA2-PSK, WPA-PSK, or WPA2-PSK & WPA-PSK:
1. Select Configuration > Security > Profile Settings. The profile settings you selected
display.
2. Select the radio button of the security profile you want to modify, and click Edit..