
Use and Care Manual

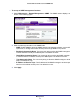
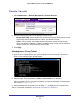
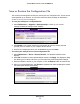
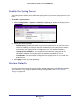
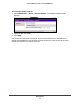
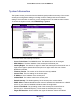
Table Of Contents
- ProSafe Wireless-N Access Point WNAP210
- Contents
- 1. Getting Started
- 2. Installation and Configuration
- Wireless Equipment Placement and Range Guidelines
- Prepare to Install the Access Point
- Connect to the Access Point
- Log In to the Access Point
- Configure LAN Settings
- Set Basic IP Options
- Set Up and Test Basic Wireless Connectivity
- QoS Settings
- Deploy the Access Point
- Wireless Security Options
- Security Profiles
- Restrict Wireless Access by MAC Address
- 3. Management
- 4. Monitoring
- 5. Advanced Configuration
- 6. Troubleshooting and Debugging
- A. Supplemental Information
- B. Command Line Reference
- C. Notification of Compliance
- Index
Management
34
ProSafe Wireless-N Access Point WNAP210
Remote Console
1. Select Maintenance > Remote Management > Remote Console.
2. Enter the following information in the Remote Console screen.
• Secure Shell (SSH). If set to Enable, the wireless access point allows remote access
only through Secure Shell and Secure Telnet. The default is Enable.
• Telnet. If set to Enable, the wireless access point allows remote access through
Telnet. The default is Disable. If Telnet is enabled and the access point is accessed
using a browser, the Telnet access is disconnected.
3. Click Apply.
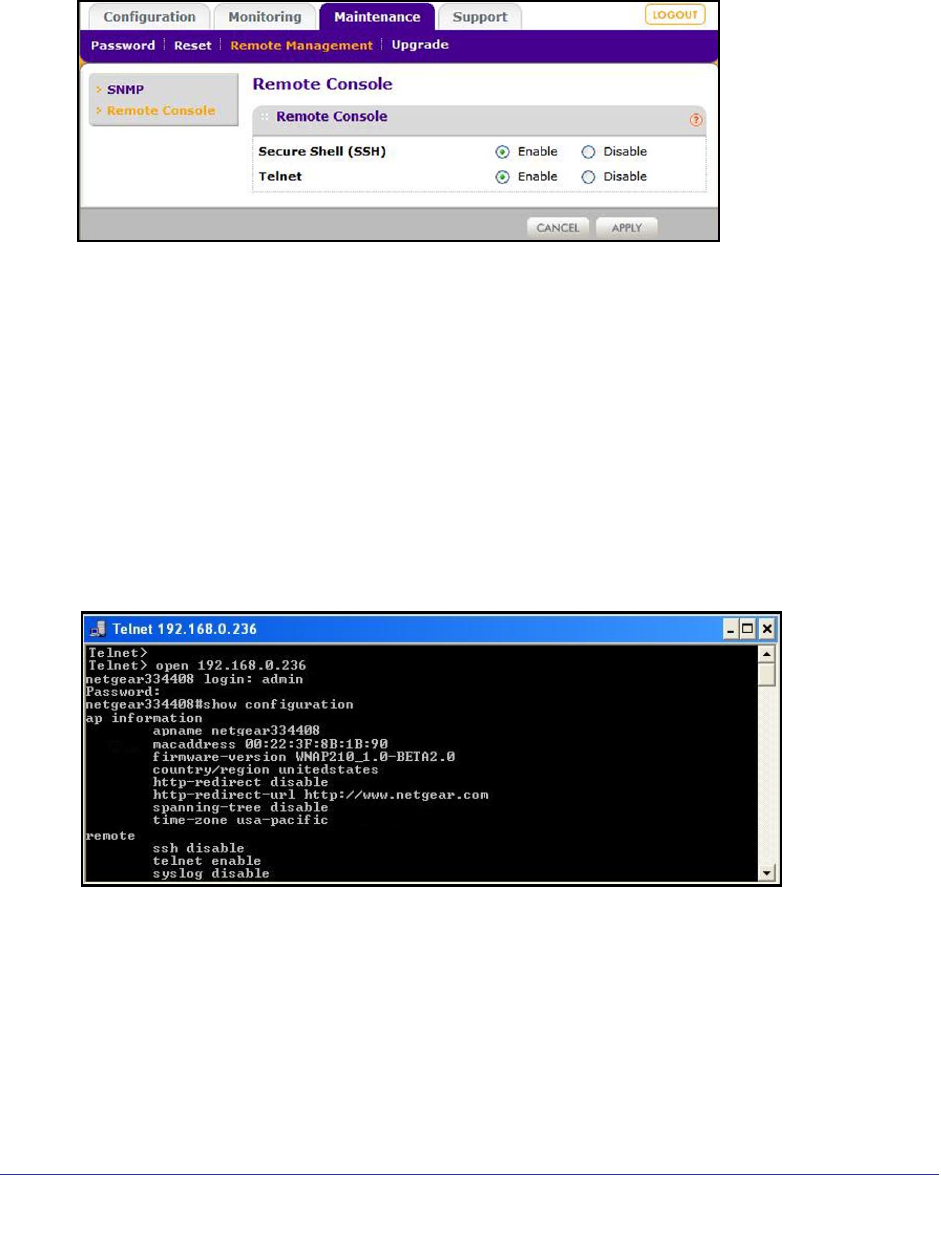
Management Using Telnet
1. Open a secure Telnet session from your computer to the access point. The screen
shown in the following figure should display.
2. Enter the login name and password (admin and password are the defaults).
After successful login, the <Access Point Name> prompt should display. In this example,
the prompt is netgear334408.
3. Enter the desired CLI commands. You can enter
help to display the CLI command help.
The CLI commands are listed in Appendix B, Command Line Reference.