
User's Manual


Nexxt Solutions – Wireless-N 3G router
60
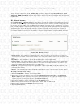
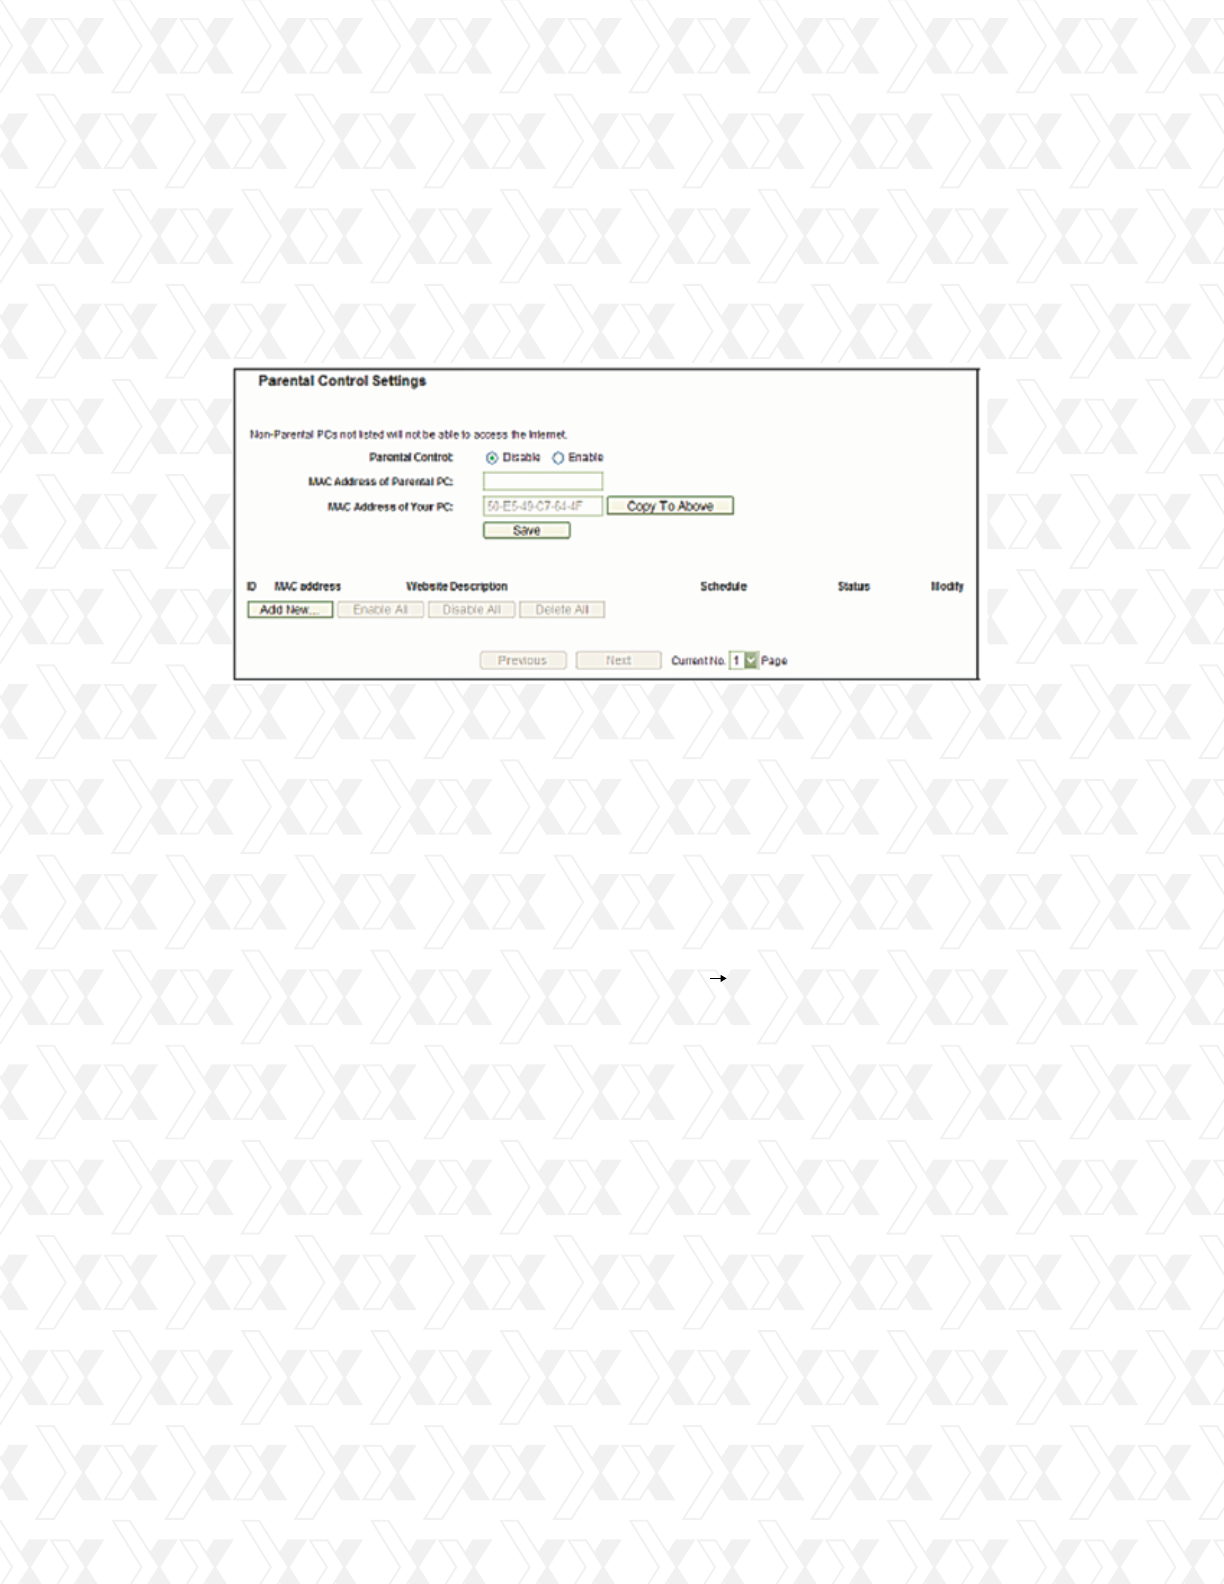
9.5 Parental Control
Figure 9-10 Parental control settings
Go to Parental Control in order to config ure this monitoring feature, as shown it the
screen below. (Figure 9-10). Parental control can be used to monitor the internet activities of
a child, limit his/her access to certain websites and to restrict the amount of time they
spend surfing.
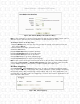
Parental Control - Check Enable if you want to activate this function; otherwise, check Dis-
able.
MAC Address of Parental PC - In this field, enter the MAC address of the monitoring PC,
or you can make use of the Copy To Above button below.
MAC Address of Your PC - This field displays the MAC address of the PC that is manag-
ing this router. If the MAC Address of your adapter is registered, you can click the Copy To
Above button to enter this address into the MAC Address of Parental PC field above.
Website Description - Description of the allowed website for the monitored PC.
Schedule - The time period allowed for the monitored PC to have access to the Internet.
For detailed information, please go to “Access Control Schedule”.
Modify – Use this link to edit or delete an existing entry.
To add a new entry, please follow the steps below.
•
•
•
•
•
•
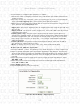
Click the Add New button. The screen shown in figure 9-11 below will appear.
In the MAC Address of Child PC field, enter the MAC address of the PC (e.g. 00-11-22-33-
44-AA) you want to control. Or you can choose the MAC address from the All Address in
Current LAN drop-down list.
Give a description (e.g. Allow Google) for the website allowed to be accessed in the Website
Description field.
Enter the allowed domain name of the website, either the full name or the keywords
(e.g.Google) in the Allowed Domain Name field. Any domain name with keywords in it (www.
google.com.cn) will be allowed.
Select from the Effective Time drop-down list the schedule (e.g. Schedule_1) you want the
entry to take effect. If there are not suitable schedules for you, click the Schedule in red
below to open the Advanced Schedule Settings page, and create the schedule you need.
In the Status field, select the Enabled or Disabled condition for that entry.
Click the Save button.
1.
2.
3.
4.
5.
6.
7.