
Operation Manual


Advanced Operations
60 ViewCast
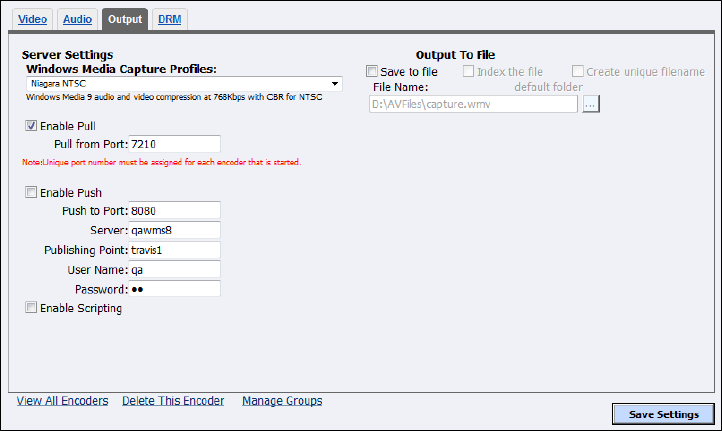
Figure 52. Output tab
To configure output settings:
1.
Click on a Windows Media Capture Profile from the drop-down list.
2.
Select Enable Pull.
3.
Enter a port number that the server will use to pull the stream from the Niagara system.
4.
Select Enable Push.
IMPORTANT! Be sure to enter a port number not already assigned to another encoder. If two
encoders attempt to use the same port number, one or both encoders will fail to start.
5.
Enter a port number that the server will use to push the stream from the Niagara system.
6.
Enter the Server name or IP address.
7.
Enter the Publishing Point.
Note: This field is optional.
8.
Enter the User Name.
9.
Enter the Password.
10.
Select Enable Scripting to embed closed captions.
Note: If closed captions is enabled through the Osprey driver, you cannot enable scripting.
11.
You can either:
Select Save to File to save the encoded content to a file. Each time you start this encoder,
the system overwrites the previous file.
Select Index the file to drag the slider to any point in your video capture.
Select Create unique file to create a file that the system does not overwrite.
12.
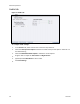
Accept the default location that displays in the File Name field or choose your own location for
the file. To choose your own personal location select the link (horizontal ellipses or … ) to the
right of the File Name field and display the options (Figure 53).