
Operation Manual


-108-
Setting a DRM Profile in SCX Web Interface
To set the DRM Profile using Niagara Pro’s SCX Web Interface, complete the following steps:
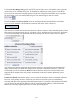
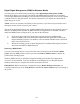
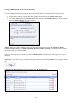
• Either add or edit an existing Windows Media Encoder from the All Encoders page.
• To enable DRM, select the Enable check box and select the DRM profile you wish to apply
from the DRM Settings drop-down menu.
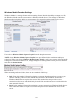
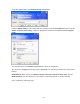
NOTE: When you enable DRM, Niagara SCX will automatically change the Windows Media
Capture Profile setting to a DRM-compatible Windows Media 9 setting. You might need to adjust
this setting after you enable DRM.
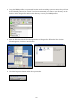
After you have input your settings, click the Submit button at the bottom of the page to save your
changes.
Warning: If you click away to another Web page without first clicking Submit, your changes will be
lost.
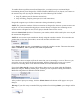
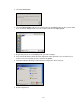
Niagara SCX Web Interface will then display the All Encoders list.