
Digital Camera User Manual


Table Of Contents
- Getting the Most from Your Camera
- Table of Contents
- For Your Safety
- Notices
- Introduction
- Still Image Mode
- Smart Photo Selector Mode
- Movie Mode
- Motion Snapshot Mode
- More on Photography
- More on Playback
- Connections
- The Playback Menu
- The Shooting Menu
- Reset Shooting Options
- Exposure Mode
- Image Quality
- Image Size
- Continuous
- Shutter Type
- Frame Rate
- Movie Settings
- Metering
- White Balance
- ISO Sensitivity
- Picture Control
- Custom Picture Control
- Color Space
- Active D-Lighting
- Long Exposure NR
- High ISO Noise Reduction
- Fade in/Fade Out
- Movie Sound Options
- Interval Timer Shooting
- Vibration Reduction
- AF-Area Mode
- Face-Priority AF
- Built-in AF Assist
- Flash Control
- Flash Compensation
- The Setup Menu
- Reset Setup Options
- Format Memory Card
- Slot Empty Release Lock
- Welcome Screen
- Display Brightness
- Grid Display
- Sound Settings
- Auto Power Off
- Remote on Duration
- Assign AE/AF-L Button
- Shutter Button AE Lock
- Video Mode
- Flicker Reduction
- Reset File Numbering
- Time Zone and Date
- Language
- Auto Image Rotation
- Battery Info
- Firmware Version
- Technical Notes
98
Q
A
PictBridge Print Options
Page
size
Highlight a page size (only sizes supported by the current
printer are listed) and press J to select and exit to the previous
menu (to print at the default page size for the current printer,
select Use printer settings).
Number
of
copies
This option is listed only when pictures are printed one at a
time. Press 1 or 3 to choose number of copies (maximum 99),
then press J to select and return to the previous menu.
Print
border
This option is listed only if supported by the printer. Highlight
Use printer settings (use current printer settings), Ye s (print
white borders), or No (no borders) and press J to select and
exit to the previous menu.
Print
time
stamp
Highlight Use printer settings (use current printer settings),
Ye s (print times and dates of recording on photos), or No (no
time stamp) and press J to select and exit to the previous
menu.
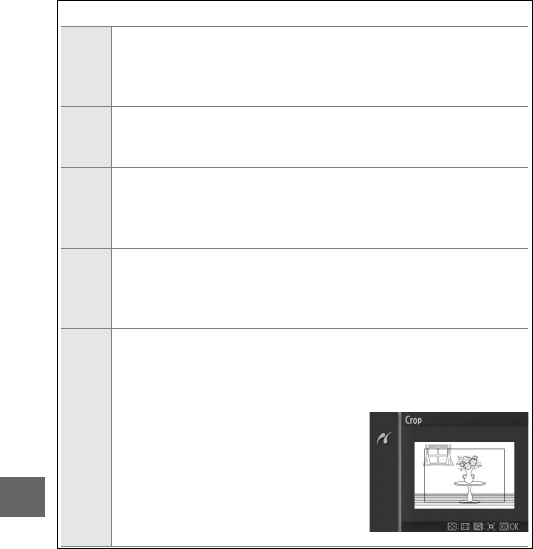
Crop
This option is listed only when pictures are printed one at a
time on a printer that supports cropping. To exit without crop-
ping, highlight No and press J. To crop the current picture,
highlight Ye s and press 2.
Selecting Ye s displays the dialog
shown at right. Press W up to increase
the size of the crop, down to decrease.
Position the crop using the multi
selector and press J. Note that print
quality may drop if small crops are
printed at large sizes.