
User Manual
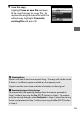
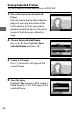

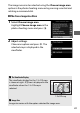
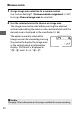
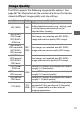
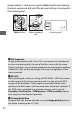
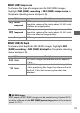
Table Of Contents
- Package Contents
- Table of Contents
- For Your Safety
- Notices
- Bluetooth and Wi-Fi (Wireless LAN)
- Introduction
- First Steps
- Tutorial
- Live View Photography
- Movies
- Image Recording Options
- Focus
- Release Mode
- ISO Sensitivity
- Exposure
- White Balance
- Image Enhancement
- Flash Photography
- Other Shooting Options
- More About Playback
- Menu List
- Technical Notes

89
The image area can be selected using the Choose image area
option in the photo shooting menu or by pressing a control and
rotating a command dial.
❚❚ The Choose Image Area Menu
1 Select Choose image area.
Highlight Choose image area in the
photo shooting menu and press 2.
2 Adjust settings.
Choose an option and press J.
The
selected crop is displayed in the
viewfinder.
A The Viewfinder Display
The viewfinder display for the 1.3× DX crop
is shown at right.
A Z icon is displayed in the
viewfinder when the 1.3× DX crop is
selected.
A Image Size
Image size varies with the option selected for image area.
1.3× DX crop