
Reference Manual


Table Of Contents
- Introduction
- Parts of the Camera and Main Functions
- The Basics of Shooting and Playback
- Shooting Features
- Auto Mode
- Scene Mode (Shooting Suited to Scenes)
- Smart Portrait Mode (Shooting Smiling Faces)
- Special Effects Mode (Applying Effects When Shooting)
- Features That Can Be Set Using the Multi Selector
- Features That Can Be Set Using the MENU Button (Shooting Mode)
- Features Not Available in Combination
- Focusing on Subject
- Playback Features
- Recording and Playing Back Movies
- Using GPS/Electronic Compass (COOLPIX S9500 only)
- Using the Wi-Fi (Wireless LAN) Feature (COOLPIX S9500 only)
- General Camera Setup
- Reference Section
- Using Easy Panorama (Shooting and Playing back)
- Favorite Pictures Mode
- Auto Sort Mode
- List by Date Mode
- Playing Images in a Sequence
- Editing Still Images
- Editing Features
- Quick effects: Applying effects to pictures
- Quick Retouch: Enhancing Contrast and Saturation
- D-Lighting: Enhancing Brightness and Contrast
- Glamour Retouch: Making Facial Skin Tones Softer, Face Smaller, or Eyes Larger
- Small Picture: Reducing the Size of an Image
- Crop: Creating a Cropped Copy
- Connecting the Camera to a TV (Viewing Images on a TV)
- Connecting the Camera to a Printer (Direct Print)
- Editing Movies
- The Shooting Menu (Auto Mode)
- The Smart Portrait Menu
- Movie Menu
- The Playback Menu
- GPS Options Menu (COOLPIX S9500 only)
- The Setup Menu
- Welcome Screen
- Time Zone and Date
- Monitor Settings
- Print Date (Imprinting Date and Time on Pictures)
- Vibration Reduction
- Motion Detection
- AF Assist
- Digital Zoom
- Sound Settings
- Auto Off
- Format Memory/Format Card
- Language
- TV Settings
- Charge by Computer
- Blink Warning
- Wi-Fi Options (COOLPIX S9500 only)
- Eye-Fi Upload
- Filmstrip
- Reset All
- Firmware Version
- Error Messages
- File and Folder Names
- Optional Accessories
- Technical Notes and Index
88
Using GPS/Electronic Compass (COOLPIX S9500 only)
Using GPS/Electronic Compass (COOLPIX S9500 only)
Starting GPS Data Recording
The camera’s internal GPS receives signals from the GPS satellites and identifies its
current time and position.
The position information (latitude and longitude) can be recorded on the pictures
to be shot.
Turn the GPS Functions On
Set Time zone and date (A96) correctly before using the GPS function.
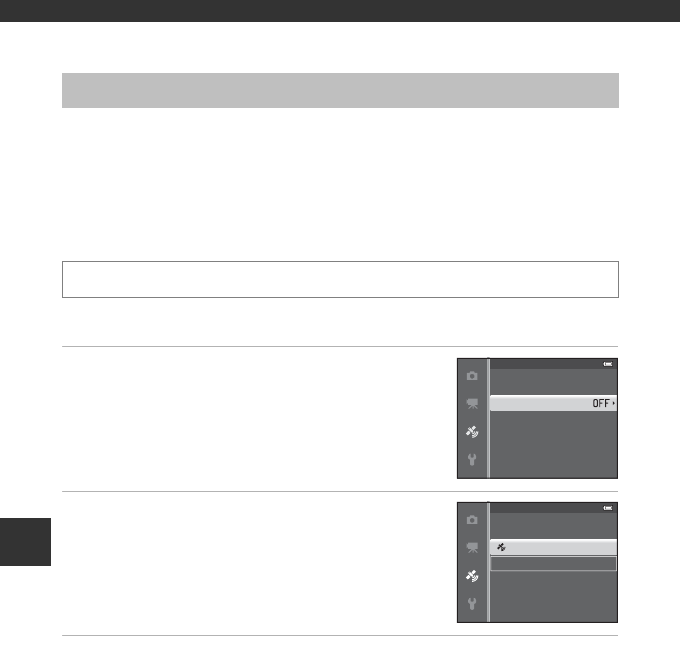
1 Use the multi selector to select Record GPS
data, and then press the k button.
2 Select On and press the k button.
• Signals are received from the GPS satellites and
positioning starts.
• The default setting is Off.
3 Press the d button.
• The camera returns to shooting screen.
• Operate in an open-air area when starting to receive signals from GPS satellites.
Press the d button M z (GPS options) menu icon (A7) M GPS options
Erase GPS data
Update A-GPS le
Record GPS data
GPS options
O
On
Record GPS data