Reference Manual
Table Of Contents
- Introduction
- Parts of the Camera and Main Functions
- The Basics of Shooting and Playback
- Shooting Features
- Auto Mode
- Scene Mode (Shooting Suited to Scenes)
- Smart Portrait Mode (Shooting Smiling Faces)
- Special Effects Mode (Applying Effects When Shooting)
- Features That Can Be Set Using the Multi Selector
- Features That Can Be Set Using the MENU Button (Shooting Mode)
- Features Not Available in Combination
- Focusing on Subject
- Playback Features
- Recording and Playing Back Movies
- Using GPS/Electronic Compass (COOLPIX S9500 only)
- Using the Wi-Fi (Wireless LAN) Feature (COOLPIX S9500 only)
- General Camera Setup
- Reference Section
- Using Easy Panorama (Shooting and Playing back)
- Favorite Pictures Mode
- Auto Sort Mode
- List by Date Mode
- Playing Images in a Sequence
- Editing Still Images
- Editing Features
- Quick effects: Applying effects to pictures
- Quick Retouch: Enhancing Contrast and Saturation
- D-Lighting: Enhancing Brightness and Contrast
- Glamour Retouch: Making Facial Skin Tones Softer, Face Smaller, or Eyes Larger
- Small Picture: Reducing the Size of an Image
- Crop: Creating a Cropped Copy
- Connecting the Camera to a TV (Viewing Images on a TV)
- Connecting the Camera to a Printer (Direct Print)
- Editing Movies
- The Shooting Menu (Auto Mode)
- The Smart Portrait Menu
- Movie Menu
- The Playback Menu
- GPS Options Menu (COOLPIX S9500 only)
- The Setup Menu
- Welcome Screen
- Time Zone and Date
- Monitor Settings
- Print Date (Imprinting Date and Time on Pictures)
- Vibration Reduction
- Motion Detection
- AF Assist
- Digital Zoom
- Sound Settings
- Auto Off
- Format Memory/Format Card
- Language
- TV Settings
- Charge by Computer
- Blink Warning
- Wi-Fi Options (COOLPIX S9500 only)
- Eye-Fi Upload
- Filmstrip
- Reset All
- Firmware Version
- Error Messages
- File and Folder Names
- Optional Accessories
- Technical Notes and Index

E80
The Setup Menu
Reference Section
Charge by Computer
Select whether or not the battery inserted into the camera is charged when the
camera is connected to a computer via the USB cable (A77).
B Notes on Connecting the Camera to a Printer
• The battery cannot be charged with connection to a printer, even if the printer complies with the
PictBridge standard.
• When Auto is selected for Charge by computer, it may be impossible to print images with direct
connection of the camera to some printers. If the PictBridge startup screen is not displayed on the
monitor after the camera is connected to a printer and turned on, turn the camera off and
disconnect the USB cable. Set Charge by computer to Off and reconnect the camera to the
printer.
B Notes on Charging with Connection to a Computer
• The battery cannot be charged, nor can data be transferred, when the camera is connected to a
computer before the camera’s display language and date and time have been set (A20). If the
camera’s clock battery (A21) has been exhausted, the date and time must be reset before the
battery can be charged or images can be transferred with connection to a computer. In this case,
use the Charging AC Adapter EH-70P (A14) to charge the battery and then set the camera’s date
and time.
• If the camera is turned off, charging will also stop.
• If the computer enters sleep mode while charging, charging will stop and the camera may be
turned off.
• When disconnecting the camera from the computer, turn the camera off and then disconnect the
USB cable.
• It may take longer to charge the battery with connection to a computer than with charging using
the Charging AC Adapter EH-70P. Charging time increases when images are transferred while the
battery is charging.
• When the camera is connected to a computer, an application installed on the computer, such as
Nikon Transfer 2, may start. If the camera was connected to the computer for the sole purpose of
charging the battery, exit the application.
• The camera turns off automatically if there is no communication with the computer for 30 minutes
after the battery has finished charging.
• Depending upon computer specifications, settings, and power supply and allocation, it may be
impossible to charge the battery using a computer connection while it is inserted into the camera.
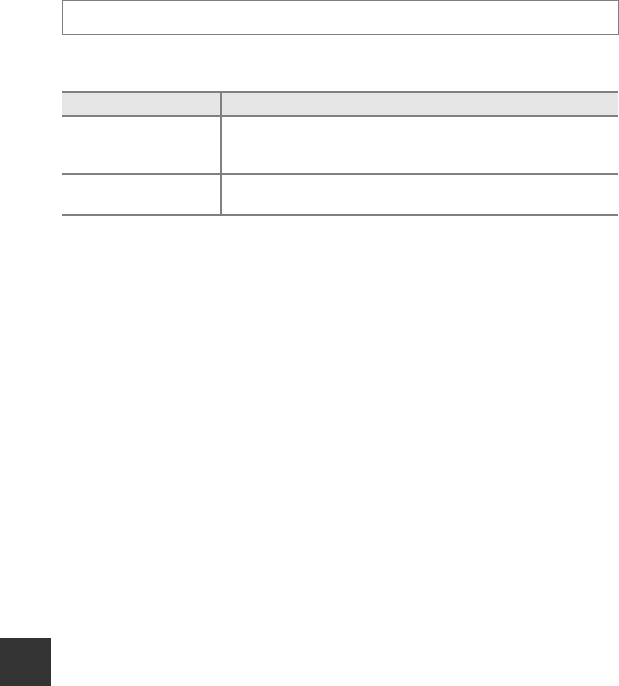
Press the d button M z menu icon (A6) M Charge by computer
Option Description
Auto (default setting)
When the camera is connected to a computer that is running,
the battery inserted into the camera is automatically charged
using power supplied by the computer.
Off
The battery inserted into the camera is not charged when the
camera is connected to a computer.


