
Colour Printer User's Guide

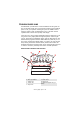
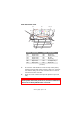
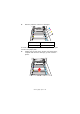
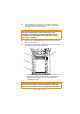
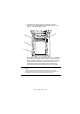
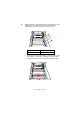
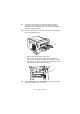
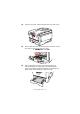
Table Of Contents
- Preface
- Emergency First Aid
- Importer to the EU
- Environmental Information
- Contents
- Notes, Cautions and Warnings
- Introduction
- Paper recommendations
- Loading paper
- Printer settings in Windows
- Printer settings in Mac
- Mac OS 9
- Choosing Printing Options
- Changing the default print settings
- Page Setup Options - General
- Page Setup Options - Layout
- Page Setup Options - Custom Paper Size
- Print Options - General
- Print Options - Print Control
- Print Options - Colour
- Print Options - Layout
- Print Options - Options
- Print Options - Select Panel Language
- Print Options - Watermark
- Print Options - Information
- Mac OS X
- Mac OS 9
- Colour printing
- Menu functions
- Replacing consumable items
- Installing upgrades
- Clearing paper jams
- Specifications
- Index
- Oki contact details
Clearing paper jams> 105
5. Put the cartridge down gently onto a piece of paper to
prevent toner from marking your furniture and to avoid
damaging the green drum surface.
6. Repeat this removal procedure for each of the remaining
image drum units.
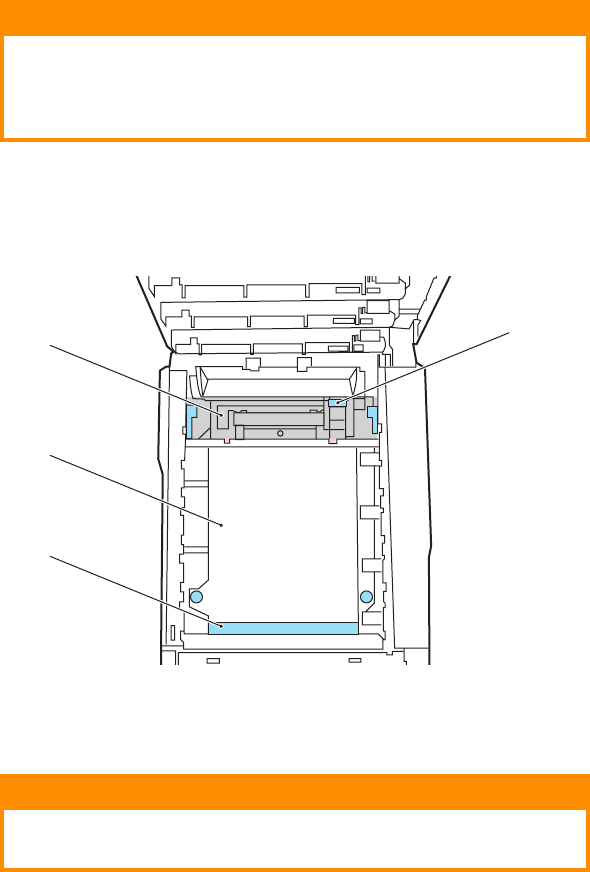
7. Look into the printer to check whether any sheets of paper
are visible on any part of the belt unit.
• To remove a sheet with its leading edge at the front of
the belt (1), carefully lift the sheet from the belt and
pull it forwards into the internal drum cavity and
withdraw the sheet.
CAUTION!
The green image drum surface at the base of the
cartridge is very delicate and light sensitive. Do not
touch it and do not expose it to normal room light for
more than 5 minutes.
4
2
3
1
CAUTION!
Do not use any sharp or abrasive objects to separate
sheets from the belt. This may damage the belt surface.