
Colour Printer User's Guide
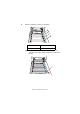
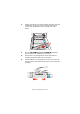
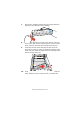
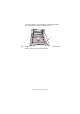
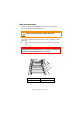
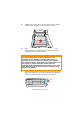
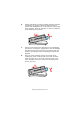
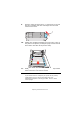
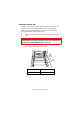
Table Of Contents
- Preface
- Emergency First Aid
- Importer to the EU
- Environmental Information
- Contents
- Notes, Cautions and Warnings
- Introduction
- Paper recommendations
- Loading paper
- Printer settings in Windows
- Printer settings in Mac
- Mac OS 9
- Choosing Printing Options
- Changing the default print settings
- Page Setup Options - General
- Page Setup Options - Layout
- Page Setup Options - Custom Paper Size
- Print Options - General
- Print Options - Print Control
- Print Options - Colour
- Print Options - Layout
- Print Options - Options
- Print Options - Select Panel Language
- Print Options - Watermark
- Print Options - Information
- Mac OS X
- Mac OS 9
- Colour printing
- Menu functions
- Replacing consumable items
- Installing upgrades
- Clearing paper jams
- Specifications
- Index
- Oki contact details
Replacing consumable items> 83
7. Remove the wrapping material and peel off the adhesive
tape from the underside of the cartridge.
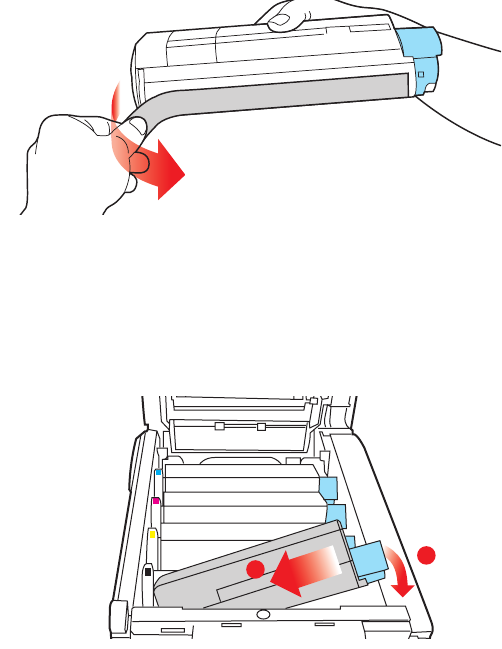
8. Holding the cartridge by its top centre with the coloured
lever to the right, lower it into the printer over the image
drum unit from which the old cartridge was removed.
9. Insert the left end of the cartridge into the top of the
image drum unit first, pushing it against the spring on the
drum unit, then lower the right end of the cartridge down
onto the image drum unit.
10. Pressing gently down on the cartridge to ensure that it is
firmly seated, push the coloured lever (1) towards the
2
1