
Colour Printer User's Guide
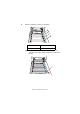
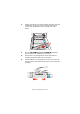
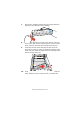
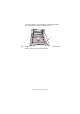
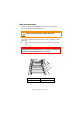
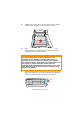
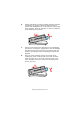
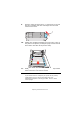
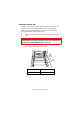
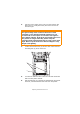
Table Of Contents
- Preface
- Emergency First Aid
- Importer to the EU
- Environmental Information
- Contents
- Notes, Cautions and Warnings
- Introduction
- Paper recommendations
- Loading paper
- Printer settings in Windows
- Printer settings in Mac
- Mac OS 9
- Choosing Printing Options
- Changing the default print settings
- Page Setup Options - General
- Page Setup Options - Layout
- Page Setup Options - Custom Paper Size
- Print Options - General
- Print Options - Print Control
- Print Options - Colour
- Print Options - Layout
- Print Options - Options
- Print Options - Select Panel Language
- Print Options - Watermark
- Print Options - Information
- Mac OS X
- Mac OS 9
- Colour printing
- Menu functions
- Replacing consumable items
- Installing upgrades
- Clearing paper jams
- Specifications
- Index
- Oki contact details
Replacing consumable items> 88
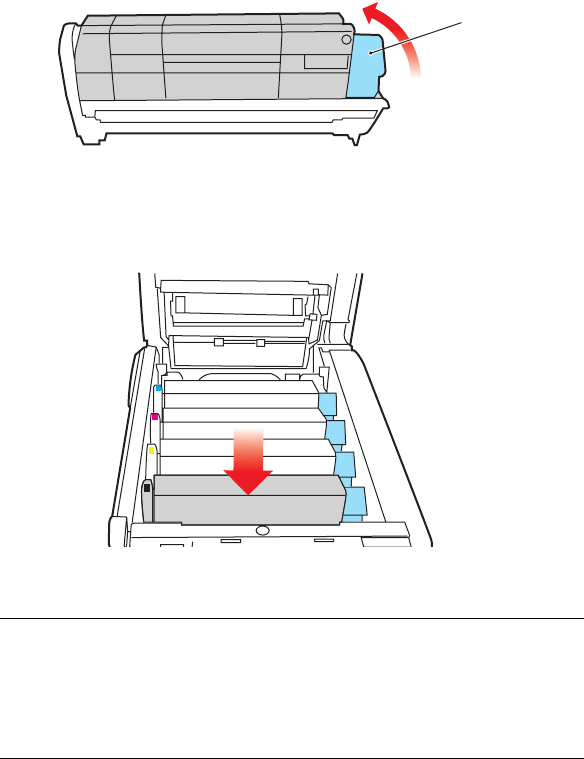
9. Push the coloured release lever (1) away from you to lock
the toner cartridge onto the new image drum unit and
release toner into it.
10. Holding the complete assembly by its top centre, lower it
into place in the printer, locating the pegs at each end into
their slots in the sides of the printer cavity.
11. Finally, close the top cover and press down firmly at both
sides so that the cover latches closed.
1
NOTE:
If you need to return or transport your printer for any reason,
please make sure you remove the image drum unit
beforehand and place in the bag provided. This is to avoid
toner spillage.