
Colour Printer User's Guide
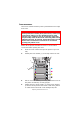


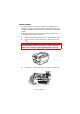
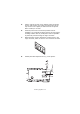

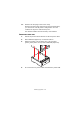
Table Of Contents
- Preface
- Emergency First Aid
- Importer to the EU
- Environmental Information
- Contents
- Notes, Cautions and Warnings
- Introduction
- Paper recommendations
- Loading paper
- Printer settings in Windows
- Printer settings in Mac
- Mac OS 9
- Choosing Printing Options
- Changing the default print settings
- Page Setup Options - General
- Page Setup Options - Layout
- Page Setup Options - Custom Paper Size
- Print Options - General
- Print Options - Print Control
- Print Options - Colour
- Print Options - Layout
- Print Options - Options
- Print Options - Select Panel Language
- Print Options - Watermark
- Print Options - Information
- Mac OS X
- Mac OS 9
- Colour printing
- Menu functions
- Replacing consumable items
- Installing upgrades
- Clearing paper jams
- Specifications
- Index
- Oki contact details
Installing upgrades> 97
M
EMORY
UPGRADE
The basic printer model comes equipped with 64MB of main
memory. This can be upgraded with an additional memory board
of 64MB or 256MB, giving a maximum total memory capacity of
320MB.
Installation takes a few minutes, and requires a medium size
cross-head (philips type) screwdriver.
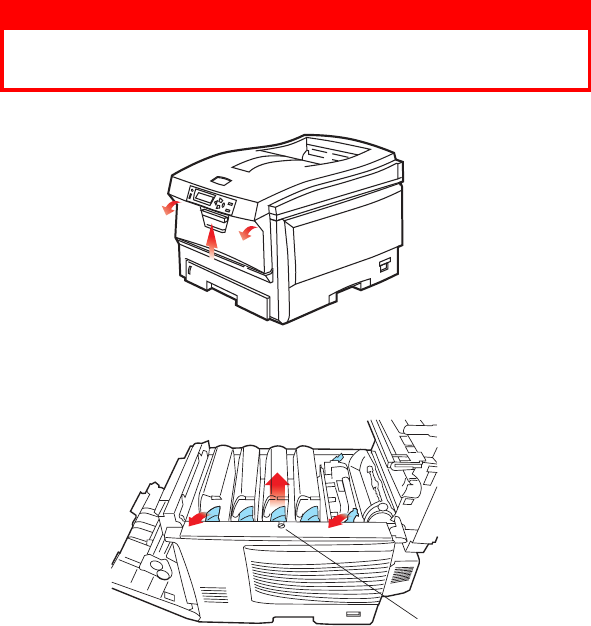
1. Switch the printer off and disconnect the AC power cable.
2. Press the cover release and open the printer’s top cover
fully.
3. Lift the front cover latch and pull open the front cover.
4. Remove the screw (1) securing the right-hand side cover.
WARNING!
If the printer has been powered on recently, the fuser
will be hot. This area is clearly labelled. Do not touch.
1